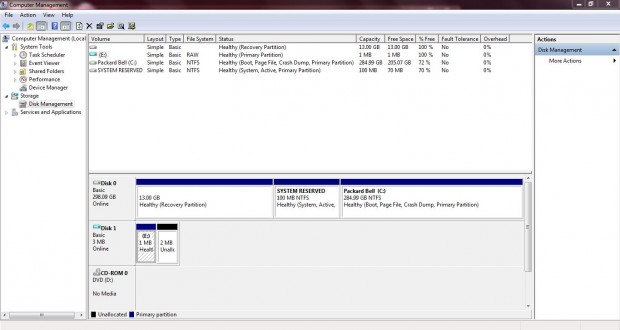
VHDs are virtual (aka fake) hard discs that can be used as real hard drives in Windows. This previous dotTech post covered how to set up a virtual hard disc. To regain local hard disc space, you can also delete this virtual disc when it’s no longer required.
To open the window in the shot below, you should right-click on the Computer desktop icon on the Windows desktop. Then select Manage from the context menu. Click on the Disk Management option to open a list of your virtual hard drives.
Next you should right-click on the VHD that you’re going to delete, and click on the Delete Volume option from the context menu. A message window then appears which states: “Deleting this volume will erase all data on it. Back up any date you want to keep before deleting. Do you want to continue?” Click on Yes to delete, or No to back up anything on the VHD.
Note that the VHD is not completely deleted. You will also have to open the folder that you saved the VHD to, and locate its file in Windows Explorer. Right-click the VHD file and click on Delete to remove it.
Now the VHD has been deleted from Windows. Removing the VHD will free up some hard disc space on Windows for whatever you might need it for.

 Email article


