 Email article
What’s great about using Chrome is that you can use a variety of add-ons to beef up your Gmail account. Like, for example, you can change your Gmail’s skin or layout by adding new elements and sections.
Speaking of which, did you know that you can also sort out your emails in Gmail as lists? By switching your Gmail skin to a multi-list layout, you can easily organize your emails and place them into different lists or groups. This also allows you to group multiple conversations under one subject or category without having to go to a different workspace or dashboard. Just skip past the break to learn how.
Just remember that this method will only work if you’re using Gmail in Chrome.
How to sort emails as lists in Gmail
- On your Chrome web browser, go to the Web Store.
- Search, download and install the extension called “Sortd Smart Skin for Gmail”.
- Once installed, log in and open your Gmail account. As you can notice, there’s a small “Sortd” button on the right side of your inbox. Just click “Go” to get started. Don’t forget to confirm your account.

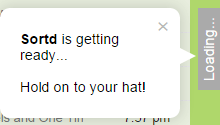
- Wait a bit while Sortd prepares your account. Once it’s ready, hover over the Sortd button that’s located on the right side of your inbox. You’ll see a small arrow under it. Click that arrow to view your Sortd sidebar.
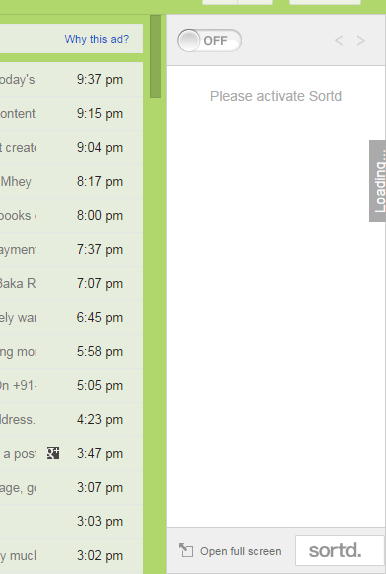
- On the sidebar, click the “On/Off” button to activate Sortd.
- Once activated, the said extension will replace your default Gmail skin with a new skin that features a multi-list layout. If you use this skin, then you can easily switch from the default Gmail mode to “Sortd” mode.
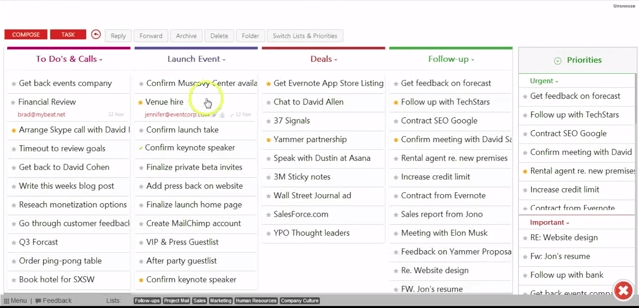
- Once you’re on “Sortd” mode, just drag and drop the emails that you want to their respective lists. This way, you can easily sort out your emails by priority, event, deals, follow-up, etc.
That’s it. You’re one. If you want to go back to your default Gmail layout, just exit “Sortd” mode.


