 Email article
If you’re someone who likes to upload and share high-quality photos to various photo sharing communities such as Pinterest, Flickr and Instagram, you might as well consider putting a watermark to your photos. This will help prevent others from using the photos that you took and claiming it as their own.
As for those who are looking for a quick and easy way to add watermark to images in Android, simply follow the steps provided below.
The Steps – How to add watermark to images in Android
- On your Android device, go to Google Play Store. Search for an app called “Add Watermark Free” by AndroidVilla.
- Download and install the said app to your Android tablet or smartphone.
- Once installed, launch the app from your app drawer.
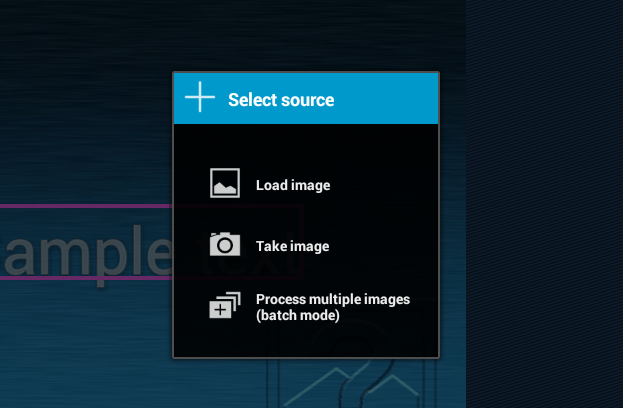
- On the app’s main interface, find and tap the “+” icon. It’s the icon located on the top-right corner of your app’s screen. After which, select “Load image” then search and select the image that you want to use from your device gallery.
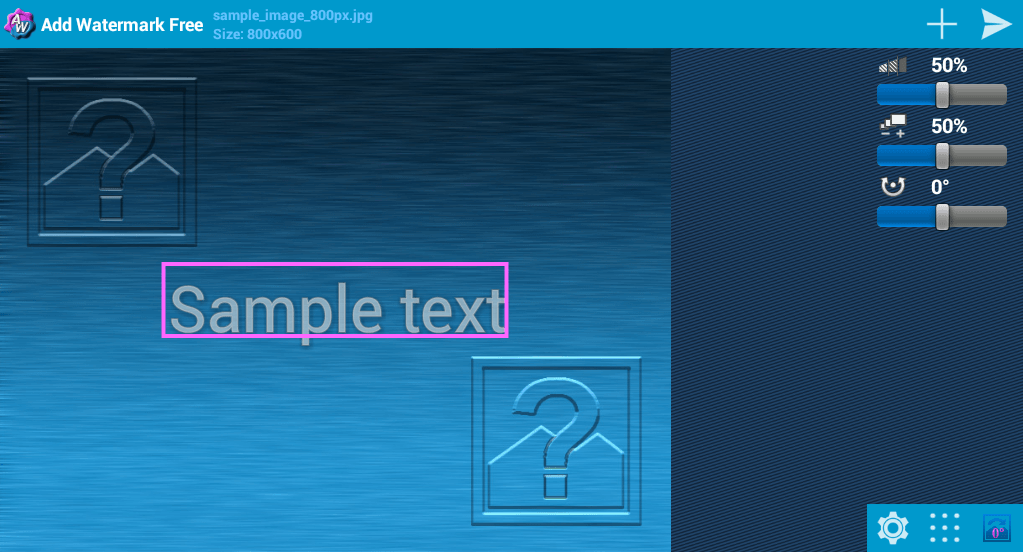
- After loading your desired image, lightly press and drag the watermark box on top of the image. Place it to area where you want to put your watermark. After which, long-press the watermark box (the one that displays “Sample text”).
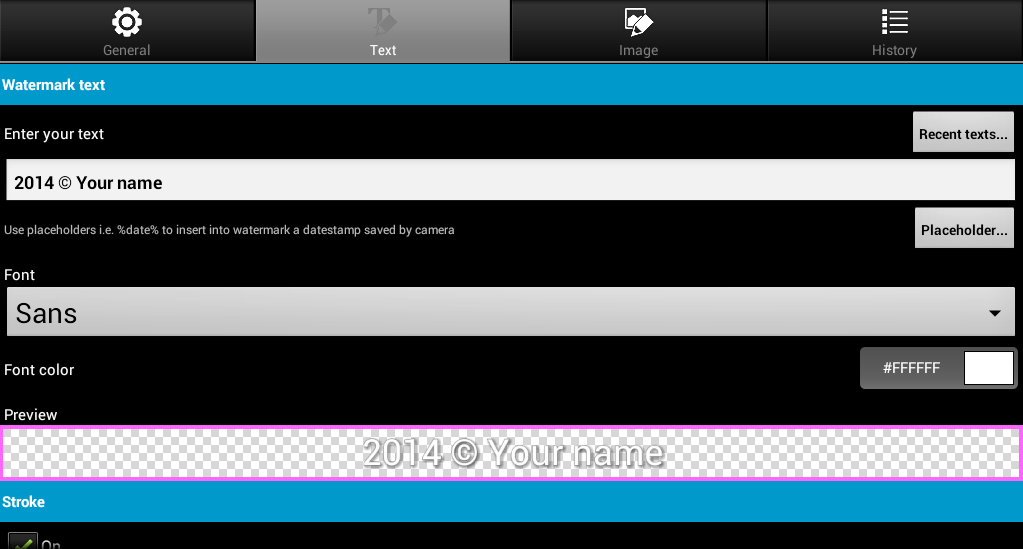
- You will then be asked to enter the text that you want to use as watermark (ex. created by, Copyright, Protected, etc.). After providing your desired watermark text, you may also choose your desired watermark font. You can also add more effects such as strokes, shadows, etc. Just press the back button once you’re done.
- Now, you may adjust the size, opacity and rotation of your watermark. Just refer to the given tools on the upper-right portion of the app’s main screen (see image below).
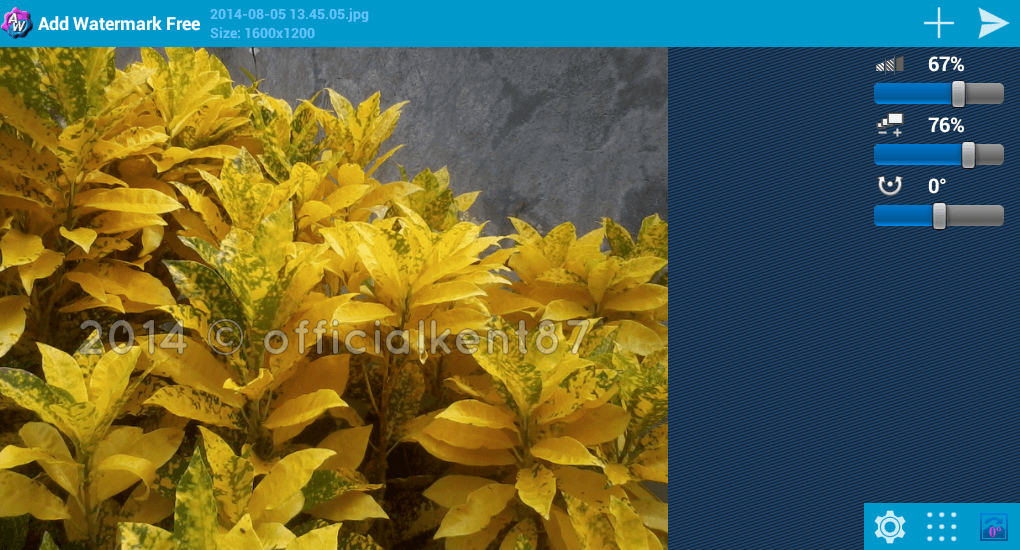
- Review your image with watermark. If you’re already satisfied with the outcome, simply press the “Send/Save” button on the top-right corner of your app’s main screen (the one next to the plus “+” button).
- Indicate the location where you want to save your output file. You may choose to save your watermarked image to its original folder (source folder). You may also choose to save it to another folder. Just press the check button to confirm.
So that’s it. Just remember that if you are using the free version of the Add Watermark app, your watermarked image will be downsized to 1024px. You also cannot add watermarks to multiple images at once. If you want to avail the rest of the app’s premium features, you must upgrade and purchase the app’s paid version.


