 Email article
A lot of users say that Windows 8 is a relatively safer system compared with the older versions of Microsoft products. You might get a lot of good reviews of Windows 8 from the salesmen when you are shopping for your new PC. They might tell you Windows 8 has a great interface, stability, tons of free apps, etc. I got Windows 8 not only for these reasons but also because of the Windows Defender feature. Many computer users don’t trust free antivirus software and sometimes spend so much money for monthly computer maintenance. But if you own a computer with Windows 8 installed and you are not you don’t have extremely sensitive data stored on your computer, just turn on the “Windows Defender” feature and try it out. Windows Defender will give your computer full protection and detect all kinds of viruses, as it has a real-time checking function. If you are a Window 7 user, don’t worry about updating the system to get yourself Windows Defender because the built in Windows Defender in Windows 7 plus MES (Microsoft Essential Security) will give you the equivalent of Windows 8 Windows Defender. For the rest of this article let me give you a tour of how to turn on Windows Defender and fully use it in Windows 8.
BEFORE WE BEGIN
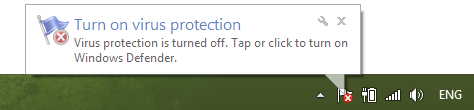
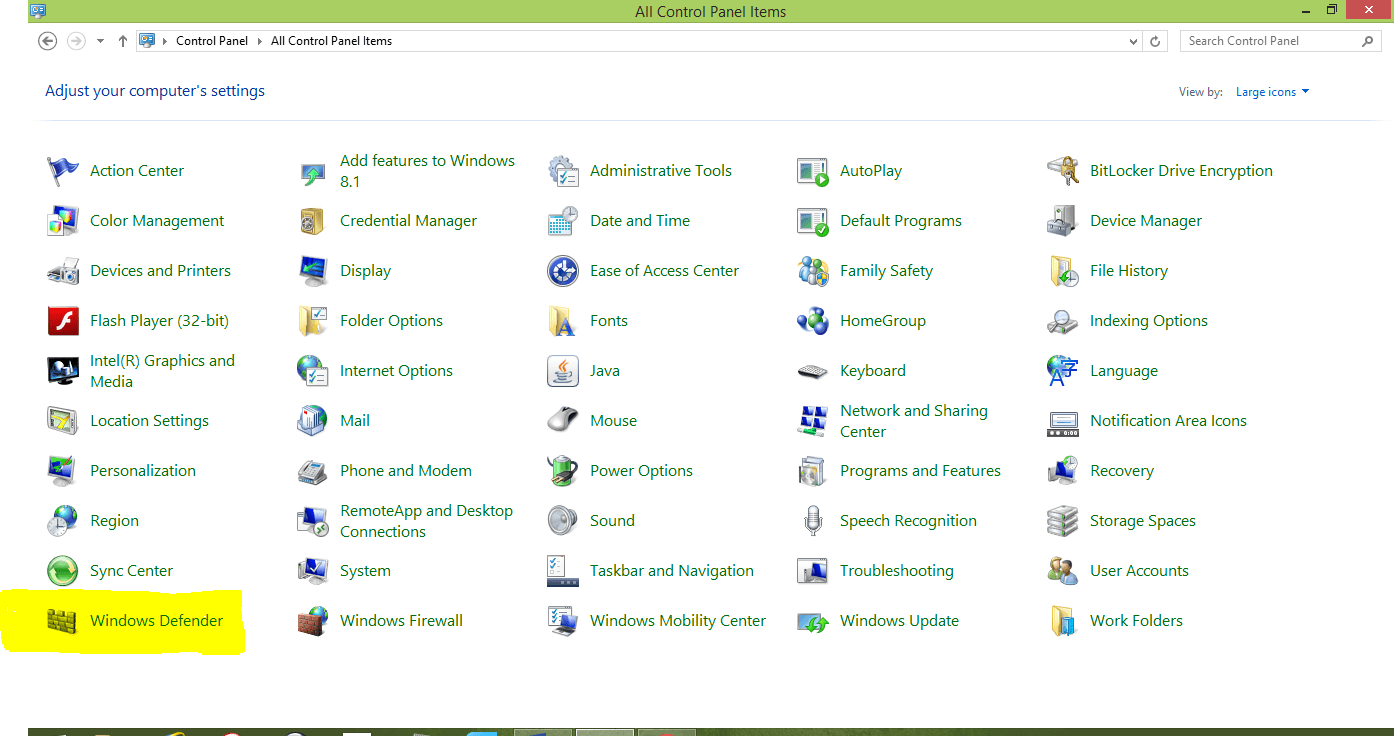
Windows Defender is a modest real-time protection antivirus software because it is turned on only if you don’t have any other antivirus software installed on your computer. As you can see in the picture below, my PC is running without any antivirus software, so it shows a red cross in the “Action Center”. What we need to do here is to go to “Start” and select “Control Panel”. Make sure you are in the Category view, and then you can see “Windows Defender” on the list. Click on “Windows Defender” and now you are good to go.
STEP BY STEP INTRODUCTION
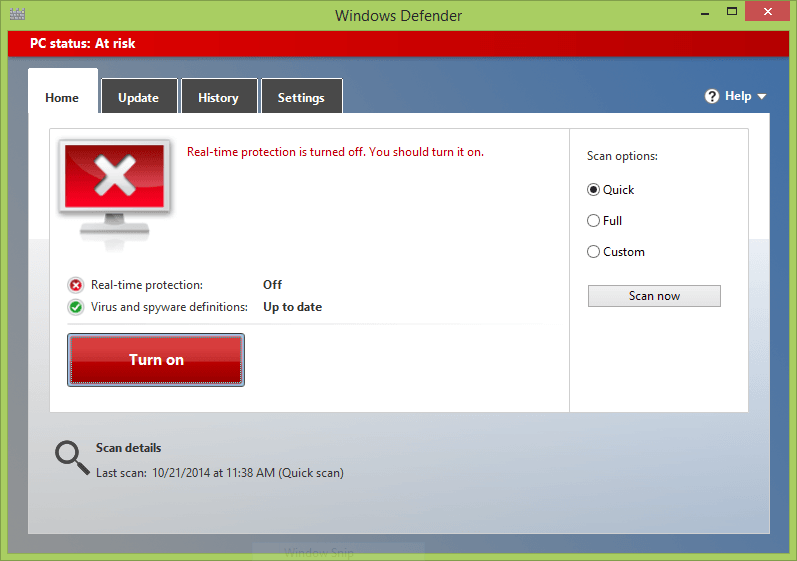
Since you haven’t turned on your “Windows Defender” protection yet, it will show you a big red cross on the front page. Click on the red button “Turn on” and switch on the “Real-time protection” as shown below.
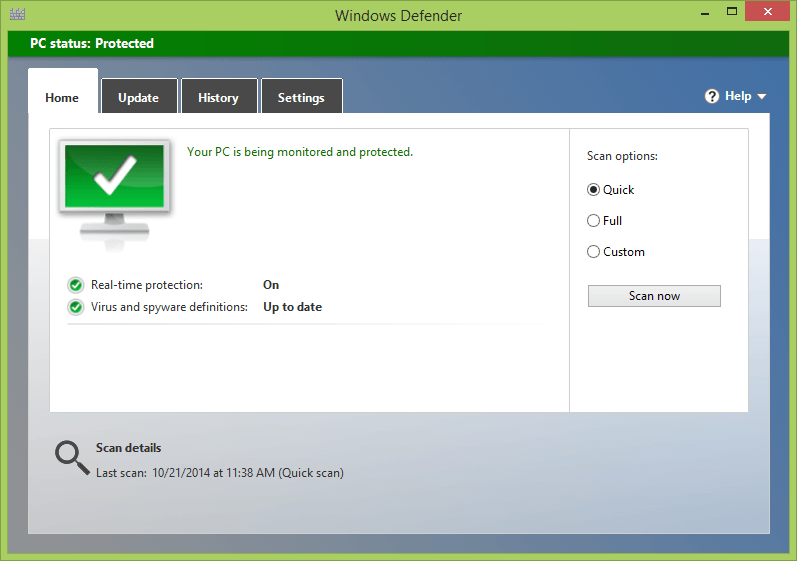
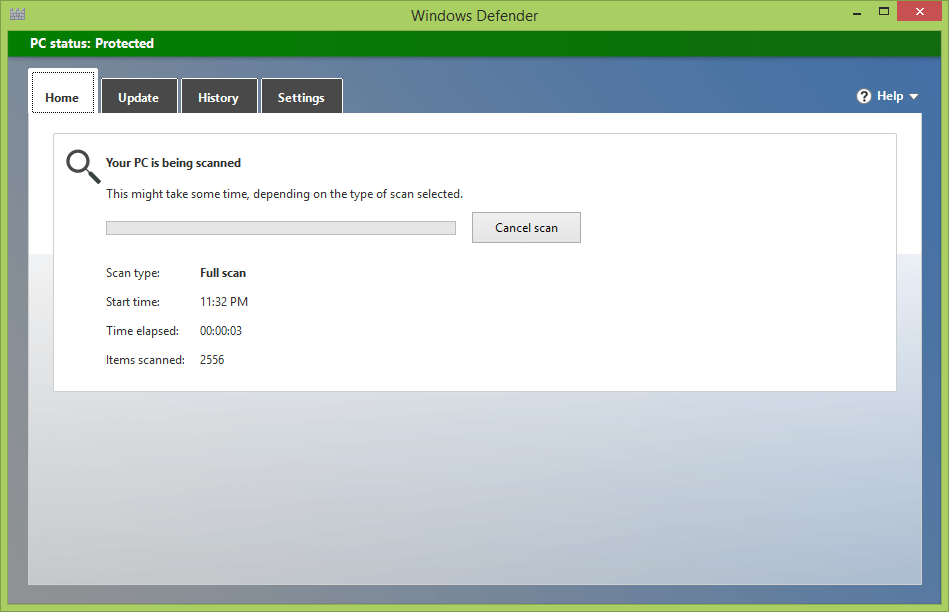
There are four selections on the top bar: “Home”, “Update”, “History”, and “Settings”. If you are on the “Home” section you can choose “Scan options” on the right sidebar. You can do a “Quick” scan for a regular routine check for easily infected files. You can also do a “Full” scan once in a while or if you feel like something is wrong with your computer and an overhaul is necessary. Of course you can do a “Custom” scan for some specific hard drives and folders. Running a “Quick” scan is shown below.
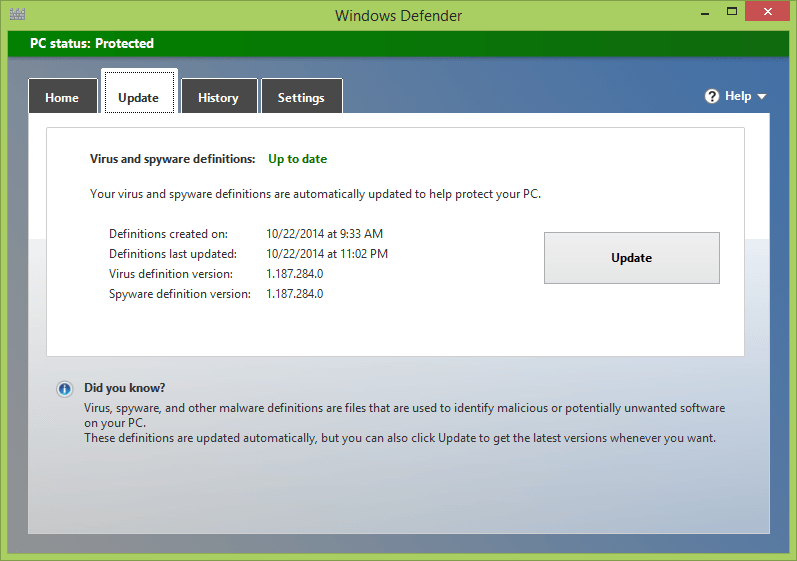
If you move onto the “Update” section you can check if your virus and malware definitions are up to date. You can always manually hit the “Update” button, and there is also an alternative way to update though “Windows Update” (if your “Windows Update” is turned on, it will update your definitions automatically).
Clicking on the “History” section, you can see a list of detected viruses and the actions you can take towards those viruses. For example, you can select “Quarantined items” and click on “View details” to see the record. You can also delete or restore the items.

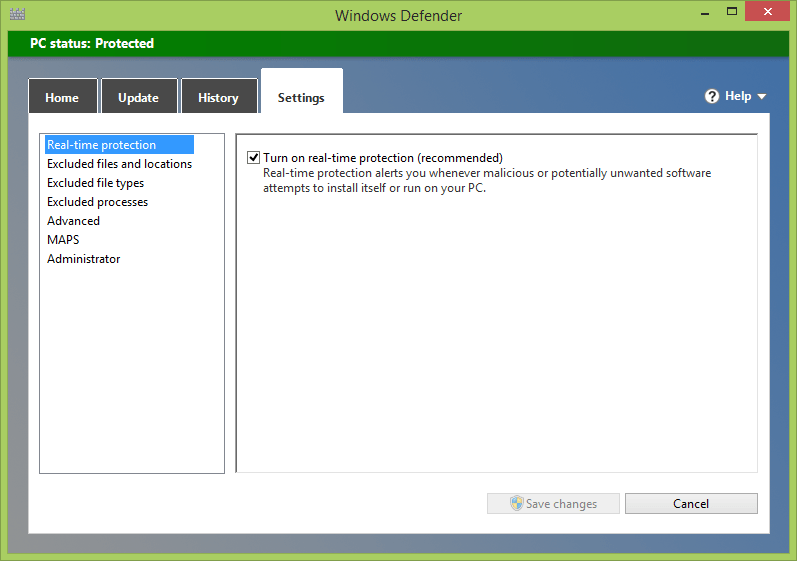
In the “Settings” section, we can take a look at the selections on the left sidebar one by one. With “Real-time protection” you are recommended to check the “Turn on real-time protection” option to gain real-time protection. That is, Windows Defender will constantly be watching out for attempted virus or malware downloads, phishing, and that sort of threat.
In the “Excluded files and locations” section, you can choose which files and folders to exclude during a scan, which will accelerate the speed of the scan. But you have to be sure the item you select is not infected first, so you should only exclude files or folders that you know are 100% clean.

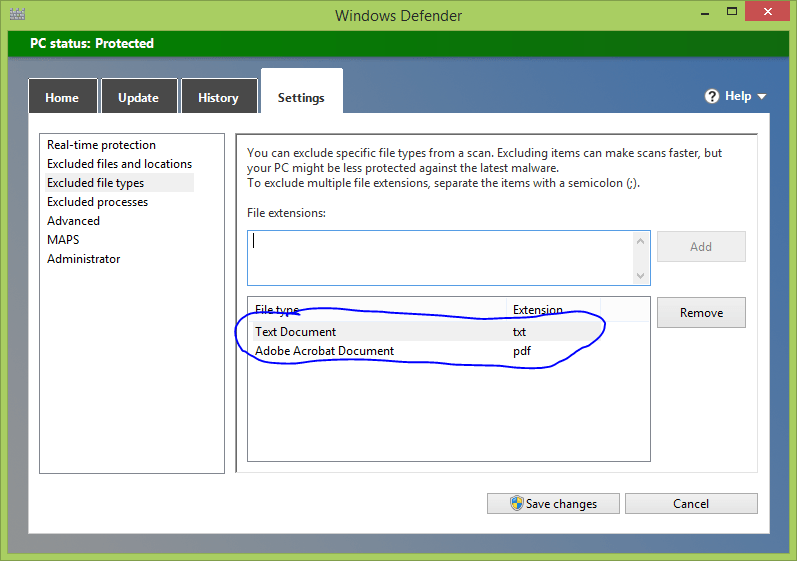
In the “Excluded file types” section, you can add entire file types that will be skipped during the scan. For example, you could type “.txt; .pdf” in the upper box and it will show you the results in the lower box. Anything in your computer that has one of these extensions will not be scanned. You can always remove these items.

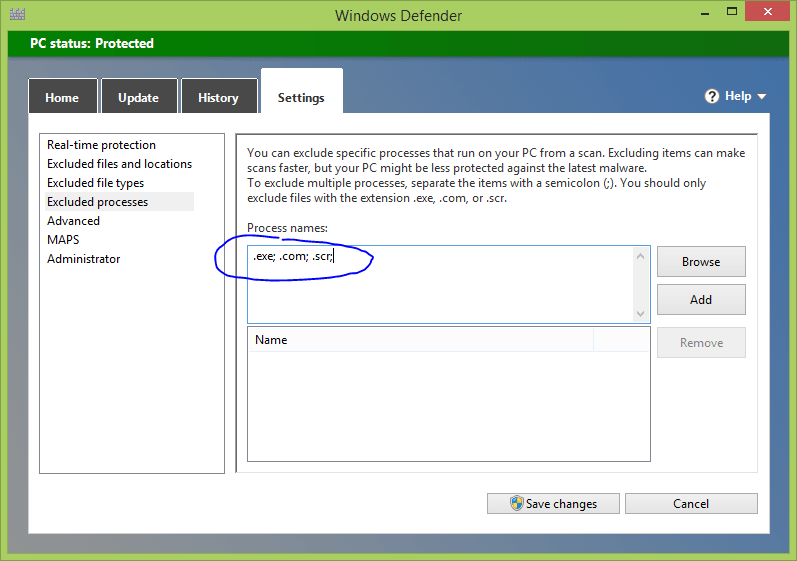
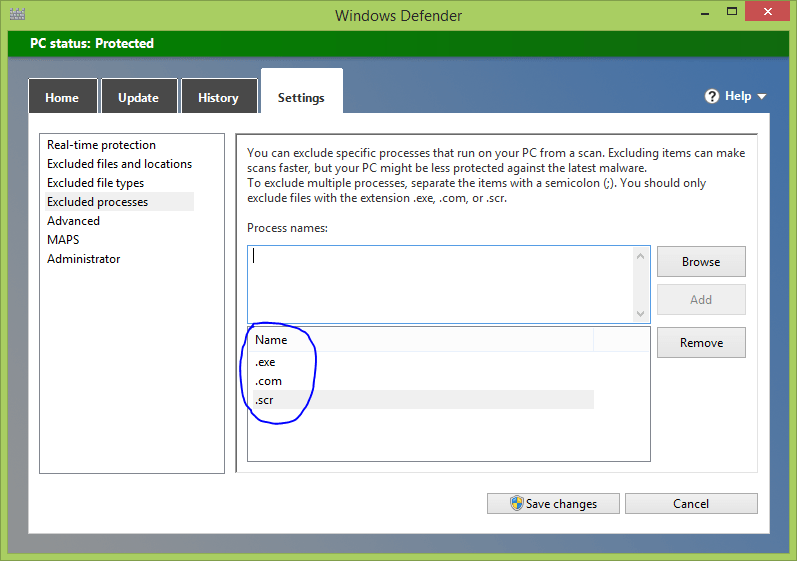
In the “Excluded processes” section, you can add specific processes that will be skipped during the scan, which is similar to the “Excluded file types”. You can do the same thing for this section as shown above.
In the “Advanced” section, you will have to choose from among multiple choices.
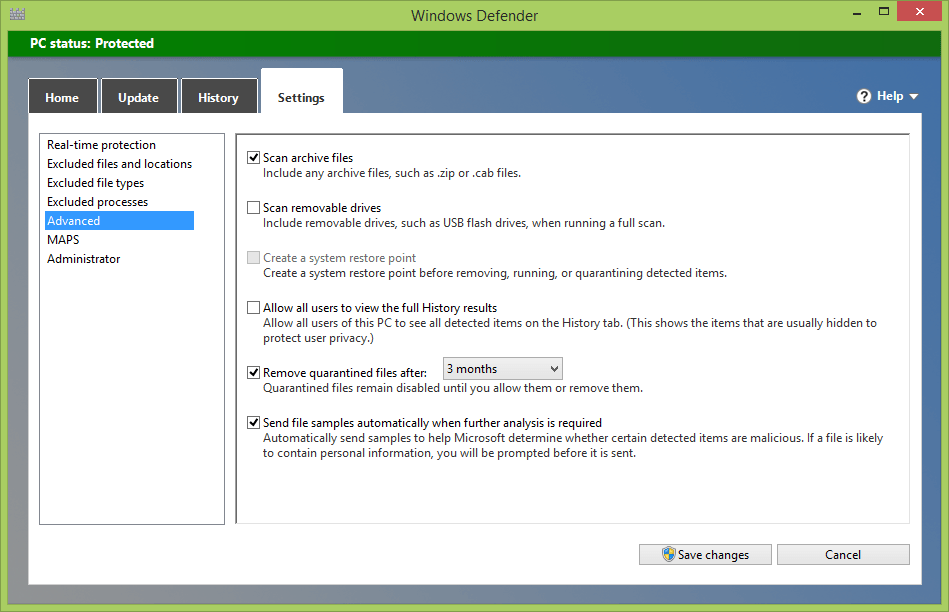
- Some viruses might reside inside archive files such as .zip, .rar, or .iso, so you might want to check the “Scan archive files”, for example.
- If you don’t want to put your computer in jeopardy when a potentially infected USB flash drive is inserted, you’d better run a thorough scan before you open it. In such cases you might want to check the “Scan removable drives” option.
- If your computer is running in a healthy condition you can set a restore point that can take you back to that point if your computer turns into a mess in the future. This is like a time machine. You can choose this option only if your “System Protection” is turned on (you can do this by right clicking “Start” menu->”System”->”System Protection”->”Configure”->”Turn on system protection”).
- If you ever want other user accounts to be able to view all the records regarding protection history, go ahead and check “Allow all users to view the full History results”.
- If you don’t think the quarantined files will matter in the future, you can always choose to delete them automatically after a certain period, say “3 months”.
- If you are confused about whether some files are malware or viruses, you can check “Send file samples automatically when further analysis is required” to let experts in Microsoft analyze those files for you.
In the “MAPS” (Microsoft Active Protection Service) section, you can choose to cooperate with Microsoft if you want to share your information. If a rare virus or malware is detected on your PC and you send the information to Microsoft, this will benefit tons of other users, and vice versa. You can choose “I don’t want to join MAPS” to not share anything. Or choose “Basic membership” or “Advanced membership” depending on how much you want to share.

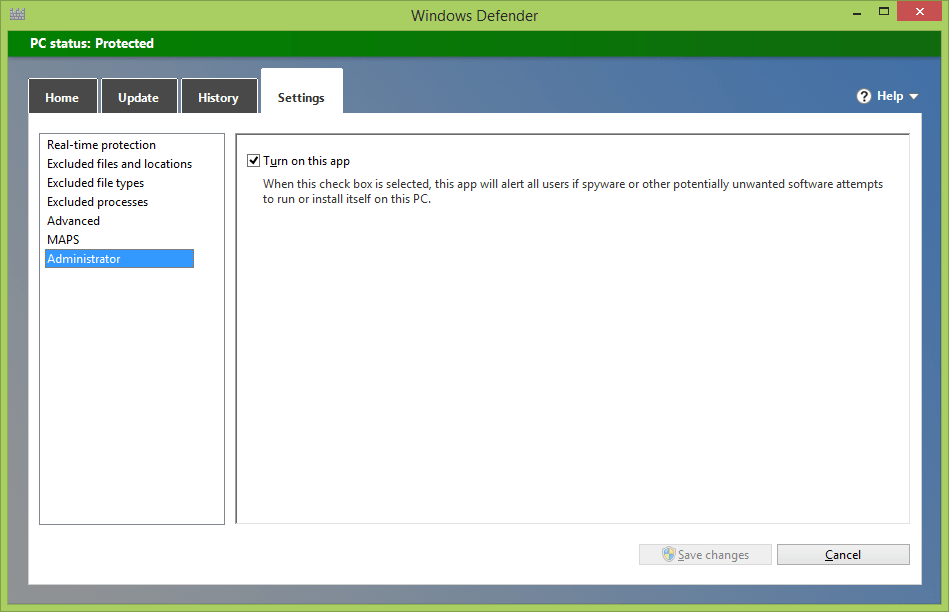
Last but not least. In the “Administrator” section, you will be alerted when there is a threat detected on your PC if you check “Turn on this app”.
CONCLUSION
Running the built in antivirus software Windows Defender will save you trouble because you don’t have to spend time searching for just the right one for your PC and it will cause no compatibility issues. Windows Defender is a good choice for easy, casual computer use.


