By default, Dropbox has a built-in option that lets you set the visibility and expiration date of your file links. The problem is the said option isn’t available for free users. So unless you choose to upgrade to Dropbox Pro, you won’t be getting access to any of these options. It’s a bummer, isn’t it?
Fortunately, there’s an alternative method that you can avail for free. If you wish to learn how, just read on.
How to add a password to a Dropbox link
- Open your web browser of choice. You can use Chrome, Firefox, Opera, etc.
- Now, go ahead and click this link to go to the homepage of “Passdropit” – a free web application that lets you add passwords to Dropbox links. The said web app also offers premium features that you can avail by upgrading to Pro.
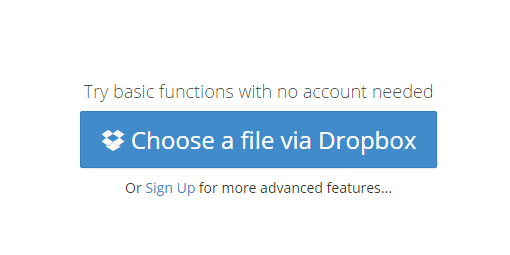
- Anyways, with Passdropit, you don’t really need to sign in or sign up for an account. Once you’re on its homepage, just click the “Choose a file via Dropbox” option.
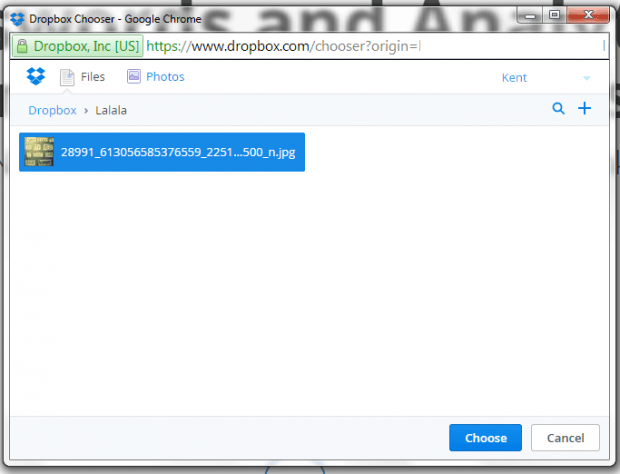
- After which, a smaller window will open and you will be taken to your Dropbox account.
- From your Dropbox file list, just choose or click the file that you want. Remember, you can only select one file at a time. You also cannot select folders.
- Click “Choose” to confirm.
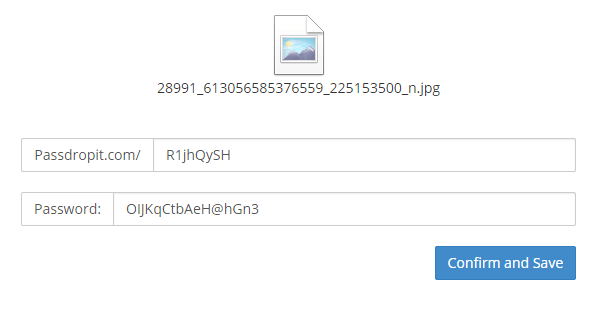
- You will then be taken back to the web app’s page. From there, you’ll get the option to edit your Dropbox link with password. You can also change the default password and replace it with your own. To proceed, click “Confirm and Save”.
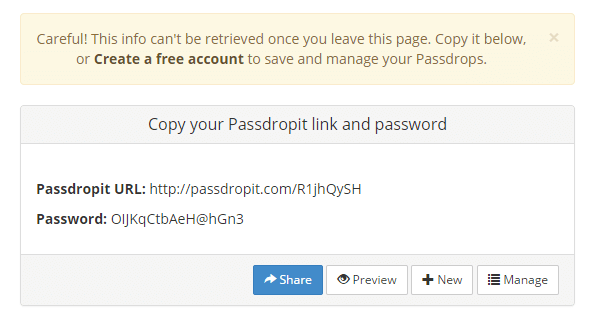
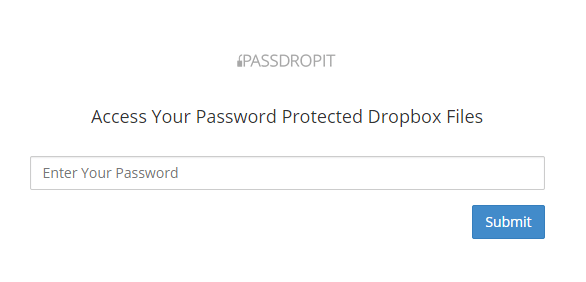
- So that’s it. Passdropit will give you your Passdropit URL and password. Give the URL to your recipient and make sure that your recipient knows the password to your link. If not, he or she won’t be able to view the content of your link.
So that’s it. You’re done.

 Email article
