Speech bubbles are an editing option with which you can add speech to your images. The freeware Paint.NET does not include any speech bubble option to select from, but you can add one to the program with a plug-in. The Dpy plug-in includes the Speech bubble editing option.
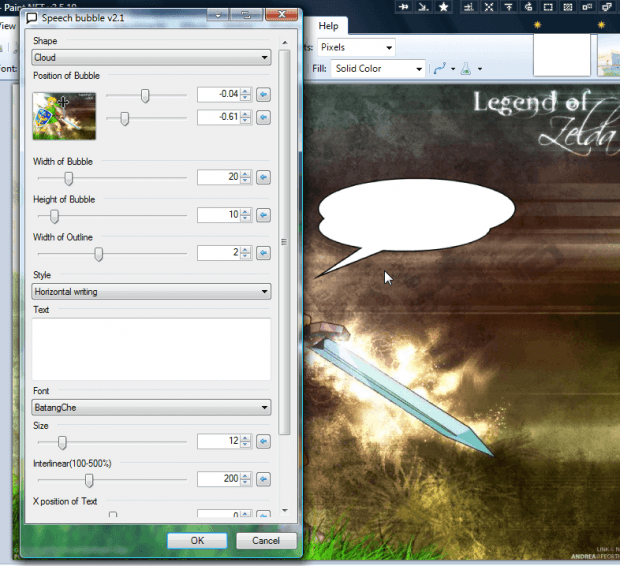
Open this page on the Paint.NET forum to add the Dpy plug-in to Paint.NET. There click dpyplugins8.1.zip to save the Zip to Windows. Then right-click the Zip, select Extract All and extract the Zip to the Paint.NET Effects folder. Open Paint.NET, click Effects, Text Formations and Speech bubbles to open the window below.
Before you add a speech bubble to the image, select colors for it by pressing F8. That will open the palette below from which you can choose a primary and secondary color for the bubble by selecting colors on the circle. The primary color will be the text, and the secondary color will be the bubble’s background.
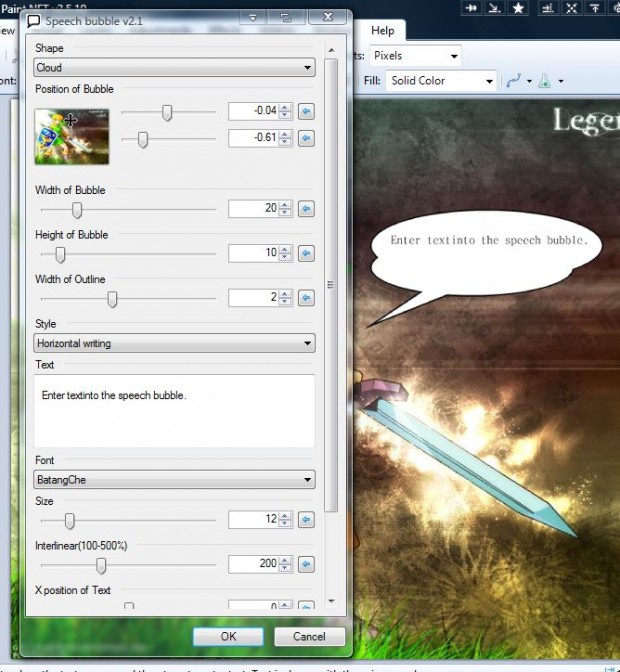
Then select a bubble shape from the Shape drop-down list in the shot directly below. There you can select Rectangle, Cloud and Elipse for the speech bubble.
Next, enter text into the bubble in the Text box. Below that you can select a variety of fonts for the text. If the text doesn’t fit within the bubble, you can adjust its size by dragging the Width of Bubble or Height of Bubble bars. Alternatively, select an alternative font size.
Then you should move the bubble into position on the image. Dragging the top bar moves the bubble left and right. You can drag the bottom bar to move the bubble up or down the image.
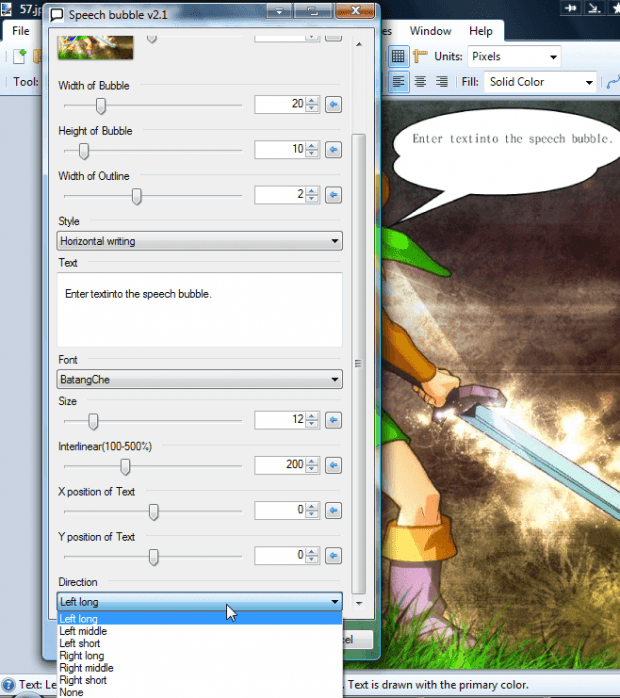
At the bottom of the window there is also a Direction drop-down list. Click that drop-down list to select alternative directions for the bubble.
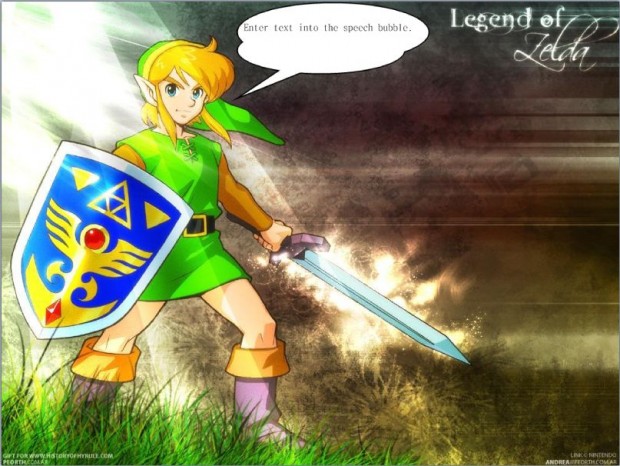
Click OK to close the window and add bubble to picture. You can save the image by selecting File > Save or Save As. Below is an example of the output you can get with the Speech bubble option.
With this option you can now add speech bubbles to comic strip images, desktop wallpapers and your fave photos. It’s a great option for adding text to images.

 Email article


