Tables are a great addition to MS Word documents. Aside from displaying statistics, you can also lay out document templates with tables. You can add tables to documents with Word’s Insert Tables option, but that inserts tables with fixed column and row widths. The Draw Table option is more flexible. With that you can quickly draw out tables onto documents without fixed column widths.
Click the Insert tab and select the Table option to expand the menu in the shot directly below. The menu includes a Draw Table option. Select that option to draw a table in the document.
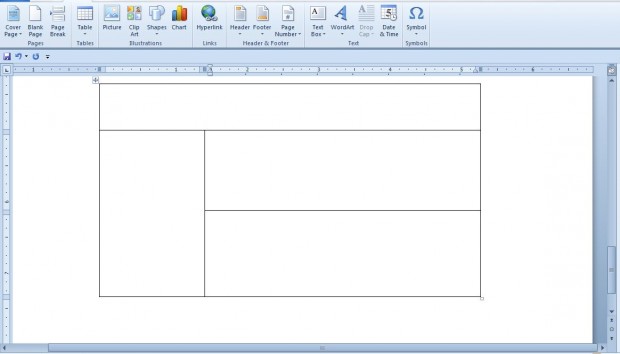
Selecting Draw Table switches the cursor arrow to a pencil. Hold the left mouse button and drag the pencil cursor to expand a rectangle in the document. That rectangle will be the table border.
Now draw out lines within the rectangle to add table columns and rows. Drag the pencil from one side of the table to another to add new columns and rows. Enter text and insert pictures into the cells.
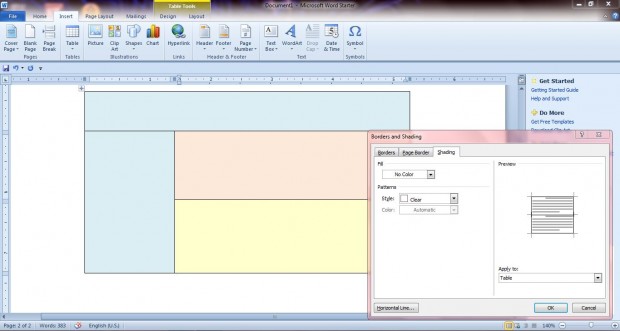
To further customize the cells, right-click inside the table and select Borders and Shading. That will open the window shown below. Click the Shading tab and select the Fill box to choose new table colors from a palette. Then click the Apply to drop-down list to add the colors to either the table or selected cell.
Click Design on the Table Tools tab to open a gallery of table styles. There you can add a variety of formatting templates to the tables. Click the arrows on the right of the gallery to scroll through the styles, and choose one to add to your table.
Drawing tables is a good way to set up document templates. However, you’ll need to remove the table borders from a finished document. Click the Borders tab in the Borders and Shading window and select None to remove them.
Draw Table is the best option for adding tables to Word documents. It’s more flexible than the Insert Table option. With the option you can quickly add formatted tables to your documents and convert them to page templates.

 Email article


