 Email article
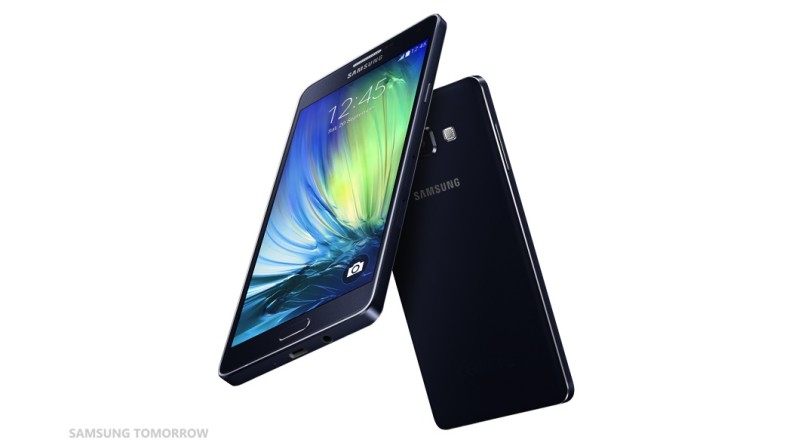 If you own the Samsung Galaxy A7-A700FD smartphone and want to learn how you can install some nifty root-only applications from Google Play, you must read the steps below. There’s plenty of sweet apps that can help you boost the performance by overclocking the CPU, removing bloatware, increasing battery power and more. You’ll need to get stuck into Chainfire’s work after the jump before that happens for you, though.
REQUIREMENTS
There are four different Samsung Galaxy A7 smartphone model numbers. You can only flash the file in this post by using the A700FD variant. Failing to do that can lead to bricking which requires a lot of research to try and fix.
This guide is made for those A7 users running Android 4.4.4 KitKat. The reason is because that’s the exploit Chainfire has found that’s vulnerable. We don’t know if Google will patch this exploit in future over the air software update like the Android 5.0 that’s coming soon. Therefore, it’s a good idea to search for a new guide when that happens.
BEFORE WE BEGIN
- There’s a few things you need. The first is the Samsung USB Drivers which you can pick up from here.
- Now make sure the USB Debugging Mode is enabled. You need to go to the Settings > Developer Options > USB Debugging for that.
- Sometimes the Developer Options menu is hidden. Navigate to Settings > About Device > tap the build number seven times to fix that.
- You must have a Windows PC to use the CF-root package. It won’t work on Mac or Linux.
- You automatically void any warranty that’s still going by following the guide. You can get that back again by following one of the ways to unroot the A7 smartphone.
HOW TO ROOT THE SAMSUNG GALAXY A7 SM-A700FD RUNNING ANDROID 4.4.4 KITKAT
- Download the CF-Root package for the A700FD here.
- Download Odin from here.
- Download both packages to the desktop and extract the files (unzip them).
- Find the executable Odin file after unzipping that file and launch it on the computer.
- Completely power down the A7 phone and boot it up in Download Mode by pressing the Volume Down + Power + Home keys.
- You might need to press the Power button one more time after you see the warning triangle pop up.
- Connect the A7 to the computer with the USB cable.
- Click the PDA button and upload the rooting file from the extracted file on the desktop.
- Click the Start button when you are ready.
- It will say pass on the screen and automatically reboot the device when it’s done.
That’s it! Now you can start thinking about flashing a custom ROM that’s available for your handset, installing root-requiring applications, or supercharging the performance.


