 Email article
Handling images in Word can be quite tricky. For example, you’ll need a workaround for adjusting image transparency. It can also be difficult to move an image to any place or position that you like. As for the latter, there’s no need for you to worry because this post will teach you how to free move a picture in MS Word.
How to freely move a picture in Word documents
- Open Microsoft Office Word.
- Create a new blank document.
- Go to the “Insert” tab to insert a new image or photo.
- Now, after you’ve inserted the image, try clicking on it and moving it to any position that you like. As you can notice, the position of the image stays locked so you cannot move it somewhere else.
- To move that image freely, right-click on the image and then on the context menu that appears, go to “Text Wrapping” and then choose “Behind Text”.

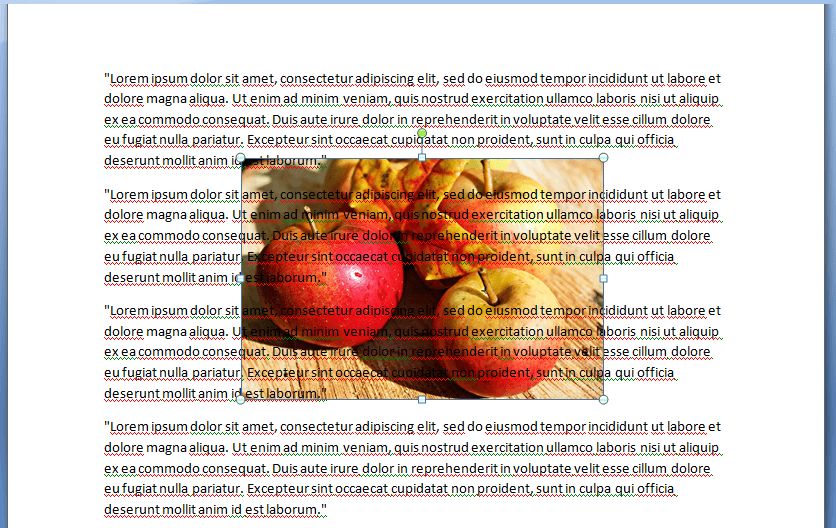
- After which, just click and drag the image to anywhere that you like. This will allow you to achieve a “behind the text” layout wherein the text will overlap the image (see sample below).
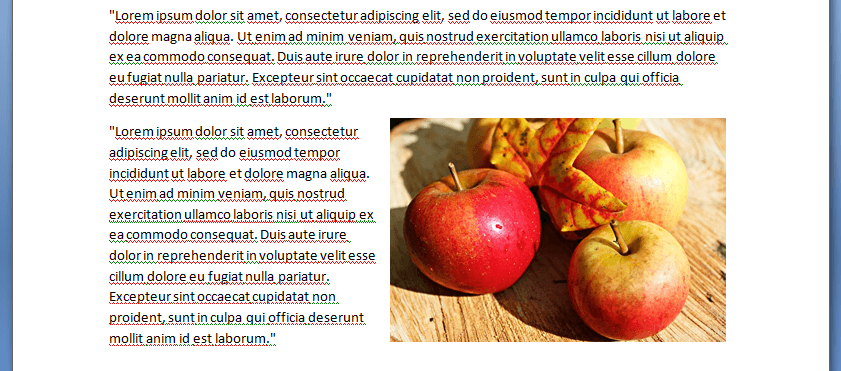
- Now, what if you don’t want the text to overlap the image? Well, in that case, you can choose the “Through” text wrapping option so that you can achieve a formatting that’s similar to the one being shown below. Of course, you’re still able to move the image freely so it doesn’t get locked in just one position.
All in all, just feel free to experiment with Word’s different text wrapping options so that you’ll know how to properly format your images alongside with your texts.
You can apply this method if you have Microsoft Office Word 2007 or higher.


