 Email article
Project labels are very useful when it comes to organizing your Trello lists and cards. They give you more freedom to sort out your projects in any way that you want. They also help you find certain cards and lists faster than usual.
The thing is you can’t really apply labels to your projects. You can use the color-coded type of labels but they’re not really that useful especially if you want to search for certain boards, lists or cards.
How to add project labels to Trello boards in Chrome
- Open your Chrome browser and then install the “Projects for Trello” extension by clicking this link.
- After doing so, just go and log in to your Trello account. Open any of your existing boards.
- Go to a list or create a new list.
- Next, select a card or create a new card.
- When editing the card title, do not forget to add your project labels before the actual title. Make sure to enclose your labels with curly brackets. For example, you can add the “Project” and “Business” labels to your card by typing {Project} {Business} before the card title. Feel free to view the image below for sample Trello project labels.
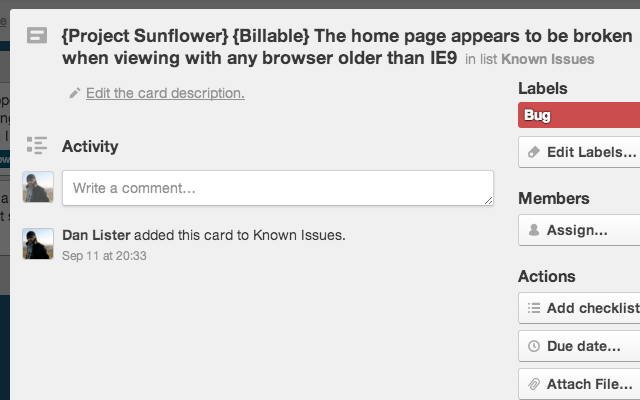
- So after adding labels to your card or project, do not forget to click “Save” and the assigned labels will be automatically picked up and shown as badges on the lower left corner of your card.
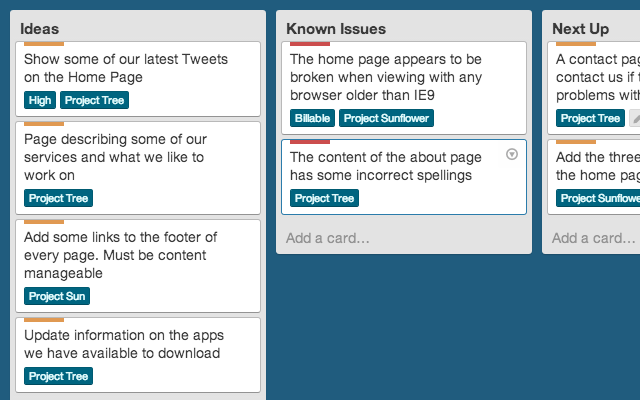
- To search for cards and lists using the project labels, just the type the label on the search bar. The results will be immediately shown and you can just choose the search result entry that you want.
That’s it. You’re done.


