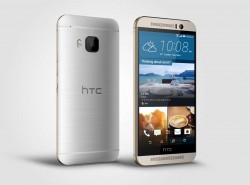
 If you have just finished installing TWRP recovery on your HTC One M9, the next thing you’ll want to do is backup the stock system partition just in case you have a recovery issue. Many experts recommend doing this as the number one precaution to take after flashing the custom recovery. The reason for that: HTC have developed a way to block the OTA updates which means mounting the system as read-write doesn’t work because it takes away the compatibility with OTA updates.
In layman’s terms, if you do unlock the HTC One M9 Bootloader and flash the Team Win TWRP Recovery you lose some features you would’ve previously had, one of which is backing up the system partition. In turn, that means you need to back up the stock system and run a stock recovery to have official future OTA updates flashed with ease.
The team over at TWRP recovery have come up with a fix for that. Now you can use the beta version of TWRP recovery to take a full system backup. You can then flash that back via fastboot whenever you wish to restore the data. If you go back to the guide I made for installing TWRP recovery on HTC One M9 you’ll see I included the beta version there also, so it’s not confusing–we don’t use any other version.
HOW TO BACKUP AND RESTORE HTC ONE M9 STOCK SYSTEM PARTITION
- Make sure you have the beta version of TWRP recovery.
– link is available about half way down the page. - Make sure the TWRP recovery is still on read-only. It is by default, so unless you changed it away from that, you don’t need to worry.
- Completely Power down the HTC One M9 by holding down the Power key for 5+ seconds.
- Boot the M9 up again in Bootloader Mode: hold Volume Down + Volume Up + Power keys down together at the same time and wait until the screen changes to Bootloader Mode.
- Scroll down and highlight Boot to recovery Mode.
- It will now put you in the custom recovery mode.
- Navigate to the backup option from the TWRP recovery menu once you are inside.
– look at the “Select Partitions to Back Up” and make sure the system is selected. - Now select the backup option and it will take the full NANDroid backup.
- It’s a great idea to copy that backup over to the Windows PC so you have a copy on your phone and another copy on the PC.

 Email article


