 Email article
OpenOffice applications have a variety of options. Its Drawing toolbar includes options that you can add shapes to documents with. In addition, you can also add 3D effects to those shapes.
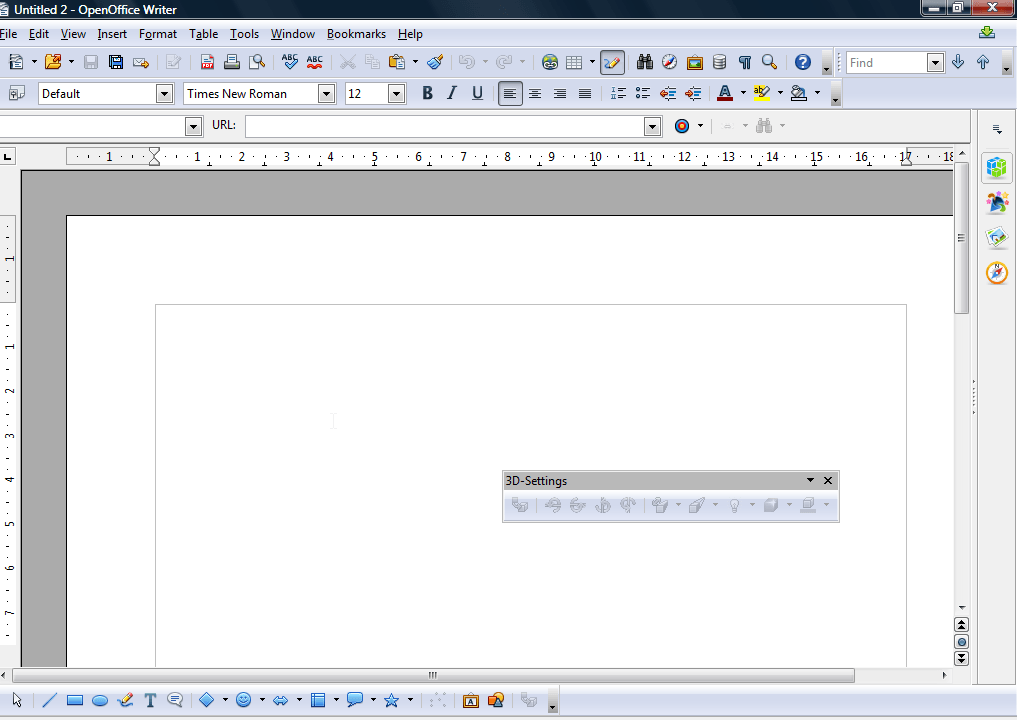
Open a OpenOffice application such as Writer. Then you’ll need to have both the Drawing and 3D-Settings toolbars selected. Click View > Toolbars to select those toolbars as below.
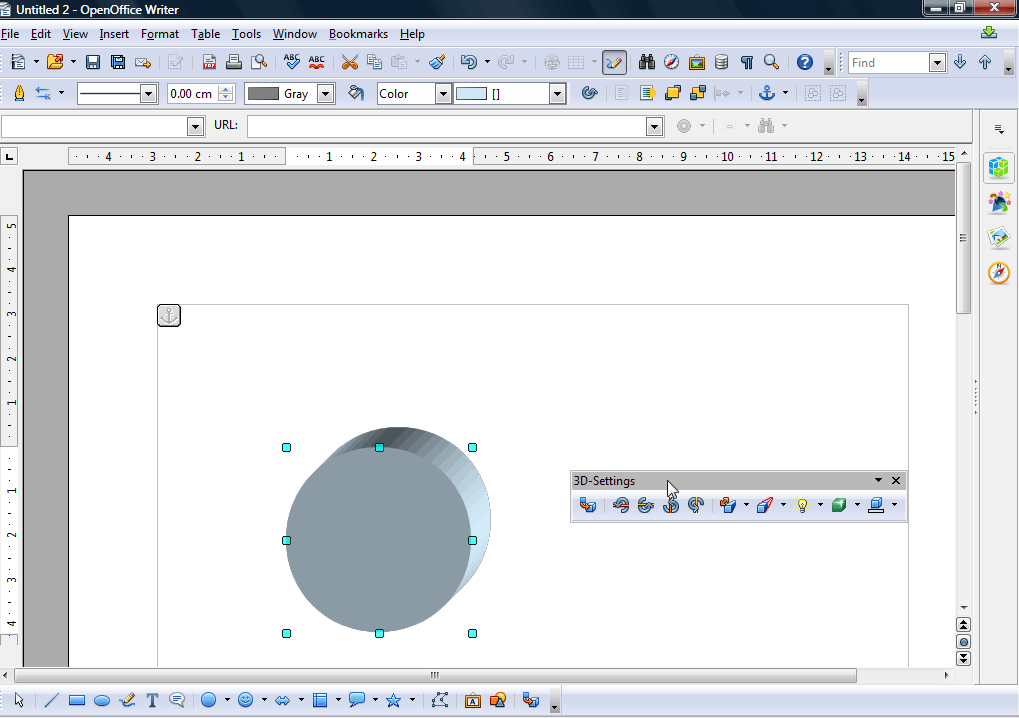
 Next, draw a shape onto a document page by selecting the Basic Shapes option from the Drawing toolbar. Click the shape to select it, and press the Extrusion On/Off button on the 3D-Settings toolbar to add 3D to it as below.
 Now you can adjust the 3D shape further with the toolbar options. Click the Depth button to expand the shape’s third dimension. You can select a value from the drop-down list or click Custom to enter your own extrusion depth setting.
Next, alter the 3D shape’s direction. Press the Direction button on the toolbar to select the options in shot below. There you can also select to keep the 3D shape parallel or add some perspective to it.

To adjust the shading, press the Lighting button on the toolbar. There you can select various light bulbs that effectively alter the lighting effect’s direction. Click the middle option to remove shading from the 3D shape.

As these are 3D shapes you can also adjust their angles. The toolbar includes a Tilt Down, Tilt Up, Tilt Left and Tilt Right option. Click those button to alter the angles.

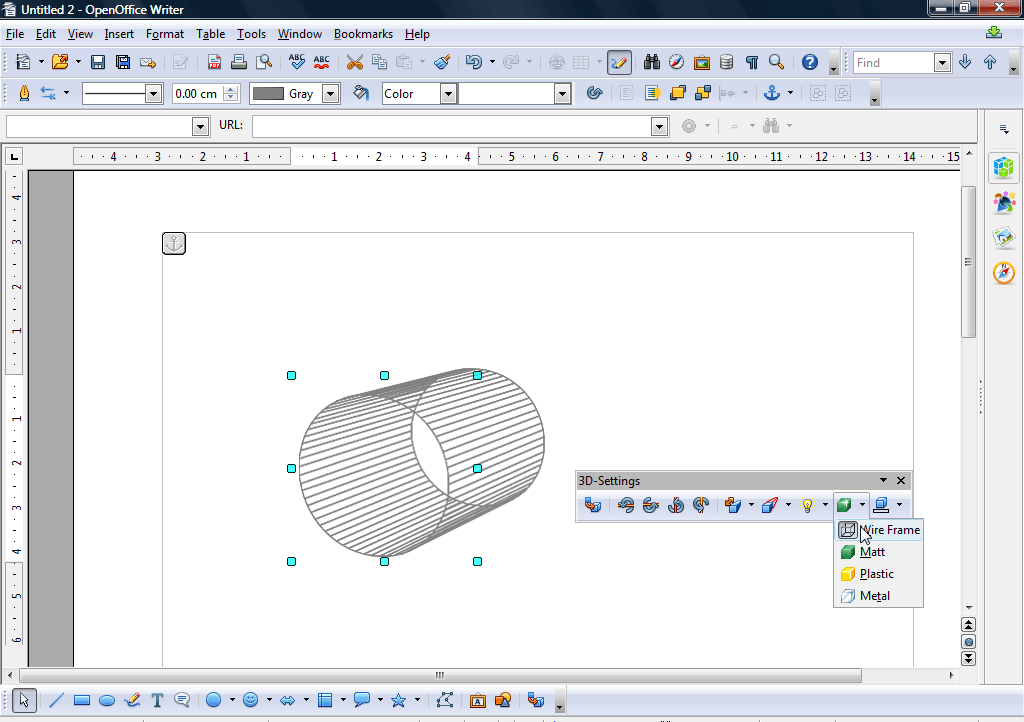
If you need wire frame shapes, click the Surface button. Then you can select various surface options among which is Wire Frame. Select that option to switch it to a wire frame shape as below.
So OpenOffice has a variety of 3D options on its 3D-Settings toolbar. With them you can now add a plethora of 3D shapes to document cover designs and diagrams such as flow charts.


