 Email article
 Evernote is definitely one of today’s best and most reliable cross-platform notepad apps. With it, you can create notes of all sorts and organize them into notebooks with tags. Of course, creating a note in Evernote is very easy. You can even edit your notes right after they’re published.
If you’re new to Evernote, then you might notice that every time you delete a note, it automatically goes into “Trash”. In the “Trash”, all of your deleted notes will be kept so you’re still free to view and restore them whenever you want. Now, what if you want to permanently delete that note? Well, in that case, all you need to do is to follow these simple steps.
How to permanently delete notes in Evernote
- First, log in to your Evernote account. It is recommended that you log in to the web version of Evernote instead of the one on your Android device.
- Once you’re logged in, just go to your “Notebooks” list.
- On your notebooks list, you can see all of the Evernote notebooks that you’ve created.
- Now, go ahead and scroll down to the bottommost portion of that list. By then, you’ll see the “Trash” section. It’s where you can find all of your deleted notes.
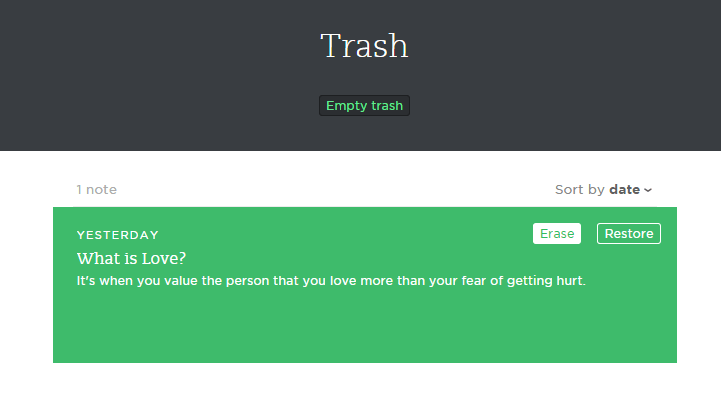
- Needless to say, just view the “Trash” section and browse the list to review the notes that you’ve deleted. Just click the “Empty Trash” option right below the title to permanently delete all of your notes.
It’s as simple as that.
Now, you might be wondering if you can also do the same on the Evernote app. Unfortunately, the “Empty Trash” option doesn’t appear on the mobile version. The only options available are those that allow you to view or restore each note separately so that’s why you need to use the web app.


