Text editors are extremely useful especially if you’re often dealing with plain text files and even codes. The thing is most text editors do not have advanced formatting tools and options so you often end up doing things manually like creating lists, changing the case of selected text to uppercase or lowercase, inserting lines, etc.
Fortunately, there are third-party tools that can help you with your text editing and formatting tasks. One good example of this is “List Numberer”. With this tool, you can easily add numbers as well as custom prefixes and suffixes to your text lists. It’s also portable so there’s no installation required.
How to automatically add numbers to text lists in Windows
- On your computer, click here to download and save the portable zip file for “List Numberer”. The said application supports Windows XP, Vista, 7 and 8.
- Once saved, use a file extraction tool (ex. WinZip, WinRAR) to extract the contents of the zip package. Save the extracted contents to your desired folder.
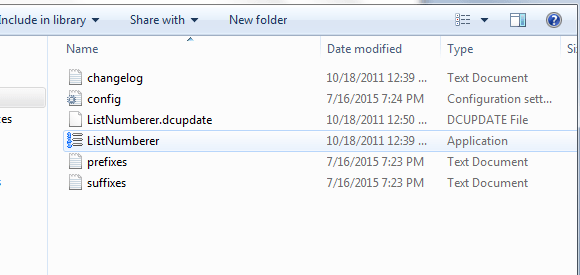
- Once extracted, open the folder for the extracted files and then open the “ListNumberer” application file.
- Now, go ahead and prepare the text that you wish to place on List Numberer. You can copy the text from its original file or simply create a new one using Notepad or another text editor.
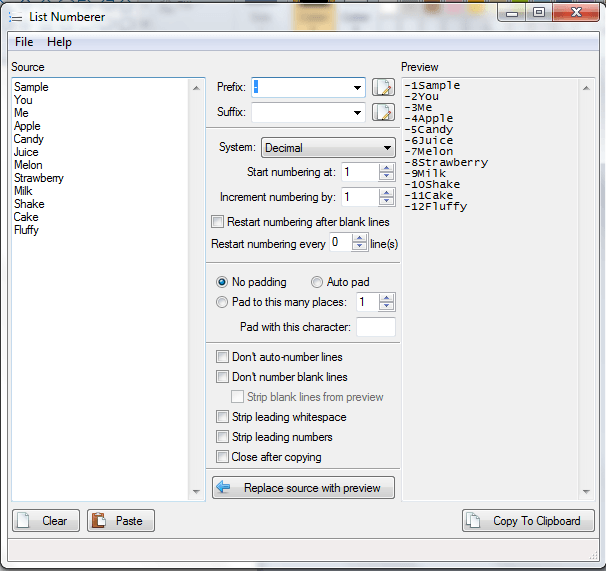
- On the List Numberer window, paste the text that you copied or simply type the text list on the “Source” box.
- Next, make sure to update your numbering preferences. Set your desired numbering system, set numbers with increments, etc. Check the rest of the options that you want.
- If you want to add a character right before the list number, go to “Prefix”. If you want to add a character after the list number but before the actual text, go to “Suffix”.
- As you continue to update your options, the output text on the “Preview” box will be automatically updated.
- Once you’ve achieved your desired outcome, simply copy the output text to clipboard and paste it anywhere you like.
So that’s it. You’re done.

 Email article


