 Email article
There are many web-based apps and tools that you can use to create presentations online. There’s Prezi, Google Slides, Canva and SlideRocket. Speaking of which, there’s also “Visme” – an online tool for creating stunning interactive presentations, web banners, infographics, etc.
What’s great about the said tool is that it’s free and easy to use. To create stunning presentations on Visme, here’s what you need to do.
How to easily create stunning presentations online
- First, open the Visme homepage on your web browser (ex. Chrome) and then click “Get Started”. Sign up for an account by entering your desired name, email and password. If you already have an existing account, just log in to your Visme dashboard.
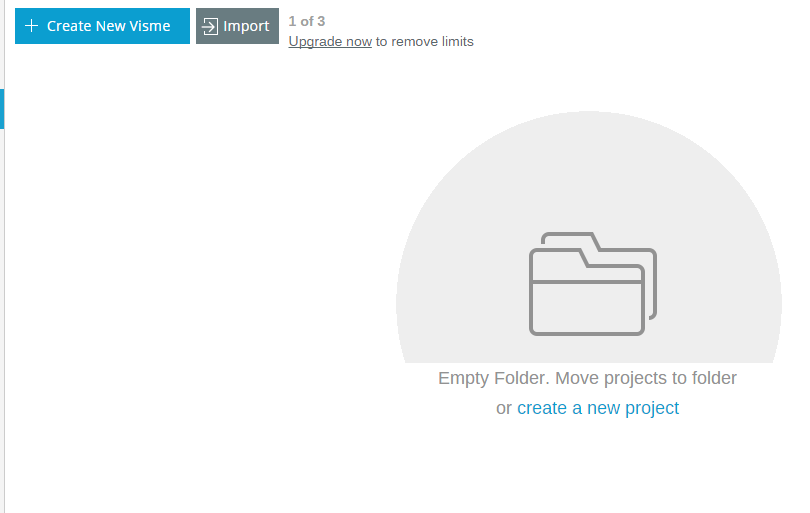
- After logging in, click “Create New Visme” or “create a new project” from the dashboard.
- Name your project and then click “Continue”.
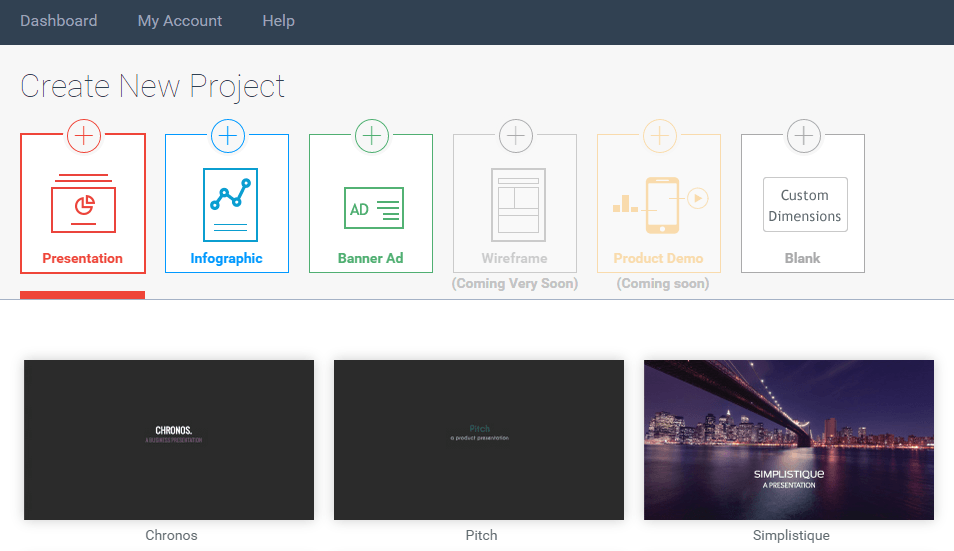
- After which, select your project type. With Visme, you can create presentations, infographics, banner ads or a blank document with custom dimensions. For this post, you need to select “Presentation”.
- Moving on, select your desired presentation theme or template.
- Next, you will be immediately taken to the presentation editor. In the presentation editor, there are a wide range of tools and options that you can use to create your interactive presentation.
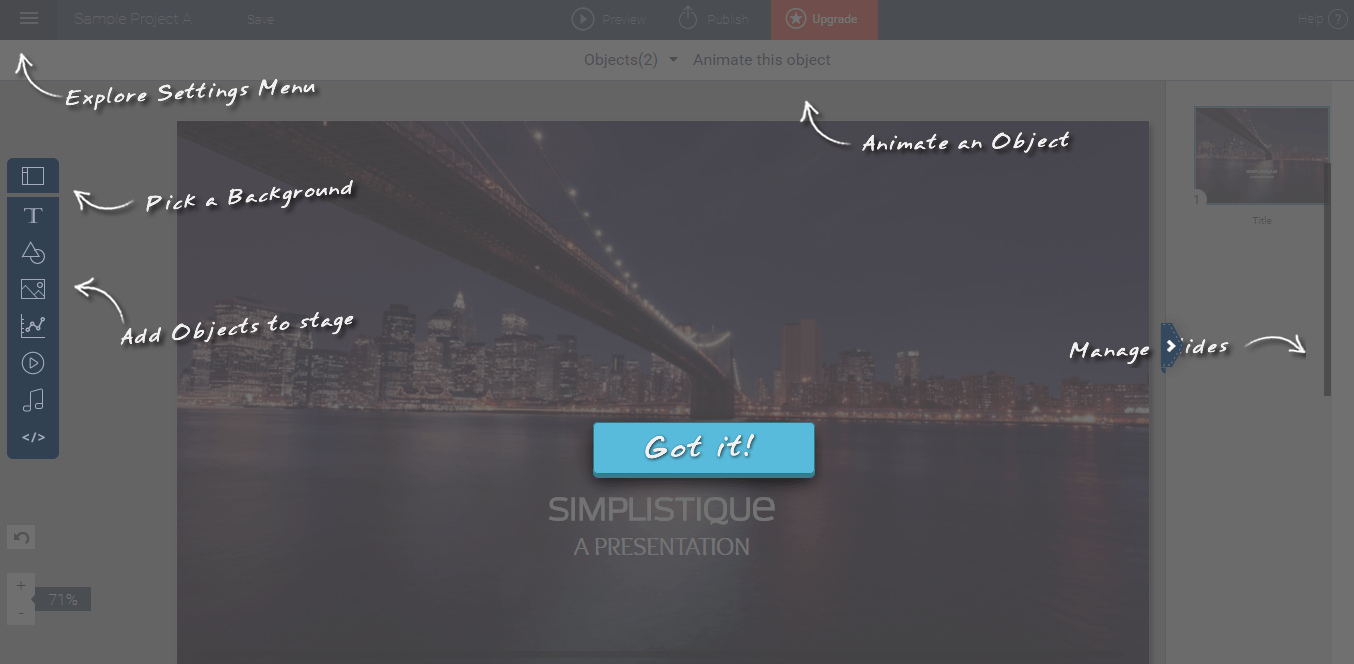
- On the upper left side, there’s the settings menu. Below the settings menu, there’s the toolbar for setting a custom background and adding objects. On the right side, there’s the section where you can manage your slides. You can also choose to animate the objects on your slides if you want.
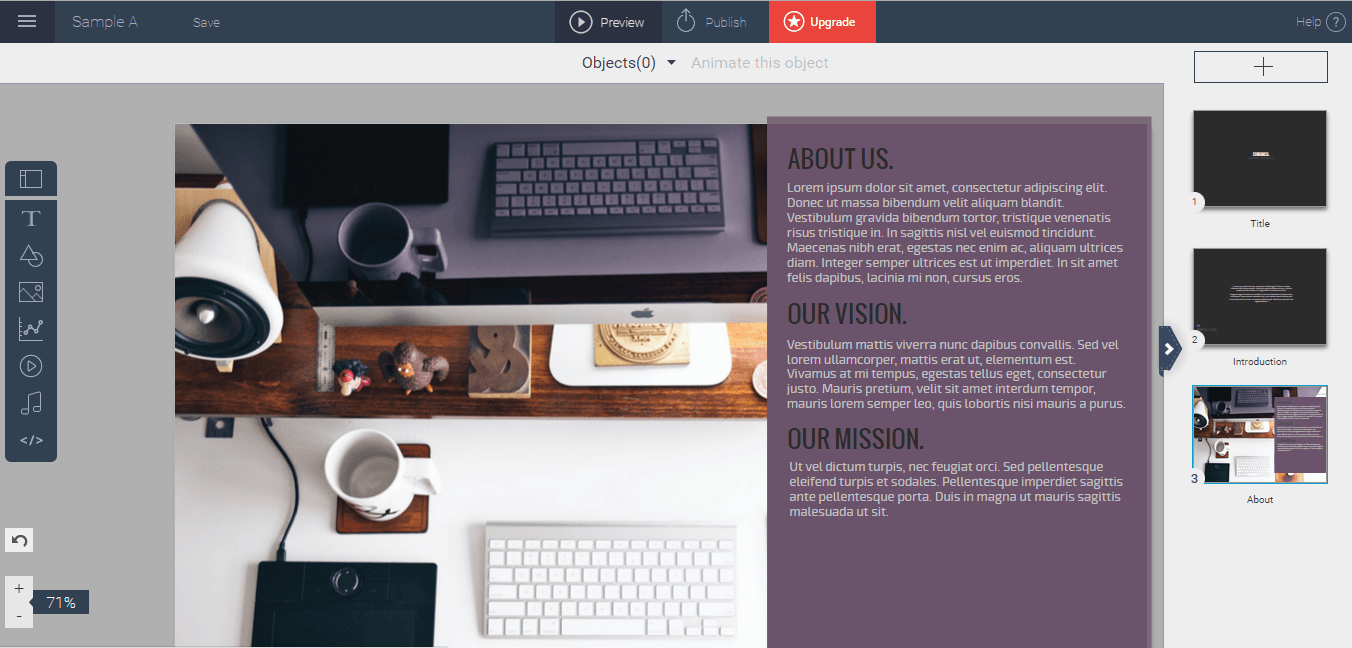
- Just feel free to explore and use the tools as you like. Be creative and think out of the box.
- Once you’re done creating your presentation, click “Preview” at the top navigation bar.
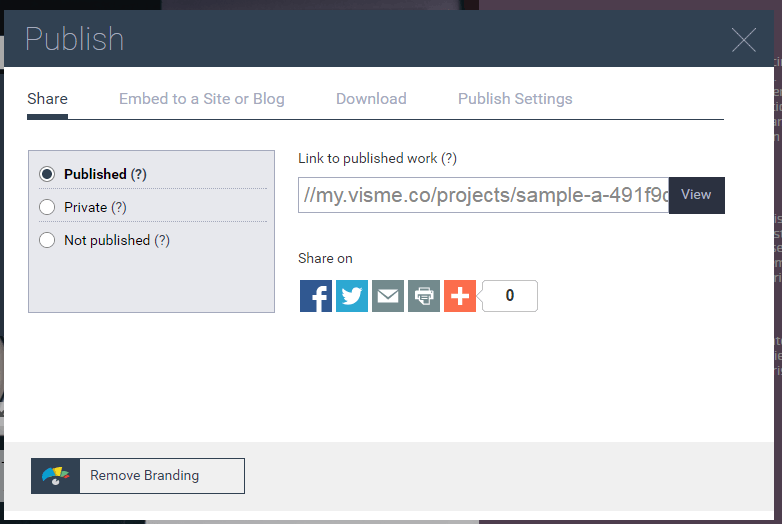
- Once you are fully satisfied with the outcome, click “Publish”. You may then choose to set your presentation to private or public. Once published, you may share your presentation to others via link. You may also choose to embed it directly to your website or blog.
So that’s basically it. If you still haven’t tried using Visme for creating interactive presentations, then go ahead and do so. It’s definitely worth checking out!


