 Email article
Electronic documents are becoming very important these days. People, instead of sending the scanned documents simply just mail the document. But there are some documents which require your signature as well. The problem here is that how we can sign a PDF document.
Here we are dealing with the problem of signing a document in a Mac.
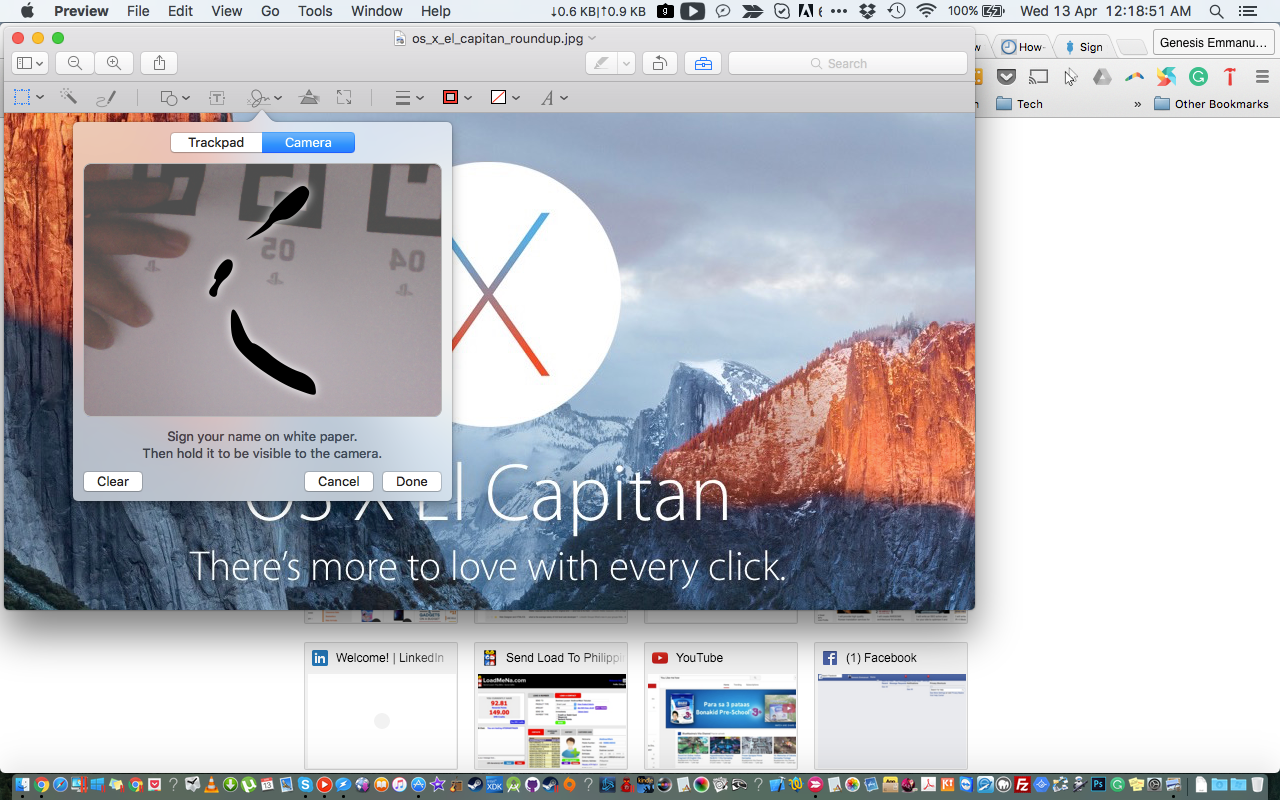
Signing a Document Using a Camera:
- At first, open the ‘Launch Preview’ then opens its ‘Preferences Window’. Simply click the option Signatures in the ‘Window Toolbar’, then click the option ‘Create Signature’.
- Now, simply take a piece of paper and sign your name on it and hold the paper in front of the Mac’s camera a few inches away.
- When your signature paper appears on the screen and roughly fills the ‘Preview Box’ and fits on the blue line, your signature text will be locked by the preview, if it feels good to you, click “Accept”.
- Now, your signature will appear in the ‘preview preferences list’ with a number of new signatures. You can add another signature name like your family name, or another name. Also, you can delete or add any signature name by using ‘plus’ or ‘minus’ symbol button at the bottom side of the window.
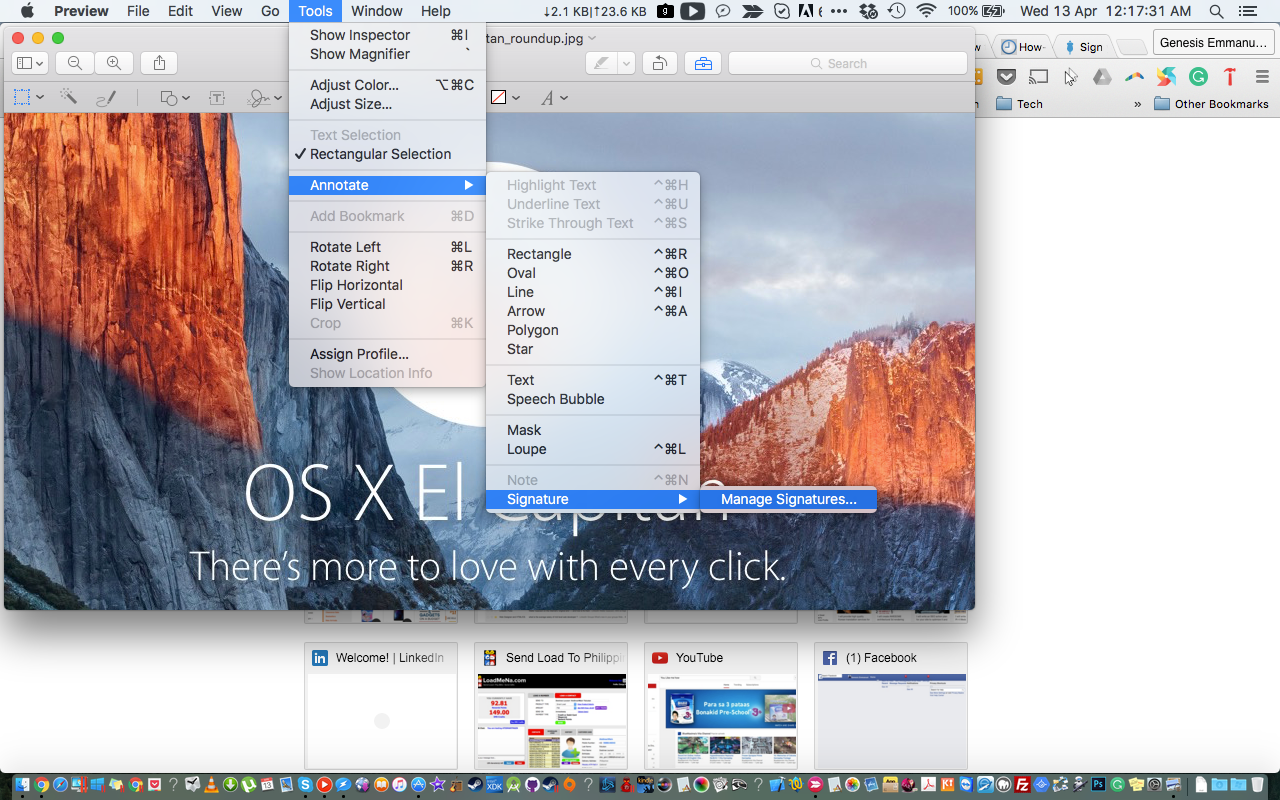
Your electronic signature is ready to use now. Simply, open your document now, find the option ‘Annotate button’ in the toolbar and click the option to see Preview’s annotation tools. This button looks just like a writing pencil.
Click the button which looks like a capital S on a line, it’s the signature button. You will find a pop-up in return, you can choose any of the saved signatures you want. Now, you can select the area of the document where you want to see your signature. If there is a line for the signature in the document, you can simply select the line to precisely place your signature on the line.
After you have successfully made and placed your signature at the right place you can reposition it by the mouse cursor, also, you can change the size of your signature as well. When you are all done with your signature, you can save your document and simply email it to your desired recipient.
When you save your document, the ‘Annotate toolbar’s signatures pop-up menu also adds your signatures in the toolbar, so that, in future you can simply reuse the saved signature anywhere, anytime you want. This toolbar also provides you the option to edit or change your existing signatures.
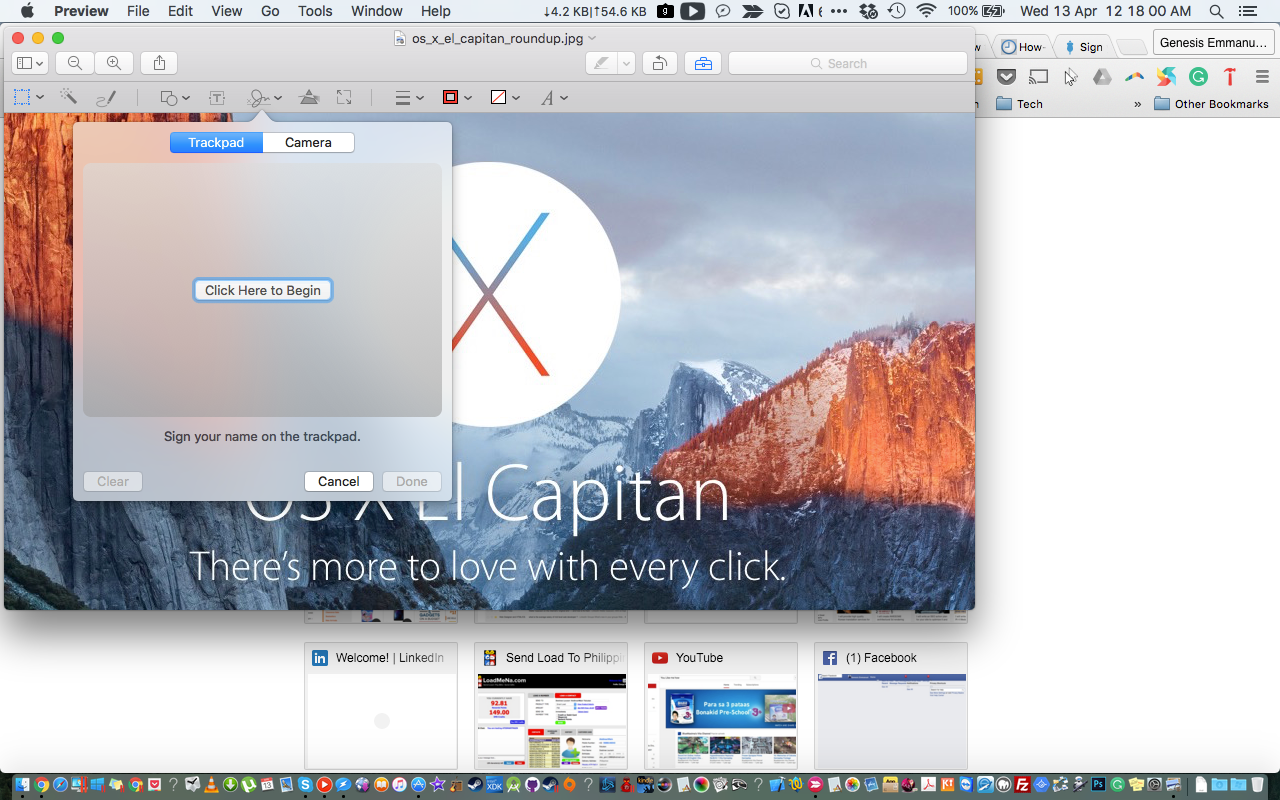
Signing a Document Using a Trackpad:
- Open the document on which you want your signature.
- Click the option “toolbar” and then the icon named “signature”.
- Click on Create Signature option and Start drawing your signature on the trackpad. After finishing your signature click “Done”.
- Now, click the signature to insert it on your document. After inserting the signature, you can reposition or resize it according to your desire.
Apple also provides you the option of “markup tool” on OS X to create e-signatures that you can add directly into your emails.


