 Email article
In this article, you will come to know the steps on how to configure your custom POP3 email account via the Windows 10 Mail app.
Retrieve POP3/SMTP Addresses:![]()
To begin here, firstly you have to access your web server and must know what their server addresses are.
For the incoming emails, your addresses usually look like this pop.[emailserver].net. For the illustration, email server which is hosted on GoDaddy.com, in the settings of server, hides these addresses, of its email management site.
For the outgoing emails, you must take the address of anything down that looks like it has acronym SMTP in it. In the example shown, Godaddy is using smtpout.secureserver.net to handle all the requests of outgoing mails or sent mails.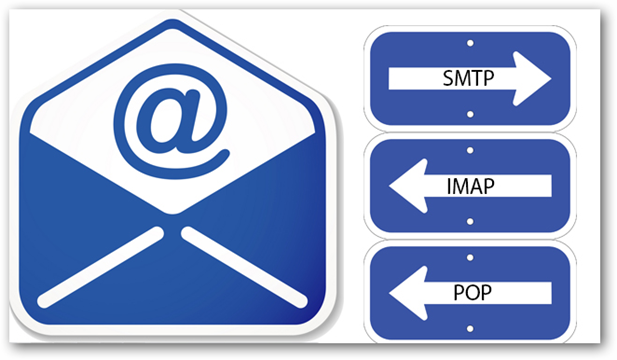
Configure the accounts in Windows 10 email app:
After locating and accounting the proper addresses. Open the email app in Windows 10 either from Start menu or from your list of apps. After completing this milestone, find the settings icon located in the bottom left corner of the Mail app. Click in and on that menu which from the right hand side is popped up, click on the Accounts option.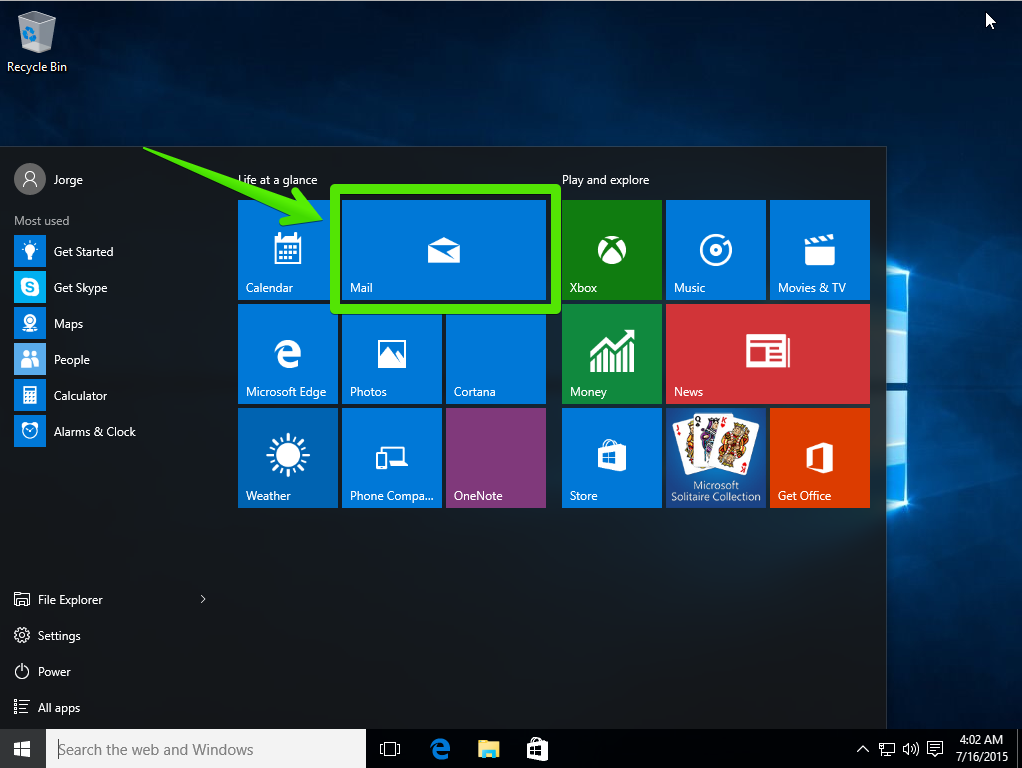
This shows a list of all the accounts in the form of menu which you have currently linked to the Windows 10 app. From the options, select Add Account usually with the plus sign attached to it. Here you will be greeted by the prompt.
Among the list of available providers in order to add a POP3 based account, you have to choose the Advance Set up, which will be highlighted.
After clicking this you will be taken to a window, where you have to select the option of Internet Email.
Selecting this option, you will be asked to enter all the information you have acquired from your third-party email service.
Firstly select a name for the account that Windows can use to label it and also make it distinctive from all the other providers which you may have added previously.
Now, provide your username and password combination. This will get you inside the service and retrieves all the data that you have stored.
After that put the information of incoming POP server and outgoing address of SMTP. All the information is entered and the account is ready to go.
In this window you have the chances to change the settings regarding authentication, required SSL, and username and password which are shown in the window provided with the checkboxes.
Once all the settings are done, you are ready to go.
If your account is added successfully, it will appear in the popup bar on the right side which will be listing all the accounts which are connected to the Window Mail ecosystem.
Verify the connection:
When mail app confirms that your account has passed. It is best to verify the email either it is working or not, either by requesting a friend to send you email or by creating one from the third party account.


