 Email article
 When thinking about interesting subjects like stock recoveries vs. custom recoveries, it is important to understand the difference between the two so you can make an educated choice to what one you want to have installed.
Android’s stock recovery exists to give people a chance to take factory resets and apply updates. Both updating and hard resetting are effective ways of fixing problems that might have existed on the Android operating system. By flashing a new version of the software it can override the old version that had problems with bugs and so forth. Similarly, by wiping everything so that it is reset to the factory and default state you should also find all problems washed away. That is about as interesting as a stock recovery gets for most devices. Android likes to keep it simple, but as we know a custom recovery partition can offer more.
A custom recovery is developed by a third-party (in this case Team Win) and after it is installed it has completely replaced the stock recovery and overridden it with its idea of what makes a better recovery partition. You have the same features that the stock recovery had to apply your updates and also factory reset. Additionally, you can use the custom recovery for flashing custom firmware like what CyanogenMod offers. On top of flashing ROMs, a custom recovery makes rooting possible with tools like Chainfire’s SuperSU.
REQUIREMENTS
- You need to have a computer that is running on a version of the Windows operating system to be able to flash the custom recovery image to your Sony Xperia M4 Aqua smartphone. The reason being we are installing ADB for Windows only. There are other versions of ADB available out there on the web for other operating systems like Mac and Linux run, but they require unique commands and unique files. Mac users can use the same commands as below but just add an “./” in front of the commands to get them to work.
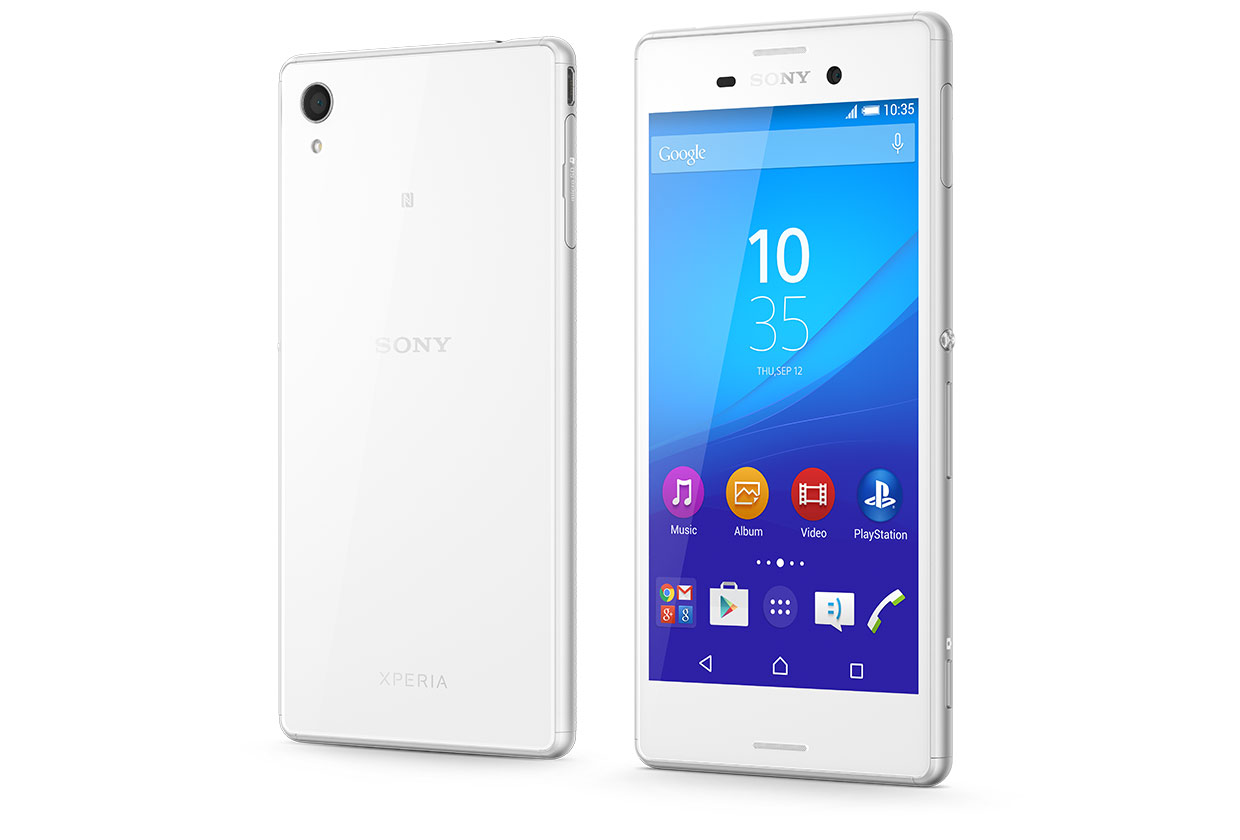
- You need to have the Sony Xperia M4 Aqua bootloader unlocked before you can follow this guide to install the custom recovery image.
BEFORE WE BEGIN
- You need to have the Developer options menu already unlocked on the Sony Xperia M4 Aqua smartphone, and the USB debugging mode enabled from that Developer Options menu. That is the step that is going to allow for us to change the Android software from what it is at the moment.
- We recommend that you install the Universal Windows ADB Driver on the Windows computer before getting also started so that your ADB commands work.
HOW TO INSTALL TWRP RECOVERY ON SONY XPERIA M4 AQUA E2353
- Download the TWRP Recovery for the Sony Xperia M4 Aqua E2353 directly on the computer.
- Download the boot image for the smartphone that is required to get the root access.
- Learn how to set up ADB on Microsoft’s Windows operating system if you have not got ADB installed already on the computer.
- Open the Downloads folder to find your TWRP file and copy it to the ADB folder so both the custom recovery and ADB are within the same directory.
- Extract the TWRP file in the ADB folder so all the contents of the TWRP zipped file is available.
- Do the same thing for the boot image as you did for the custom recovery, so all three are in the same folder.
- Connect the Sony Xperia M4 Aqua E2353 smartphone to the computer with the USB cable.
- From inside the ADB and TWRP folder, hold down the Shift key and right-click the white background where there are no files in the way and then chose to open a command window here from the menu.
- Type the command: “adb reboot bootloader” to get your Xperia M4 Aqua into the bootloader mode and ready for the custom recovery flashing.
- Type the command: “fastboot flash recovery recovery.img” and the custom recovery you wanted to install gets flashed.
- Type the command: “fastboot reboot” and wait for the smartphone to shut down.
- Restart the smartphone and get ready to type some more fastboot commands from the command line.
- Type the command: “fastboot flash boot boot.img” to get the boot image flashed.
- Type the command: “fastboot reboot” and your Sony Xperia M4 Aqua smartphone is now rooted and has the custom recovery installed.
In conclusion, that is everything you need to get TWRP Recovery and then root the Sony Xperia M4 Aqua E2353 smartphones by using ADB on a computer.


