 Email article
If you—like many others—are confused with the new permission options that are available in Windows 10, then you are sharing that same frustration with people right around the world. Many individuals who have upgraded from Windows 7 or Windows 8 are struggling to understand the changes for permissions that Windows developers have chosen to make when it comes to doing tasks like copying files.
If you have ever ventured into the File Explorer and tried to copy a file only to be met with the “destination folder access denied” then you would probably welcome a simple method to fix the issue. Well, you’re in luck because there is one and I’m going to show you how it’s done after the break.
The guide below shows you what is required to take ownership of any file in Windows 10 operating systems.
Taking ownership of files in Windows 10
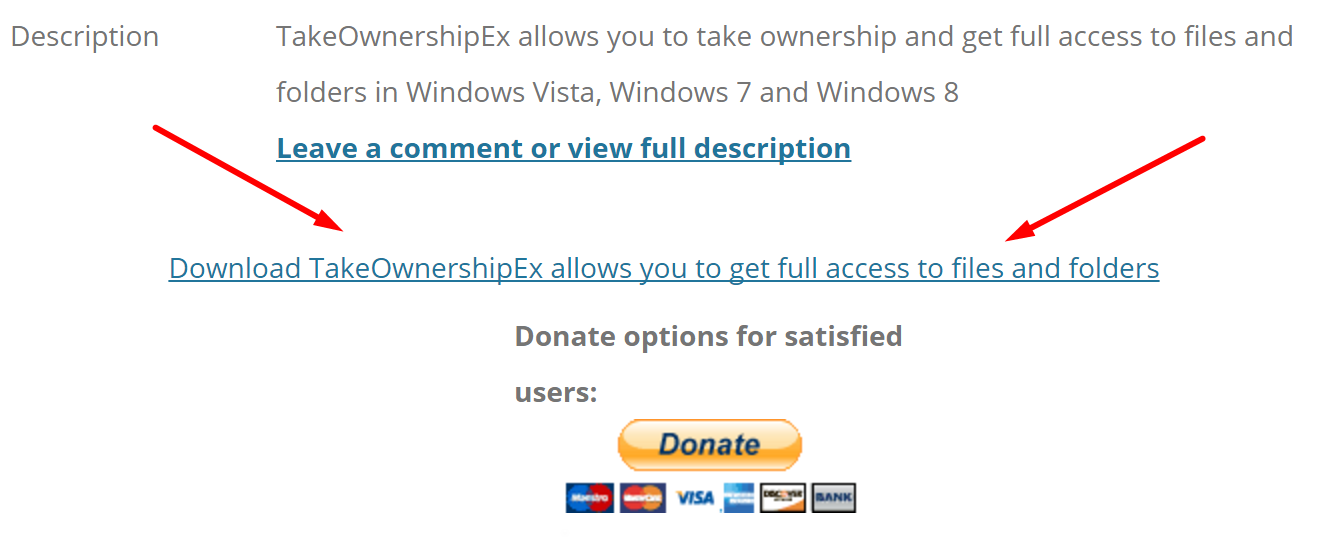
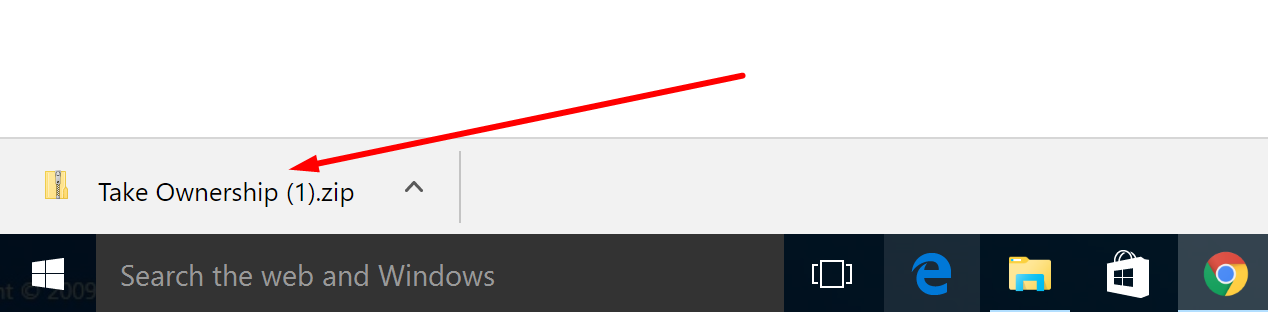
Download the TakeOwnership.zip file on the computer by clicking on the link and then you should see it appearing above the taskbar like so. (Mine has a “1” next to it because I’ve already installed it on the computer to test it out before doing this example. Yours will just say “Take Ownership” without the one if it is your first time installing it.)
Click on the file where it shows the file name once the download is complete.
You are then directed through to the compressed folder tools area where you can choose to “Install Take Ownership” or “Uninstall Take Ownership.”
Double-click on the “Install Take Ownership” option.

Once you have double-clicked, you then get a security warning. Click on the “Run” button even though it says it is a file from an unknown publisher because we trust the file.

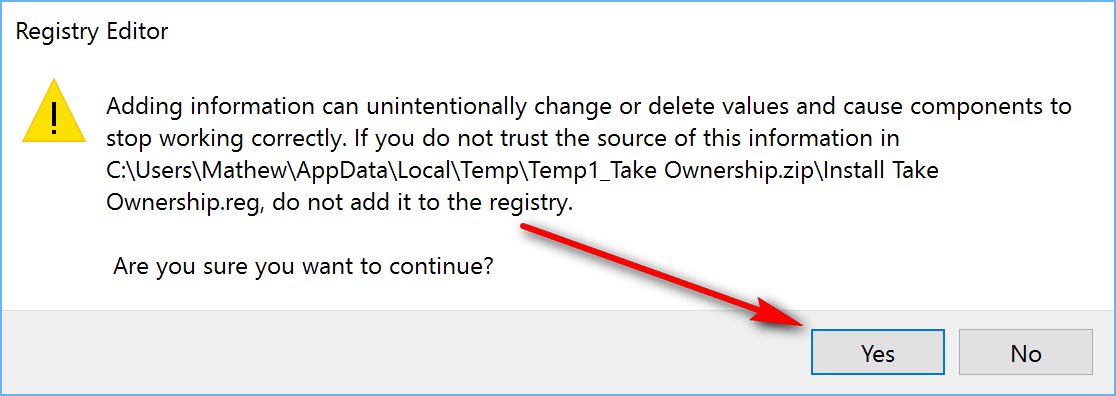
You then get a message appearing for the Registry Editor letting you know that adding information to the Registry Editor can change or even delete values which can cause instability.
Click on the “Yes” button to continue.
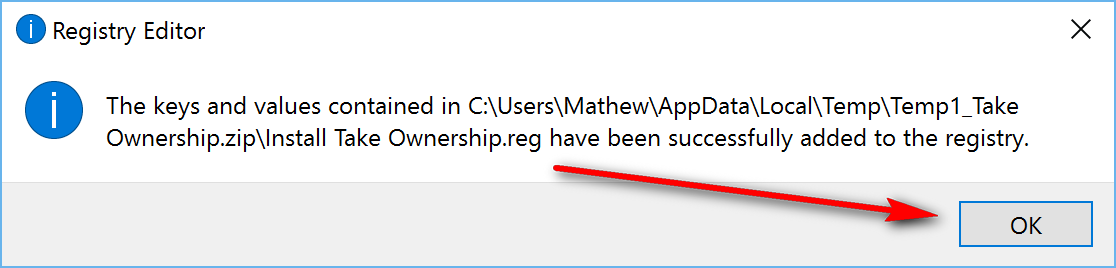
Once you have done that, you get a message letting you know that the keys and values from the Take Ownership file have been successfully added to the registry.
Click on the “OK” button to continue.
Find the file that you were unable to do anything with because the operating system wouldn’t let you and then right-click on the file and select the “Take Ownership” option to take complete ownership of the file which then allows you to do whatever you want to do with the file.

That is everything you need to take complete ownership of files when using the Windows 10 operating system. There will be no issues with not having the necessary levels of permissions to run the files on the computer now.


