 Email article
 Are you planning to add and configure an external display in your laptop? Today, many companies provide employees with extra monitors as it can improve the overall productivity and performance of the employees. But, does a MAC operating system support the option to add and configure an external display? If yes, how difficult is it to add and configure an external display in your MAC laptop? Let’s look at the answers to these questions here.
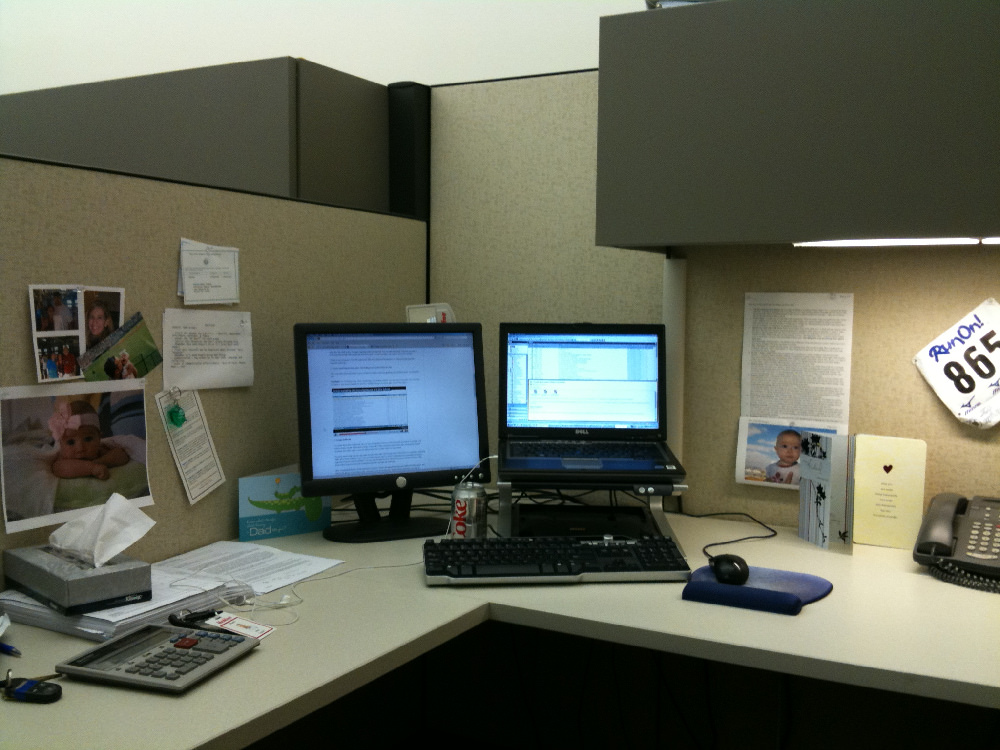
Add and Configure an External Display to MAC Laptop
Before you decide to add and configure an external display to your MAC operating system, you need to know a few things. First is, the cable that is going to be used for connecting the external monitor. If your laptop is new and is manufactured after 2015, you need to use a USB-C cable. It is better to check if the other end that goes into the monitor you just bought fits in well. When you make a purchase, it is better to check if the cable connects with your laptop and monitor without any problems while still in the shop.
MAC Laptops that are manufactured before 2015 will work with Thunderbolt cable 1 or 2. After connecting the new monitor to your laptop, the next stage is to configure it.
Add and Configure an External Display to MAC Laptop – Step by Step Configuration Process
The next step to add and configure an external display to your MAC laptop is configuring the monitor. There are several options available here.
Viewing the Monitor
The first step is to go to the system preference and select the “Displays” option. Here, you need to check if the system shows the newly connected monitor. Most of the time it will automatically detect the newly connected monitor, but in some cases you need to manually press “Source” to detect it. After it shows your newly connected monitor, you will have two system preference panels, one for the default monitor and another for the new one.
Arranging the Monitors
Here, you can make changes to your new monitor and make sure the monitors are arranged correctly so that there is no confusion about the new one and the default one. By clicking on the “Arrangement” tab, you can arrange the monitors according to your wish. If you want both the monitors to use the same settings, you can use the option “Mirror.” You can also make color changes and resolution changes in your new monitor after it is connected to the MAC laptop.
Restart the Laptop
Once you are done with the configuration, the next step is to restart the laptop and then see if the dual monitor is working once it has started up.
Conclusion
To add and configure an external display to your MAC laptop is not that difficult. The most important part is finding the right cable to connect the monitor to your MAC. Once you have the right cable, the rest is easy. It is always best to read the monitor installation guide before you begin the process. Dual monitors are the latest trend and it looks like it is here to stay. Configure an external display to your MAC laptop and increase productivity.


