 Email article
There are two types of accounts that people can use from versions of the Windows 10 operating system: Microsoft accounts and local user accounts.
A local user account is the old school style of account that we all used to use in earlier versions of Windows before we were as connected as we are today. Microsoft then came up with the idea of having a Microsoft account that allows people to sign into different devices and have the same settings applied universally. For example, if I change my desktop background within my Microsoft account on my desktop PC at home, I can then sign into my same Microsoft account on my laptop away from home and see the same new desktop background. The same rule applies to most things inside of the Microsoft account. You can even open YouTube and see the videos you last watched from automatically saved in the spots you stopped watching them between devices because you are signed into the same Microsoft account.

The local user account offers more privacy and possible security because you can’t access any of the things you did on another computer unless you are signed into that same local user account that is associated with that computer.
Unfortunately, there is nothing you can do about removing a password that is associated with a Microsoft account in any of the Windows 10 operating system versions at the time of writing this article—but you can do it from a local user account.
How to remove password of a user account in Windows 10
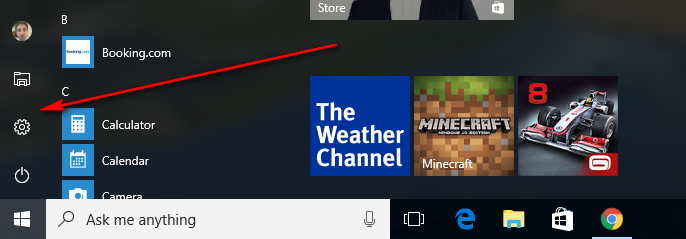
Click on the Windows 10 “Start” menu button from the far left-hand side of the taskbar.

Click on the “Settings” gear icon from the left-hand side pane from the “Start” menu.
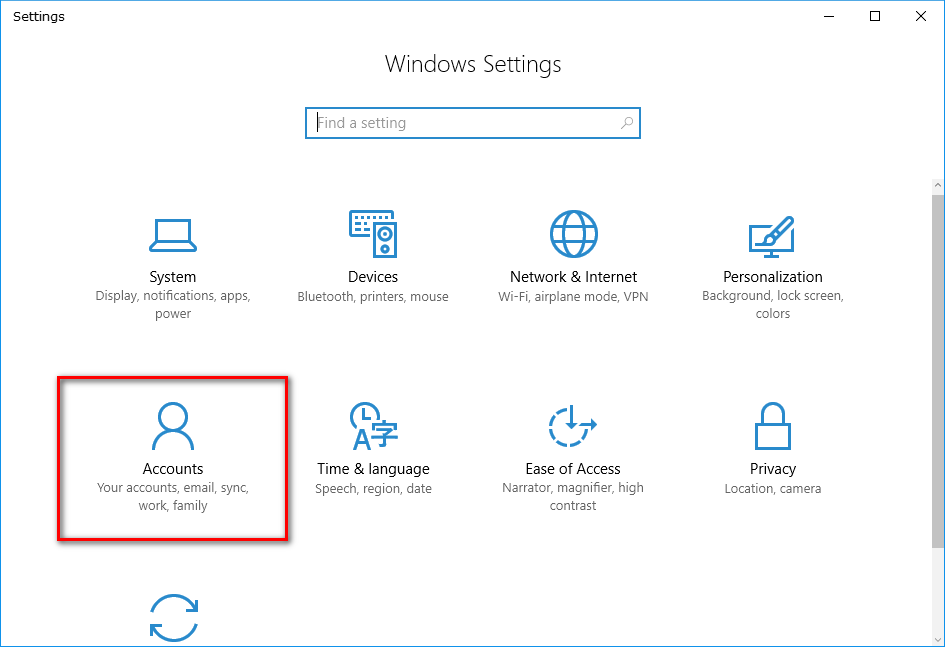
Click on the “Accounts” from the “Windows Settings” screen to get access to everything to do with your accounts on the computer.
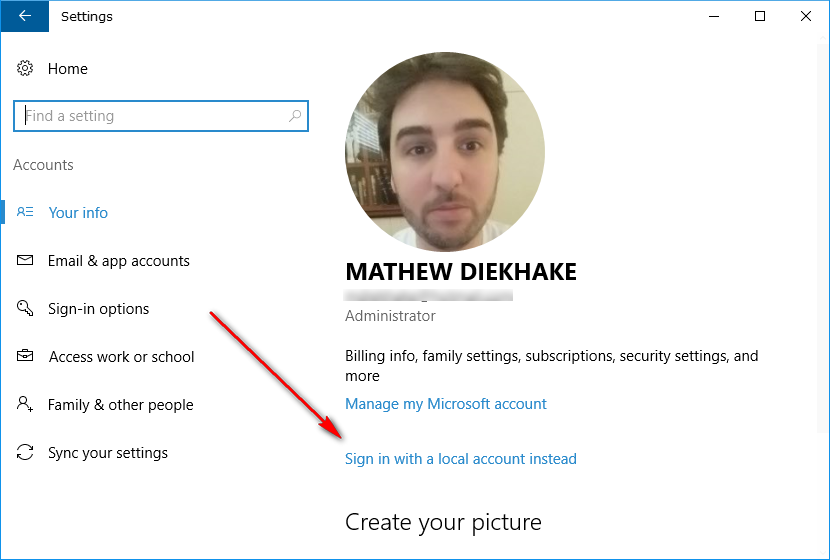
As mentioned in the introduction, you can only remove a user account password in Windows 10 by using the local user account. To get access to the local user account if you are currently signed into the Microsoft account is simple: just click on the “Sign in with a local account instead” option from the same “Your info” screen. If you haven’t created a local user account already, then you’ll have to do that now before you can sign into it.
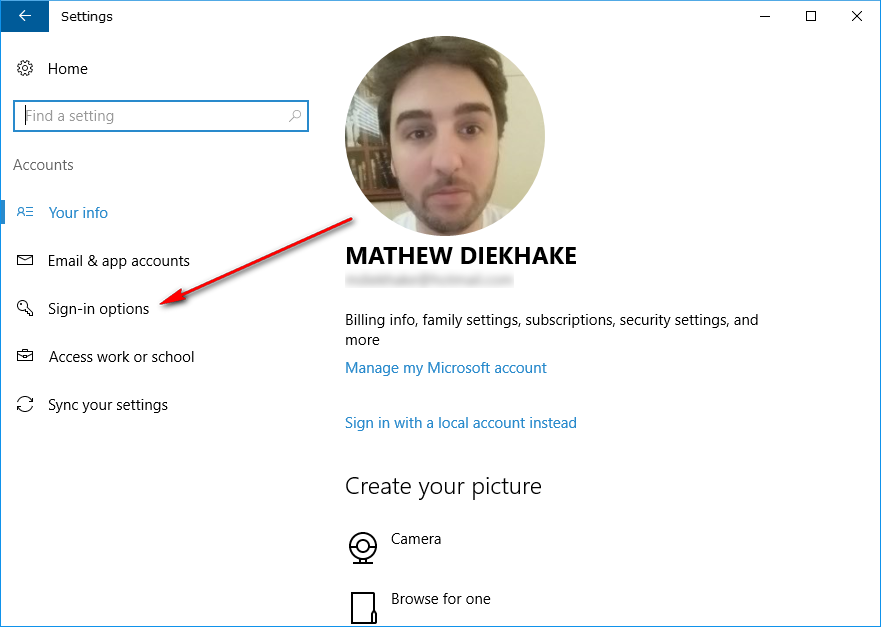
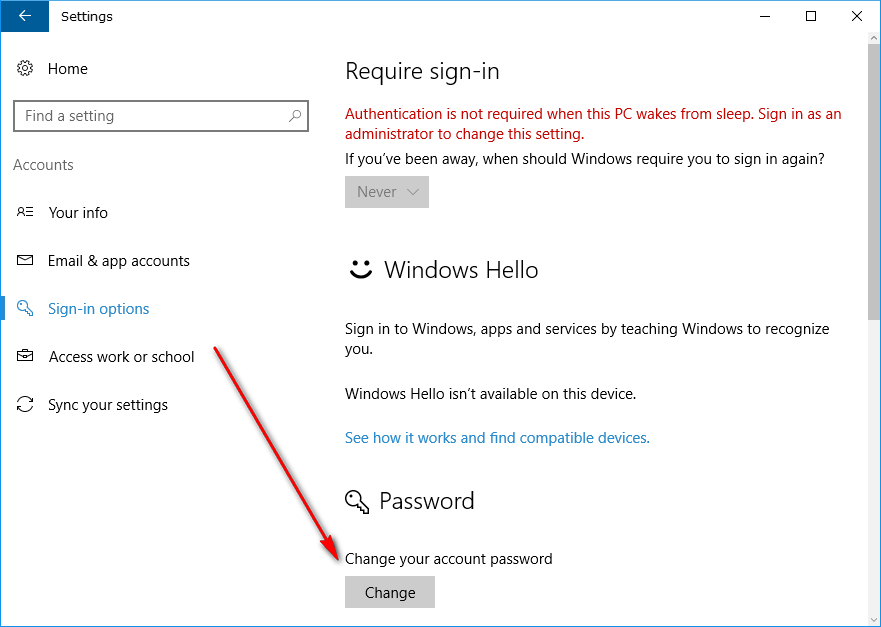
Once you are using the local user account on the computer, click on the “Sign-in options” from the same screen.
Under the “Password” heading, click on the “Change” button where it says “Change your account password.”
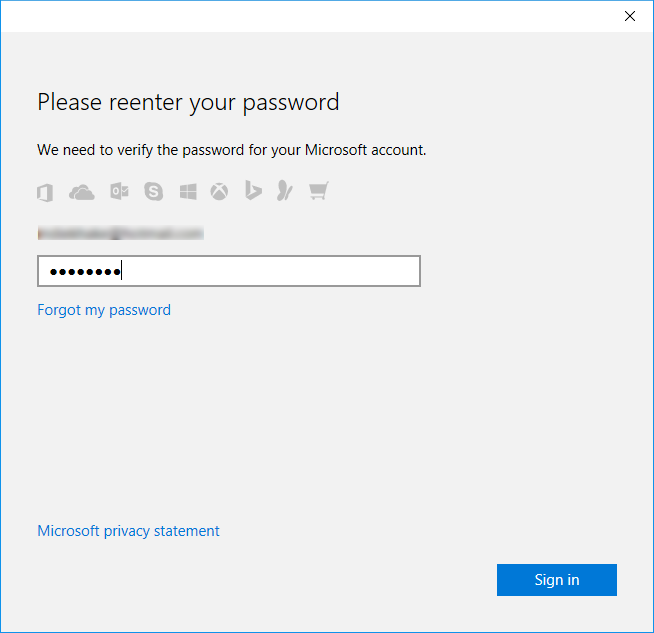
You are then asked to reenter your password.
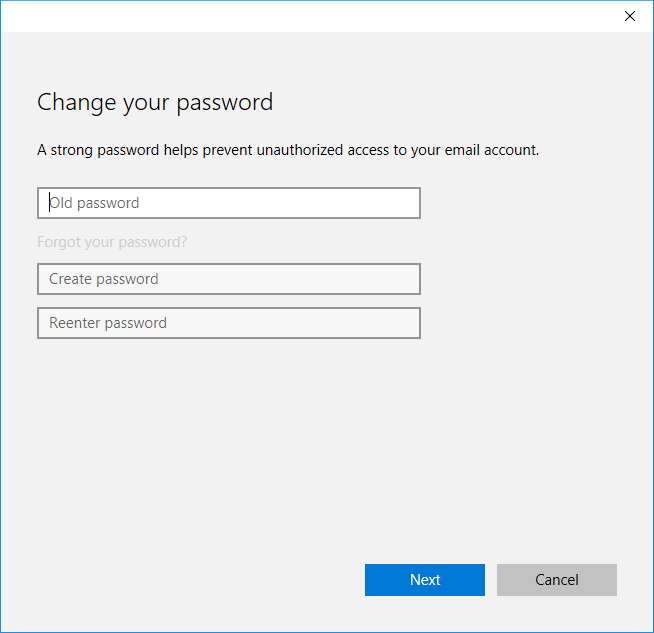
It’s on the next screen that the magic happens. With the Microsoft account, you have no choice but to fill in the old password and the new password because a password is always required to use a Microsoft account. The only option you get is being able to change the password with Microsoft accounts.
However, with the local user account, you can leave these password fields blank and then just click on the “Next” button that is available at the bottom of the screen. Doing so means there will no longer be any password assigned to the local user account.
That’s all that is required to remove the user account password in Windows 10. Now when you navigate to the Settings > Accounts > Sign-in page, you get a new message showing up that says “You must add a password before you can use the other sign-in options” and that’s how you know there is no password currently set.
Additionally, you can also test your work out by locking the Windows PC by pressing the “Windows logo + L” Hotkey combination and testing if the user account still needs a password that way instead.
Anytime you want to have a password protecting the local user account again can be done by learning how to set up and configure user accounts in Windows 10.


