 Email article
When we think about the data that is being used on our computers, we usually look at what our Internet service provider’s sites show us. We do this because in the past versions of the Windows operating systems there was nothing else to look at with regards to data.
Since the dawn of Windows 10, the Windows developers have included a new feature that shows the network data consumed by the Windows operating system. This is Windows’ way of confessing to how much of your data is going to the way of its operating system.
So, just what in Windows operating systems could be using that data, you might ask? Windows 10 gives people access to the Windows Store, Windows apps and of course the Windows Update feature. All of these things are partially responsible for using data. Not only is the Windows 10 OS showing you the data that the apps themselves are using, but also how much data the system is using as well.
Moreover, the feature is so useful that it even distinguishes the difference between the data being used over Ethernet connections and the data being used over the WiFi connections, so if that information is relevant to you at all, you can see what’s happening in high detail.
How to reset the data usage stats in Windows 10
Before clearing the data usage in Windows, you probably want to know how to find it.
To find the data usage stats, you just need to click on the “Start” menu from the taskbar.

Once done, click on the “Settings” gear icon from the left side pane in the “Start” menu.

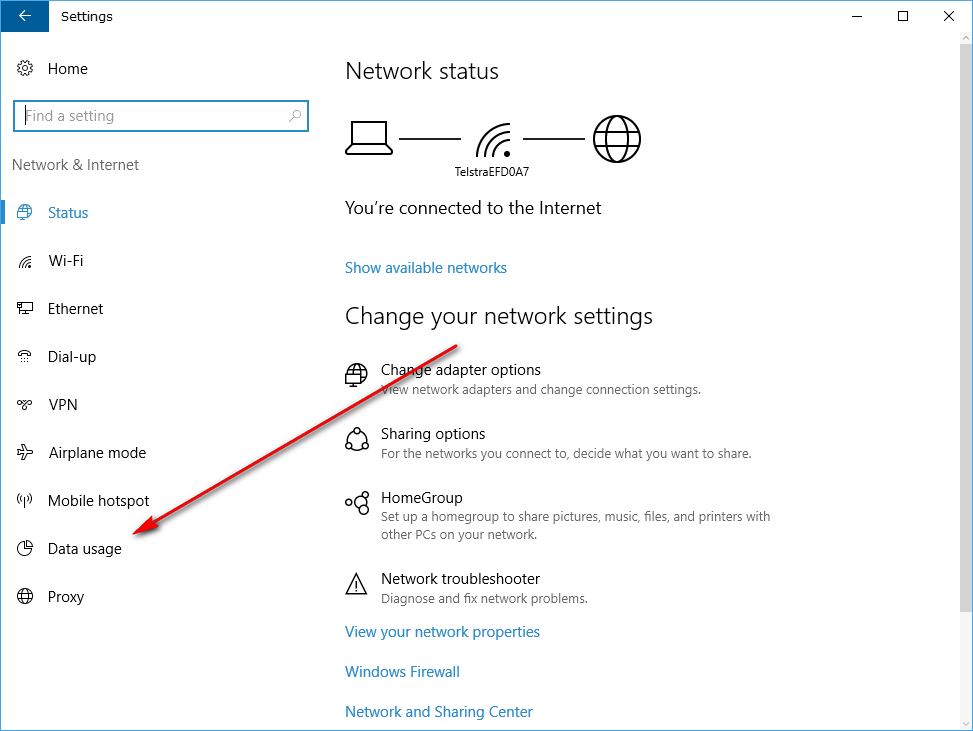
Click on the “Network & Internet” button from the “Windows Settings” screen.

Click on “Data usage” from the left side pane.
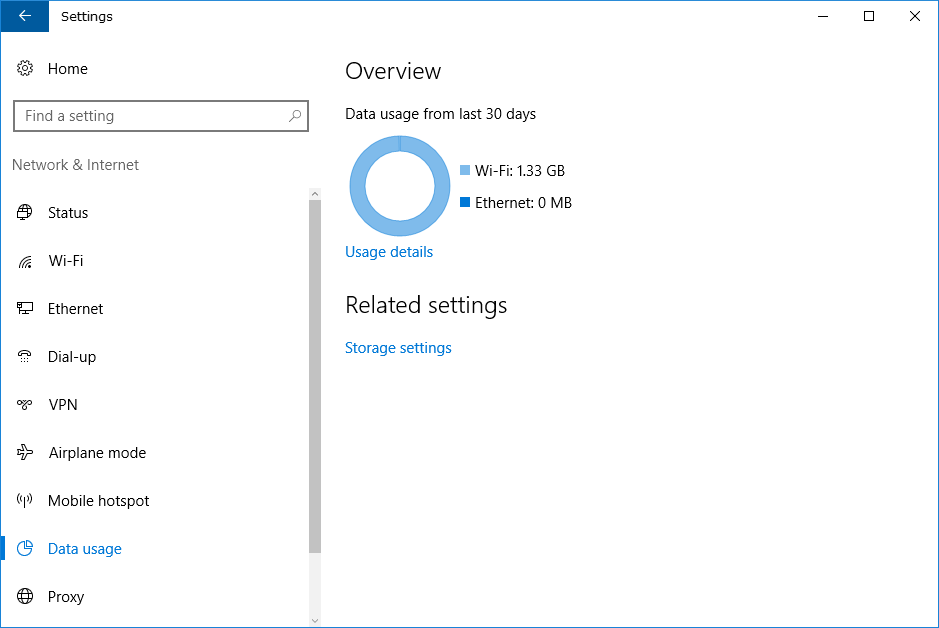
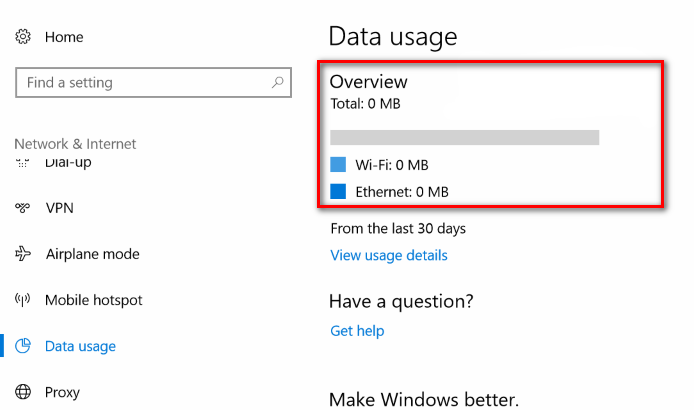
Now you have an overview of the data usage from the last 30 days of use on the computer. These statistics available from this page are what you are about to clear, so they are no longer viewable from this page.
To reset the data usage stats, you first need to log into the Safe Mode that all versions of the Windows 10 operating systems have as this feature is not available from the normal mode.
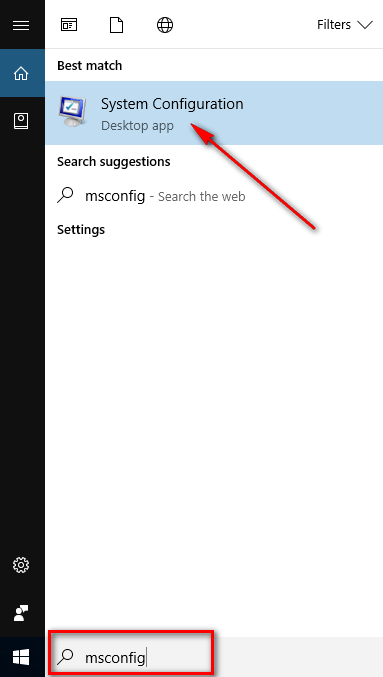
To boot into the Safe Mode in Windows 10, type “mcsonfig” into the search field found in the taskbar and then click on the “System Configuration” application found under the “Best match” section.
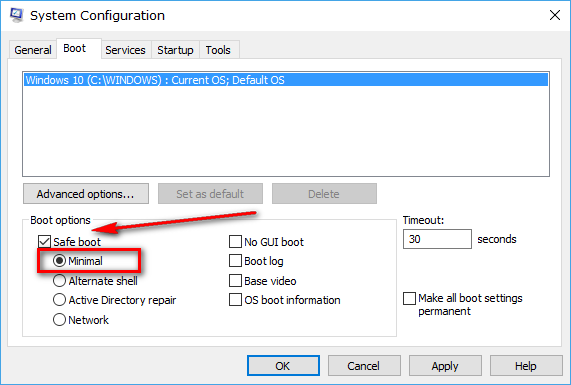
Once inside the System Configuration dialog box, switch from the “General” tab over to the “Boot” tab instead.
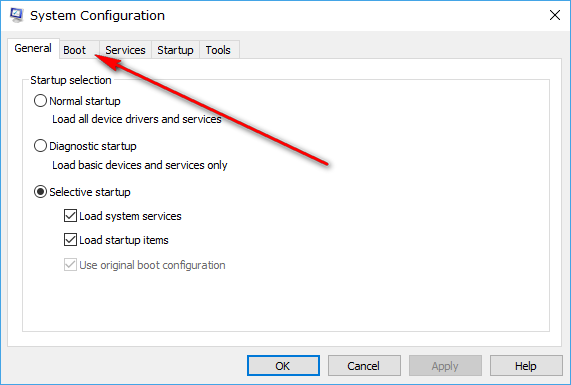
Under where it says “Boot options” apply a checkmark to the “Safe Mode” box and make sure that “Minimal” is selected beneath it.
Once done, click on the “Apply” button followed by the “OK” button.
Click on the “Restart” button when you get the message letting you know that the computer needs a restart before it can be booted into the Safe Mode and then the computer does boot into the Safe Mode for you.

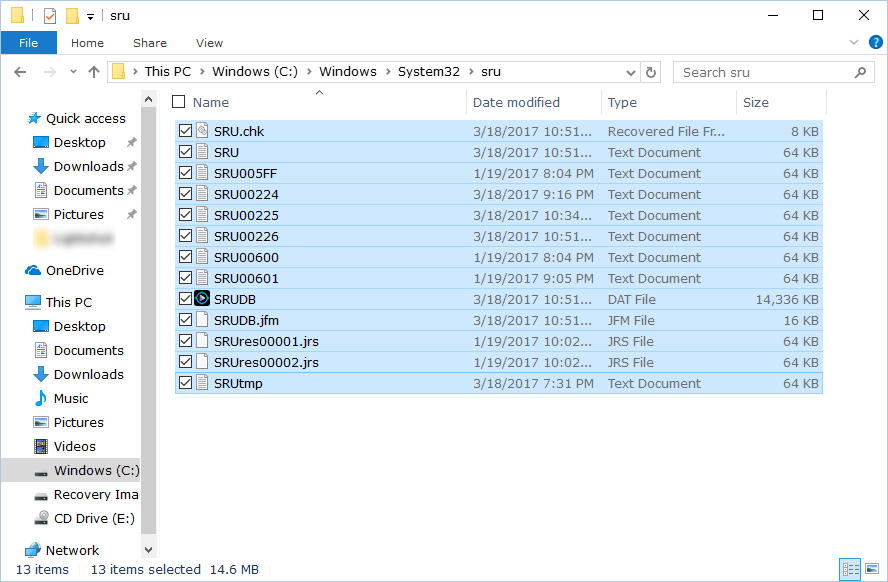
Navigate to the Start menu > File Explorer and then in the address bar, type “C:\Windows\System32\sru” to get access to the SRU folder.
With the SRU folder open, hold the “Ctrl” key and select each file in the folder. Delete them by clicking on the “Delete” key once they are all highlighted.
Now that the SRU folder is empty, your data usage statistics should be reset when you go back into the normal mode and start using the Windows 10 operating system again.
![]()
Once you are in Windows 10 Safe Mode, press the Windows key + R to open up the Run dialog box. (Trying to type “Run” directly into the search field in the taskbar like you could in normal mode will not bring up any applications for you to click. You need to use the hotkey combination instead when you are in Safe Mode.)

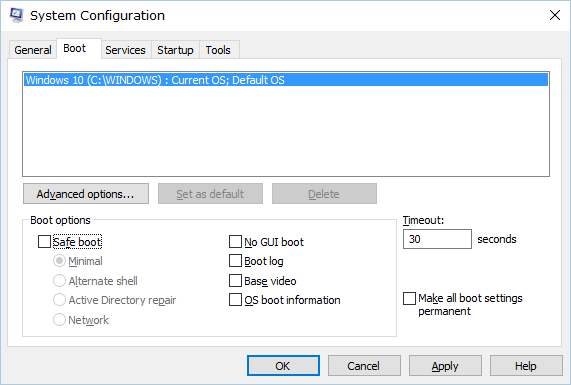
Click on the “Boot” tab once again and this time deselect the “Safe Mode” box, so nothing is selected at all and then click on the “Apply” and “OK” buttons to reboot the computer back into the normal mode.
Confirm the following message when it pops up on the display by clicking on the “Restart” button, and the PC then reboots.
Now, whenever you navigate to the Start menu > Settings icon > Network & Internet > Data Usage, you should see that the “Overview” is showing zero and the stats are reset.
That’s all you need to clear the data usage in Windows 10.


