 Email article
Have you ever heard about Time Machine in Mac OS X? It’s a powerful feature that stores the copies of a file to help you easily restore that file to different times. For Windows 7 users, there is a similar feature called “Shadow copy,” but it doesn’t help much. Fortunately, Windows 8 has “File History” that works pretty much like Time Machine. Once File History has been turned on, it will save all of your libraries, desktop, contacts, favorites and SkyDrive to a removable storage such as a USB flash drive, a SD card or an outside hard drive. In this article, I will show you how to set up and use File History.
HOW TO TURN ON FILE HISTORY
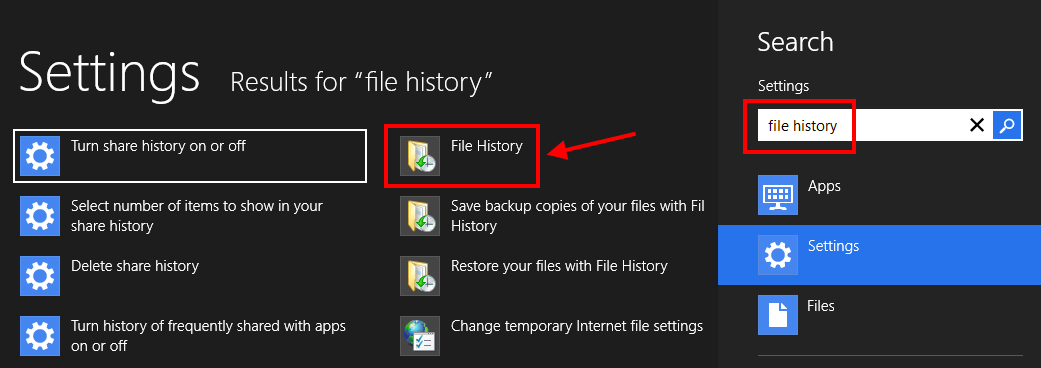
By default, File History is turned off; you need a removable storage to enable this feature. After plugging your storage in, you should open File History by pressing Windows + W hotkey (on tablet, swiping from the right edge, choosing Search then selecting Settings in the right panel) then entering “file history” (without the quotes) in the box. In the result list on the left side, you have to choose “File History.”
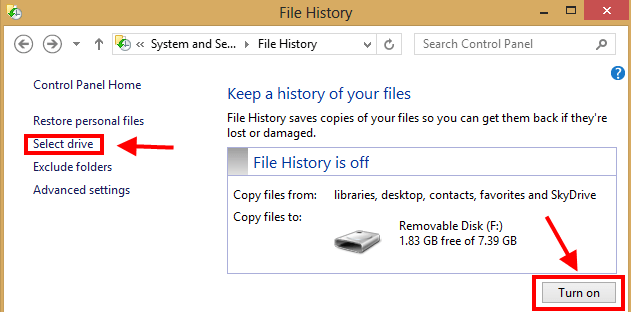
Once File History has opened, you can see your removable storage appears in the main page. If you want to choose another storage or a network location, you should click/tap “Select drive” in the left panel.
After that, you may want to click “Turn on” button to turn on File History. For the first time, it has to copy all of your files to your removable storage.
HOW TO EXCLUDE FOLDERS
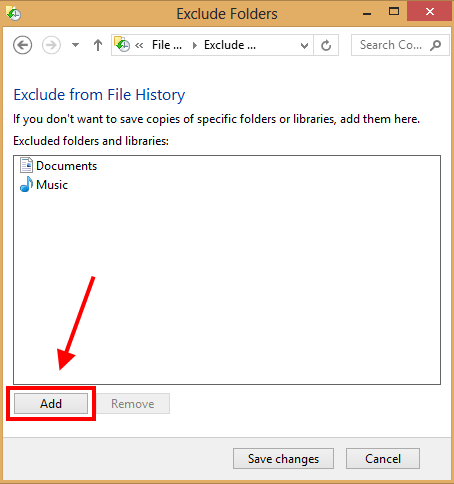
File History does not copy everything in your computer to the storage, it just make copies of files in libraries, desktop, contacts, favorites and SkyDrive. However, you can exclude folders from copying to your storage. To do this, in the File History window, you should click/tap “Exclude folders” in the left panel. Then you have to click button “Add” a folder or a library to excluded list. When you are done, just simple click “Save changes” button to apply your list.
HOW TO CHANGE ADVANCED SETTINGS
Advanced settings is where you can set up the period between copies or how long copies can be saved. To set up advanced settings, you have to choose “Advanced settings” in the left panel of File History window. In this new page, you can change many things I have mentioned. However, you should know that the smaller of the period between copies or the longer copies last, the more disk space you need. Therefore, you should set up settings that appropriate your storage.

HOW TO USE FILE HISTORY
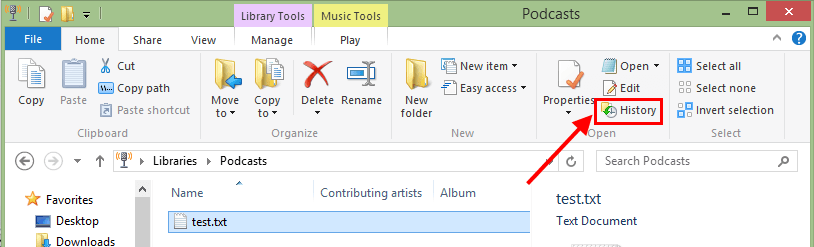
After you done with those settings, you won’t have to see them again because you can use File History directly in File Explorer. If you want to restore a file to a different time’s version, you just navigate to that file, select it, and in the Home tab of the File Explorer’s menu, you should click “History” button.
There will be a File History window that shows all of saved versions of the file. One interesting thing is that it allows you to see content of some common file types, such as text file (.txt).
To browse across the versions, you should click left and right arrow button. When you decide which version you want to restore, you have to click the center big green button. After that, File History will copy that version to replace your file. Then you are done.

CONCLUSION
Finally, in some way, Windows user now can throw away the fear of losing personal files. Enjoy!


