Last year I wrote an article on how to get your own custom e-mail address using a free CO.CC domain; last week I added on to that article by explaining how that CO.CC domain can be used for a custom e-mail address and a website at the same time. Today I am going to explain how you can do the exact same things (i.e. get a custom e-mail address and a website) using a .TK domain.
Before we begin, let’s discuss why one may want a .TK domain over a CO.CC domain. The free CO.CC domains are actually subdomains where the company has allowed users to modify DNS settings. However, .TK domains are actual domains. For most of us that just want personal websites/e-mails, the different between a subdomain vs domain isn’t really that big of a deal as long as we can modify the DNS settings for both. On the other hand, for people looking for a more “professional” looking e-mail address and/or website URL, a real domain is a much better choice than a subdomain. Plus, free .TK domains have privacy settings (i.e. no one can find out who owns the domain by doing a WHOIS) whereas CO.CC domains do not. However, picking a .TK domain over a CO.CC domain isn’t as simple as that.
You see free .TK domains have a catch – multiple catches, actually:
- You don’t own a free .TK domain. You are only given the right to use it. In layman’s terms, that means Dot TK Limited owns all free .TK domains and they reserve the right to take them down, such as if they discover your .TK domain is used for spamming or illegal content.
- (You own paid .TK domains, though.)
- You cannot sell or transfer free .TK domains.
- (You can sell or transfer paid .TK domains, though.)
- All free .TK domains must receive at least 25 unique hits/visitors every 90 days or they will be shutdown. Take note that is 25 unique visitors; that means you cannot visit your .TK domain 25 times and call it a day… 25 different IP addresses need to visit it every 90 days.
- Google Apps no longer works with .TK domains; so you will need to use Windows Live for e-mail on your .TK domain.
Without a doubt that last requirement is the most imposing; indeed if you plan on using a free .TK domain just for e-mail (and not a website) I don’t see how you can get 25 unique hits every 90 days. If you fall in this group – i.e. you want to use a free .TK domain for e-mail only – you really should consider using a free CO.CC domain instead or you should wait for my next article which will explain how everyone can get a free custom e-mail address using a free .TK domain without having to worry about the 25 unique hits/90 days requirement. (If you plan on waiting for that article, take note that the e-mail address will just be a forwarder; it will receive e-mails and forward them to your other e-mails but you will not be able to reply to e-mails with it.)
That said, let’s begin.
First off, if you plan on hosting a website with your free .TK domain, you need a web host. If you plan on using the free .TK domain just for e-mail, you don’t need a web host; but as I already said, I highly discourage using it just for e-mail because I doubt you would be able to meet the 25 unique hits/90 days requirement. 000WebHost is a popular choice for a free web host so I will use them as an example in this article but you can use any web host.
Secondly, you need the find out the nameservers of your web host; you should be given at least two nameservers. Nameservers are typically something like ns1.example.com (example.com being the URL of your web host). For the purpose of this article, we don’t need the actual nameservers, but rather the IP addresses connected to the nameservers. Typically most hosts provide you with the IP addresses associated with each nameservers. However if your host does not, there is an easy way to find out:
- Press Win + R on your keyboard, type in cmd and hit “OK”:
- Once command prompt opens type in ping [nameserver], replacing the [nameserver] with the actual nameserver of your host…
…and hit Enter on your keyboard. After the ping has finished (it should only take a few seconds), copy down the IP address shown (you will have to manually type it – command prompt won’t let you copy it):
- Repeat this setup for the other nameserver you have.
Once you have a web host and you have the IP addresses for the web host, you are ready to setup your free .TK domain:
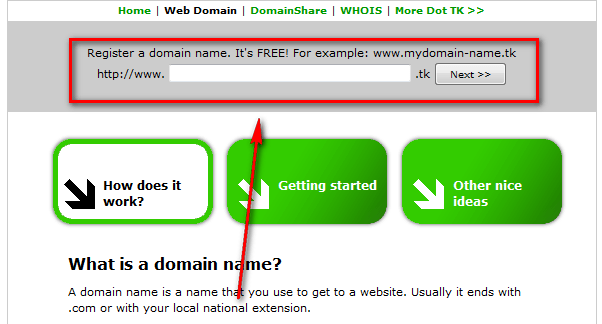
- Visit dot.tk and search for a domain name:
Take note that not all domains may be available for free and some domains may be taken already, so you may been to search multiple times until you find a suitable one.
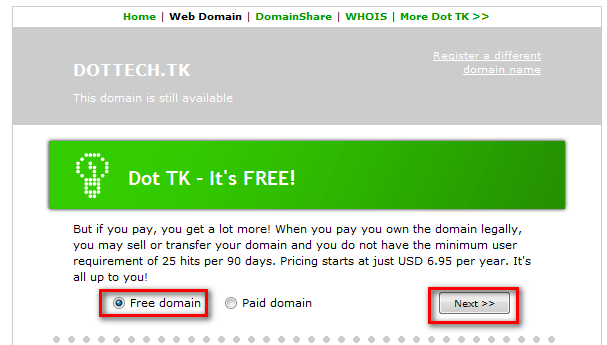
- When you find a suitable domain, you will be asked if you want to register the domain as a free or paid domain. Unless you want to do paid, select free domain and click the Next >> button:
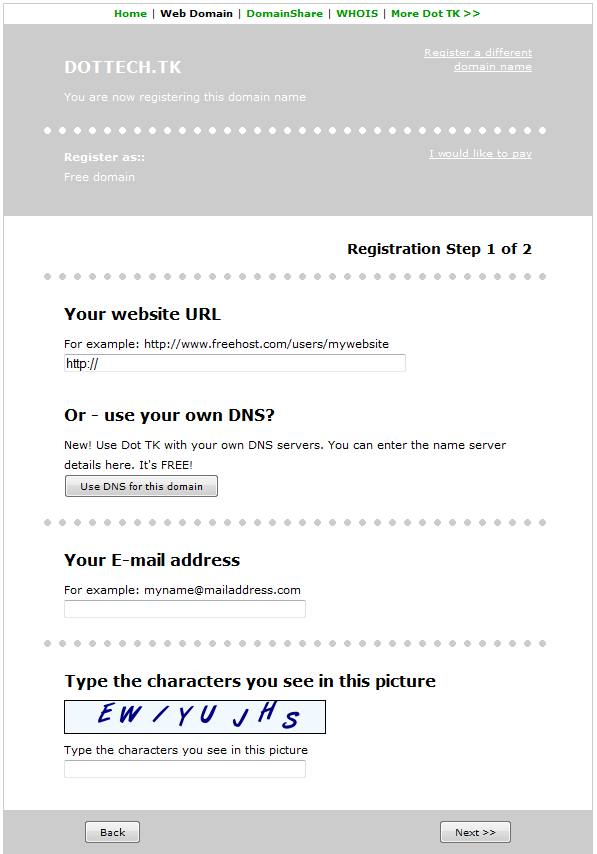
- After you click Next >> you should see the following screen:
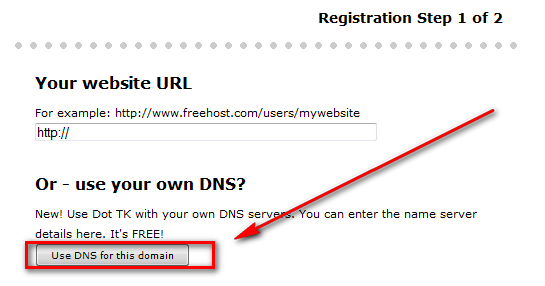
At this screen you need to click on the Use DNS for this domain button:
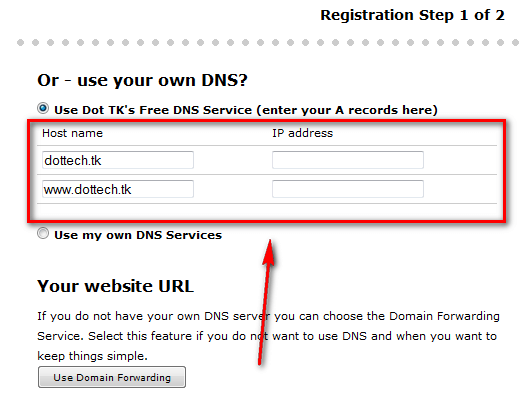
- After you click the Use DNS for this domain button, you will need to create the A entries for your domain:
To create the A records, you need to enter the IP address of one of your web host’s nameservers in both the two textboxes found in the IP address column. It doesn’t matter which nameserver’s IP address you use.
If you are not using the free .TK domain for a website, and only want to use it for an e-mail address, the IP address you enter can be anything you want (i.e. it can be 0.0.0.0 or you can use one of Google’s IP addresses 74.125.227.18).
If you are having trouble, don’t waste too much time on setting the A records because you can easily change them later on. (In fact this article will discuss how to change the DNS records after you have registered the domain.)
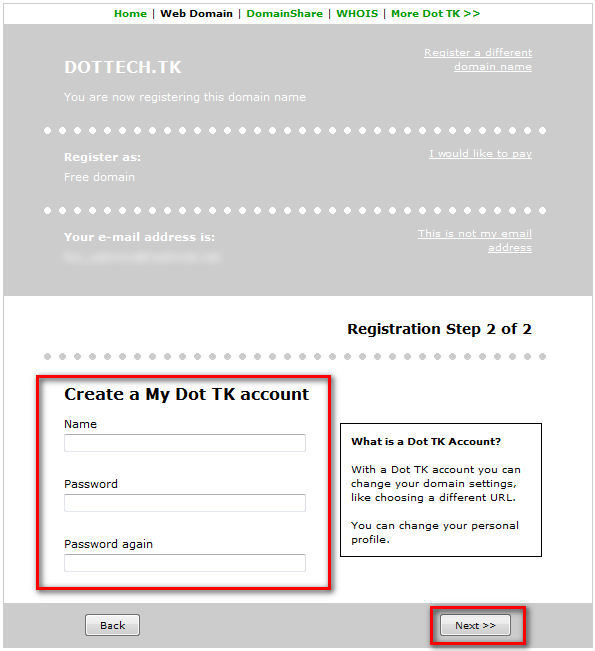
- After you have entered the relevant A record information, fill out the rest of the page by entering your e-mail address and the CAPATCHA code; when you are done click Next >>. You should now be asked to enter your name and desired password for your account:
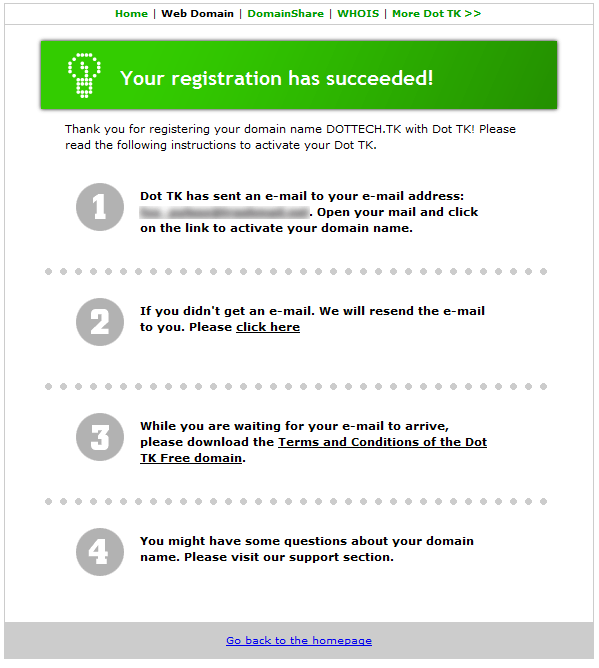
If everything has gone well, after filling out your name, password, and click Next >> you should be taken to a “success” screen:
- Check the inbox of the e-mail address you registered your domain with. Look for an e-mail from Dot TK registration center (noreply@dot.tk) with the subject of Please confirm your free registration?. In the e-mail there are two important things you need in order to confirm your account – a confirmation code and a link you must follow:
Copy the confirmation code and click on the confirmation link.
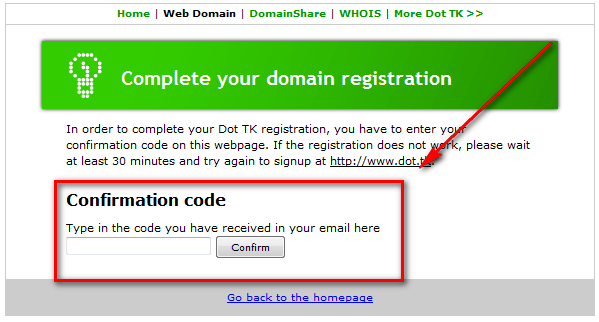
- After clicking on the confirmation link you should be brought to a page where you need to enter your confirmation code:
Enter the confirmation code and hit Confirm. If all goes well you will get a “congratulations” message:
While the congratulations page tells you to login to your account, you don’t need to login just yet. First you need to setup your domain with Windows Live. (Note: You need a Windows Live ID, so if you don’t have one signup for one.)
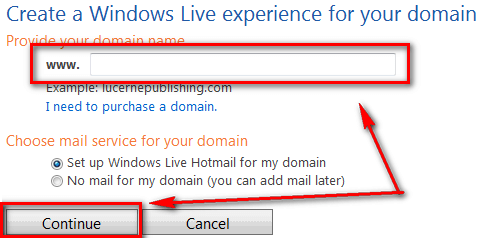
- Visit Windows Live Admin Center, enter your .TK domain, and hit Continue:
- At the next screen select Sign in with an existing Windows Live ID and hit Continue:
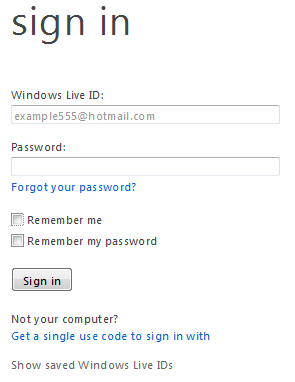
- Login with your Windows Live ID:
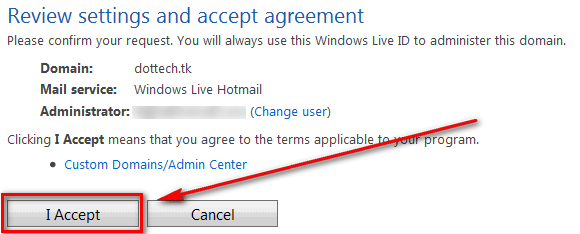
- After you have logged in, you will be brought to a screen where you need to click I Accept to confirm your .TK domain with Windows Live:
- Once you have clicked I Accept, you will brought to a page that lists a bunch of DNS values:
Look under Mail setup, find MX Entry, and copy the bold value:
- Visit dot.tk and login to your dot.tk account:
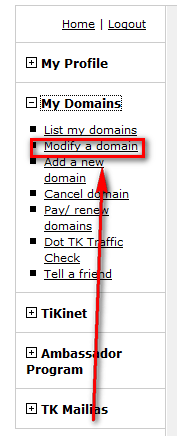
- Find the navigation menu located at the left, click on My Domains, and click on Modify a domain:
- At the page that loads, click on the button Modify by the .TK domain you registered earlier:
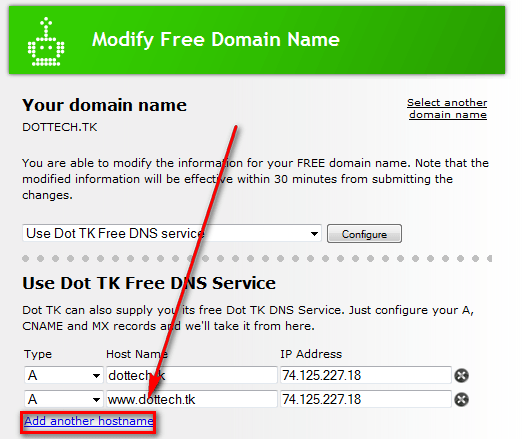
- You should now be looking at the DNS settings page for your domain. Find Add another hostname and click on it:
- Once you click on Add another hostname, a new DNS entry will be created. Change the Type to MX and paste in the MX entry you copied earlier from the Windows Live DNS page into the IP Address box:
- (Optional) Create two new A entries for the IP address of the other nameserver your web host provided you (the one you haven’t used yet). Make sure the A entries are similar to the previous two A entries (i.e. same Host Name) except with a different IP address. If you are only using the .TK domain for just e-mail, you won’t need to worry about this step.
- Scroll all the way down to the bottom of the page and hit Next:
If it all went well, upon page reload you should see a success message:
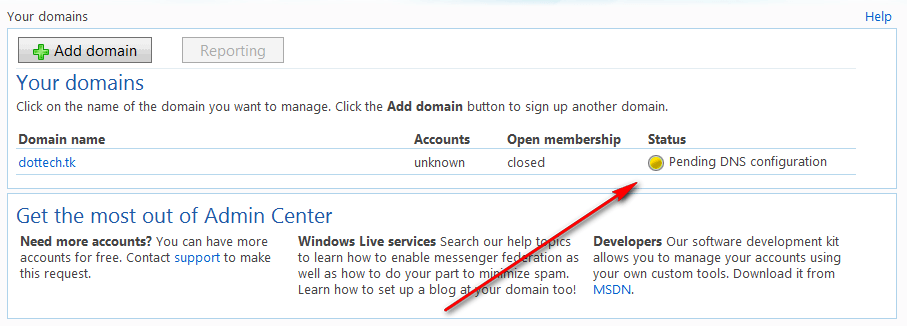
- If you logged out of your Windows Live account, login. Visit the Windows Live Domain Admin page. If under Status it says Pending DNS configuration…
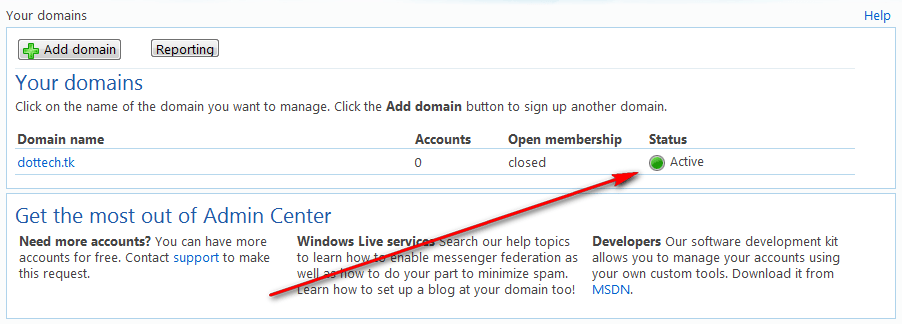
…you need to wait. You need to allow time for the DNS changes to properly propagate. It may take as little as 5 minutes or as long as 48-hours. (I had to wait about 5 minutes.) When the Status says Active…
…you are good to go! Click on your domain name and start adding as many e-mail addresses as you like (you can have upto 500). After you have created an e-mail address, you can login to check the e-mail from http://mail.live.com/ using the new e-mail address (i.e. your .TK e-mail address) and password.
Phew. After all that hard work you are done! You can start using your e-mail address instantly after you create it. You can start building your website (using FTP or whatever your web host provides you) whenever the DNS changes for the A entries fully propagate (can take upto 48 hours). Enjoy!

 Email article


