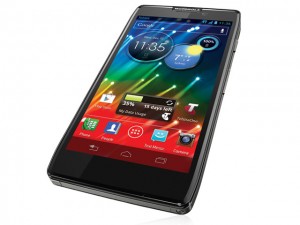
 Getting your Motorola Droid RAZR HD running Ice Cream Sandwich (ICS) is now a piece of cake. Keep on reading to find how you can get your device rooted. Please note that there is currently no direct root method for Droid RAZR HD on Jelly Bean (JB). You’ll also loose root access if you are planning to apply the JB OTA update on your rooted device running on ICS. But don’t worry. If you are still on ICS, we can get you ready to apply the JB OTA update, without loosing root. Just keep reading.
Disclaimer: This guide is intended as a helpful “how to”. dotTech and its writers are not responsible for any gain or loss (including but not limited to bricked devices) incurred as a result of following this guide. Root your device at your own risk. Rooting may void your warranty.
Requirements
This guide will help you to root your Motorola Droid RAZR HD on Ice Cream Sandwich. As of now, there is currently no verified root method for Jelly Bean. So do not try this if you have already applied the Jelly Bean OTA update. Proceed at your own risk.
Before We Begin
Before starting off with the steps to get your Motorola RAZR HD rooted, be ready with the following:
- Download Droid Razr HD Root.zip to your computer. Extract this file to any preferred location.
- Install ADB and Fastboot on your computer.
- Motorola USB drivers for Windows, if you are running Windows, or the drivers for Mac or Linux if you are running those. Install the drivers if you haven’t installed them already.
How To Root Motorola Droid RAZR HD
Follow the steps to root your Motorola RAZR HD:
- Turn on your device if it’s not already on.
- Enable USB debugging in your device (Settings -> Developer Options -> USB debugging).
- Connect your device to your computer via a USB cable.
- Wait till Windows detects your device.
- If the device is not detected that you had correctly installed the drivers.
- After the drivers have been successfully detected and installed, open the Droid Razr HD Root folder which you had extracted earlier.
- Run the file Run.bat as Administrator (right-click -> Run as Administrator).
- Follow the prompts; wait till the process finishes and your device reboots successfully to its home screen.
- Disconnect the device from your computer.
- Congrats! Your Motorola Droid RAZR HD is now rooted.
- Now, to keep root even after applying JB update, you’ll first need to (after rooting your device on ICS) install Voodoo OTA RootKeeper.
- After installing the app, open the app and “Protect Root”.
- Apply the JB OTA update.
- Now, open the app again and “Restore Root”. It’s as simple as that.
Conclusion
Enjoy your refreshed Motorola Droid RAZR HD with the power of root!
[via XDA]

 Email article


