 Email article
Graduated tint is an image editing option that adds a graduated filter to photos. It add shading to photographs by darkening the top half of the picture. The option is ideal for editing photo skylines. Google Picasa is one image editing package that includes the option. It’s a freeware software package that you can add to the Windows OS platform.
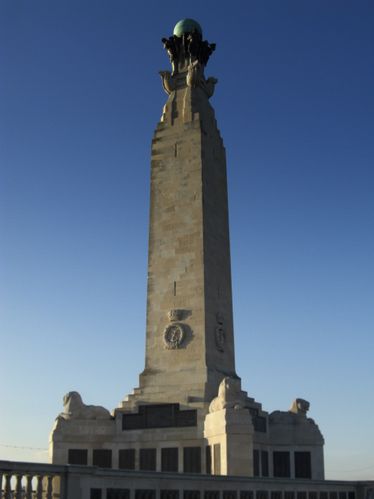
Check out the Picasa website for details on how to install it, if you don’t have it already. Then select a suitable photo for editing in Google Picasa. A suitable photo will be one with a clear blue skyline such as the one below. Click on the photo’s thumbnail to open the Picasa editor.

Click on the middle paintbrush tab, and then select the Graduated Tint option. That should then open some additional graduated tint editing options. On the photo is a small cross that shows the position where the shaded skyline is blended with the rest of the image. Graduated tint editing shades the area of the photo above that cross. You can adjust the position of the cross by dragging it up or down.
There are two drag bars which can be adjusted. The Feather bar is one which blends the shaded area of the photo with the rest of the image. If you drag it the far left there will be a clear contrast between the two areas of the photo as below.
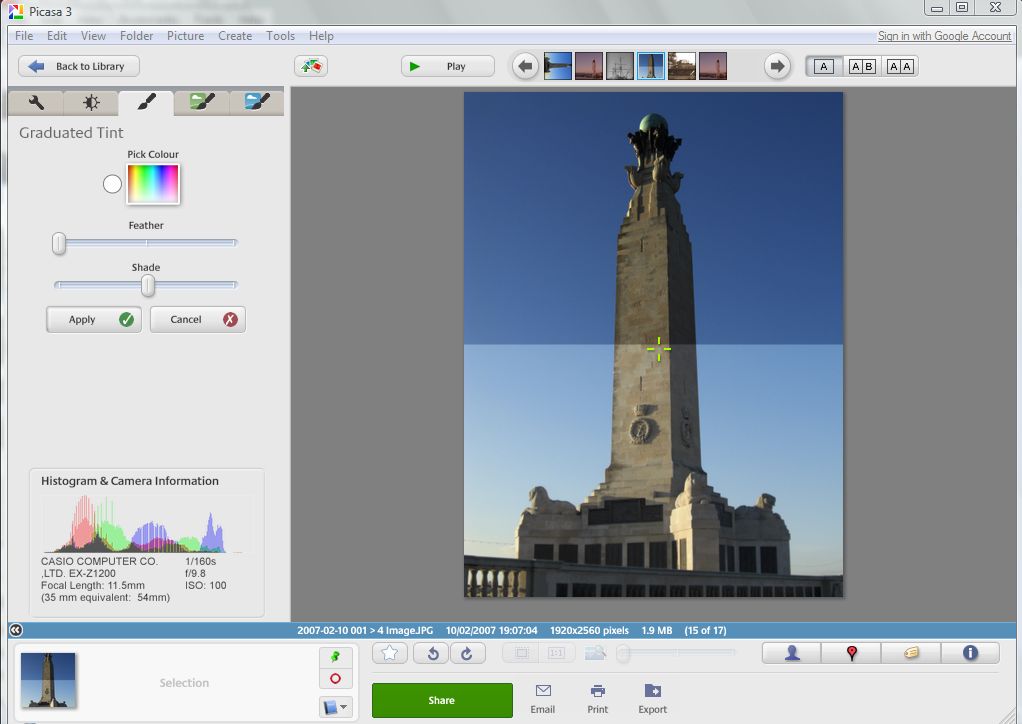
The Feather bar should be dragged closer to the center. Then adjust the Shade bar which darkens the top half of the picture. Drag it further to the right to increase the shading. With both of the bars positioned in the center, you should have a photo comparable to the one below.
Click on Apply to edit the photo. You can undo the editing by selecting Undo Graduated Tint. To save the photo click on File and then Save.
Conclusion
The graduated tint editing option is ideal for boosting photo skylines in both landscape or portrait shots. The extra shading adds something to lackluster skylines.


