{rw_text}Giveaway of the day for December 22, 2008 is Image Mender.
[rssless]————————-{/rw_text} –>
{rw_good}
- Processes images fairly quickly.
- Small footprint.
- Zoom in + zoom out for greater selection accuracy.
- You can save end image in multiple formats.
- Very easy to use.
{/rw_good} –>
{rw_bad}
- Accuracy of Image Mender is very dependent on image that is being ‘mended’.
- Hit or miss.
- No eraser tool.
- No ‘selection’ tool besides freehand markers.
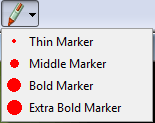
- The differences between Thin -> Medium marker and Bold -> Extra Bold is quite big.
- You may have to mend an image multiple times to properly remove all ‘blemishes’ that you do not want.
- The time it takes to process an image exponentially increases as the size of select area and size/resolution of image increases.
{/rw_bad} –>
{rw_score}
{for=”Features as Described” value=”8″}I give this an 8 instead of a 10 because in many images I have tried, the program has not been very accurate.
{/for}
{for=”Ease of Use” value=”8″}The program does not have a learning curve. Rather it is very anal to use. With only freehand selection markers, you better be the very meticulous type. But compared to clone stamps, this program is a walk in the park.
{/for}
{for=”Usefulness” value=”10″}Useful.
{/for}
{/rw_score} –>
NOTE: Before we actually get into the program, please note that using this program, or any other program to remove copyright information from image/pictures is against the law. Use at your own risk.
Installation and registration went fine. I did not have to run anything as Administrator. Just do as the readme.txt says – run Activate.exe then Setup.exe.
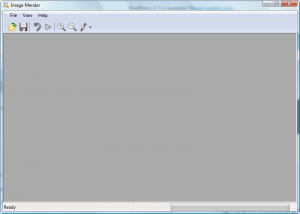
This is what the program window looks like:
Initially I was confused as to how the program actually works. I was expecting to have to select the area (with freehand or other tool) that I want to remove then process the image. But, after watching the demo, I learned that you must use the marker and totally color in the area you want to remove. And that about describes this program in a jiffy – you use the marker to color in the area you can remove, press the “Play” like button, and wait. Once the image is done being processed, you can save the image.
You have four different marker sizes to chose from:
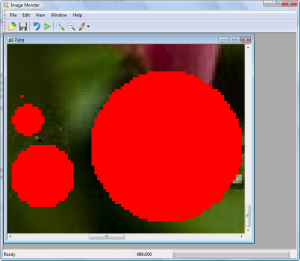
The following image shows just one click of each marker – the area that each marker ‘selects’ with one click (smallest -> biggest is thin -> extra bold):
As you can see, there is a big difference between thin and middle – there definitely could be (should be) one or two more markers put in between those two sizes. There is also a huge difference between bold and extra bold. However, the above picture is zoomed in quite a bit so I could show the difference between the markers. The actual size of each marker is much, much smaller when at 100% zoom.
If you ever screw up, or would like to un-color the area you have colored in with the marker so far, there is the undo button:
This undo button will remove all marker marks on the image, not just the last one you made. Unfortunately, besides the undo tool, there is no way to remove the marks of a marker. I really wish the developer had added in something like an eraser tool which you could manually remove the marks of a marker.
Once you have selected/colored in the area you want removed, press the play button to process the image:
Your image will process fairly quickly, although the processing image depends on how big your image is. If you like the resulting image, you can save it by hitting the floppy disk icon, or go to File -> Save Image As. You will be able to save your image in the following formats:
While this program is good, I do not think it deserves all the thumbs up that are being given to it on GOTD because of the following reasons:
- There is no tool besides markers to make your selection. The developer should have added in something like a rectangle selection tool, or a wand-type selection tool to make selection much easier. The developer took a shortcut on this.
- No eraser tool (as mentioned above).
- The differences between each markers is huge (as mentioned above).
- How accurate the mending process is depends on the image itself. You may have to mend an image multiple times to properly get the end result you want.
Here are some examples of how well/bad this program works. I googled for all these images. I have zoomed in on all the images to get better selection accuracy:
Original (I got it from this wiki):
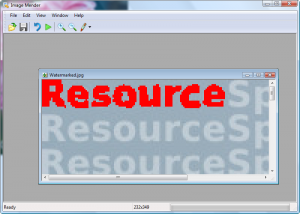
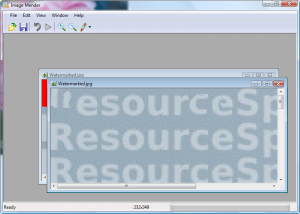
I zoomed into the top left corner and used the marker to select “Resource”:
This is the result after I processed the image:
As you can see, for this mending attempt, this program = fail. I attempted to mend the new image to see if I could get better results, but nothing better came out of it.
Original (I got it from this website:
 I zoomed in on the “Palousephotography.org” watermark and selected it:
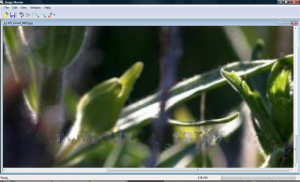
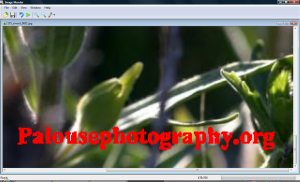 The result I got after I processed the image:
As you can see, removal of “Palousephotography.org” went well (really nice pictures on that website btw). Its not perfect, and I am sure processing the image would just improve it, but Image Mender performed reasonably well for this image.
Original (I got it from this tutorial):
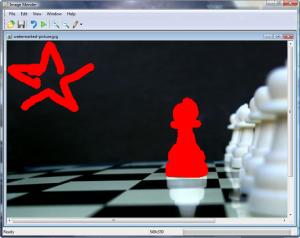
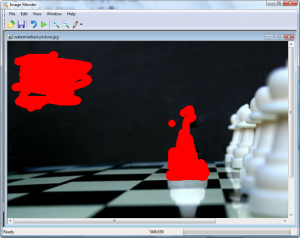
I selected the star and the pawn to remove:
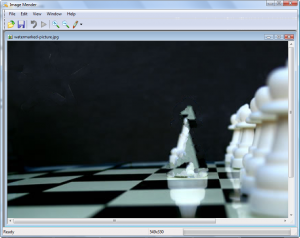
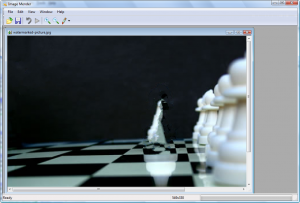
This is the result I got after I processed the image:
The removal of the star was fairly successful. But the pawn? Ehhh, not so much. I processed the new image:
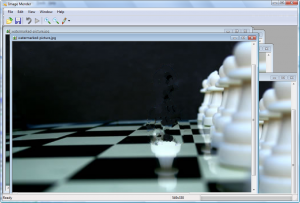
So it improved from the first; this encouraged me to process again and again. After 4-5 more mending processes, I came up with this:
I gave up after that last attempt. For this image, I would say this program failed (if you wanted to remove that pawn).
All the ‘mending’ I did was processed fairly quickly (none took more then 30 secs, and usually all finished under 10 secs) but the processing time does increase expontenially if you increase the size of the areas and size/resolution of the images being processed.
This program compared to InPaint:
GOTD gave away InPaint a while back. In comparison to InPaint, I would say InPaint is a lot more successful on simple backgrounds (like a solid color) while this program is more successful on more complex backgrounds. InPaint is also a lot quicker in processing the images and has a better interface. I used the same three images as examples in my InPaint review as I have in this review. Feel free to compare them.
Free Alternatives:
IfranView has a Copy Stamp tool just like Photoshop. Right click for source + left click to clone the area. It is a lot more anal then even Image Mender but it can give you more accuracy and control. To use the copy stamp in IrfanView, go to Edit -> Show Paint Dialog. A menu type thing should open up on the right of the IrfanView window. The clone stamp is located there.
Here is what I did with IrfanView:
Not perfect, but better then Image Mender although it took a lot longer.
Paint.net also has a clone stamp tool like IrfanView and Photoshop. This is what I did with Paint.net:
Similar to IrfanView (not surprising since both used clone stamps).
FxFoto and GIMP also have clone stamp tools where you can do similar things that I did in Paint.net and IrfanView.
PMnet Verdict: This program is good, but far from perfect. It is mainly for those people who do not have the time/knowledge of how to use professional photo editing tools such as clone stamp. The main ‘strength’ of this program is that it is very easy to use. The mending seems to be a hit or miss, being totally dependent on the image itself. I would say keep this program and if you ever have a need to remove a water mark or such, give this program a go. You may get lucky and successfully remove the watermark to your liking. I would suggest keeping Paint.net handy for those images that Image Mender cannot successful mend.
[/rssless]

 Email article
