 Email article
The freeware Paint.NET has a plethora of editing options, and you can add more with plug-ins! Among the plug-ins you can add to Paint.NET is TR’s Snow Flake Maker. That’s a plug-in that adds snow flake effects to pictures.
First, add the plug-in to Paint.NET from this page. There click TRsSnowFlakeMaker.zip to save the Zip. Then right-click the Zip, select Extract All and extract it to the Paint.NET Effects folder. Launch the Paint.NET software, click Effects > Render and the TR’s Snow Flaker Maker option to open the window below.
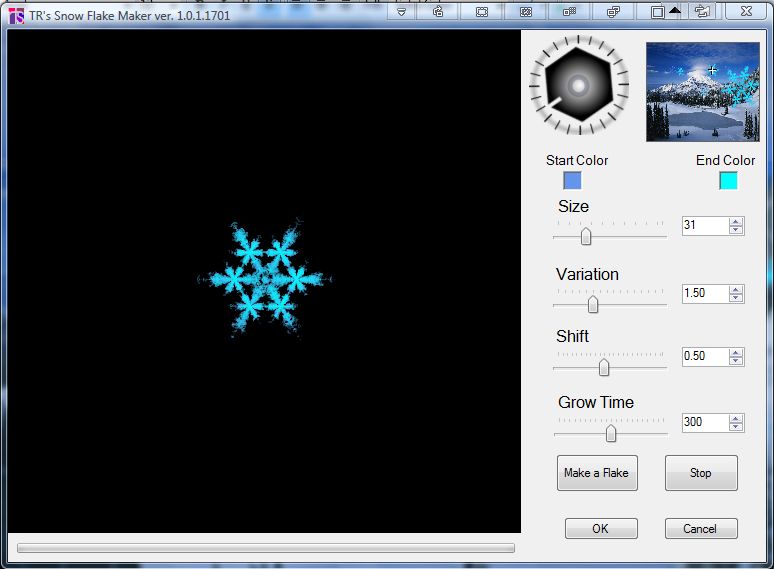
From that window you should first adjust the dimensions of the snow flake. Drag the Size bar to the left and right to expand or reduce the snow flake. Any editing also adjusts the snow flake preview on the left of the window that takes a few minutes to update.
To adjust the position of the snow flake, click the box at the top right of the window. Then drag the small cross on that box to an alternative position the image.
To the left of that box there is also a compass. Left-click on that compass and rotate it to adjust the angle of the snow flake in the picture.
In addition, you can also select alternative colors for the snow flakes. Click the End Color box to open the palette in the shot below. Then choose a snow flake color from the palette.

Next, click the Make a Flake option and OK button on the window to add the snow flake to the image. Note that you can only add one snow flake to the picture at a time. The image below is an example of the output you can get with this option.
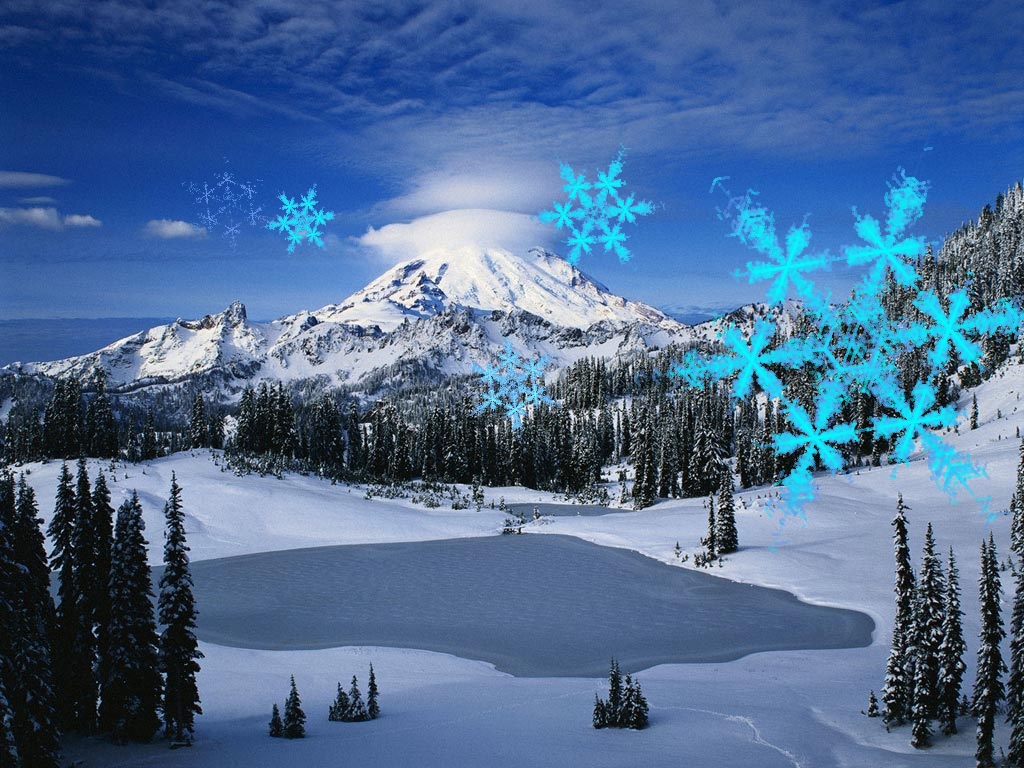
This plug-in can a be a great editing option for images with winter settings. Add a few snow flakes to the images to enhance the winter effect.


