 Email article
If you haven’t known yet, Windows 10 is set to launch this summer. That means it’s only a few months before we can have a full experience with this operating system. So far, we have seen some big things in Windows 10, such as multiple desktops, and the Start Menu. Additionally, there’re also many small improvement and new functions. After digging the Settings, I found a feature that can move your installed Store apps to different drive (partition) on the same computer. Let’s try it out.
There are so many reasons when you want to move your apps out of the system drive. Mostly due to the disk space. In Windows Store, some games are as big as a few gigabytes; you might don’t want them to occupy the system drive.
In the latest build of Windows 10 Technical Preview, build 10049, the Settings app can help you do this.
- Type “Apps and features” into the search box on the Taskbar and launch the first result.
- In the Settings app, there’s a list of all your installed apps on the device.
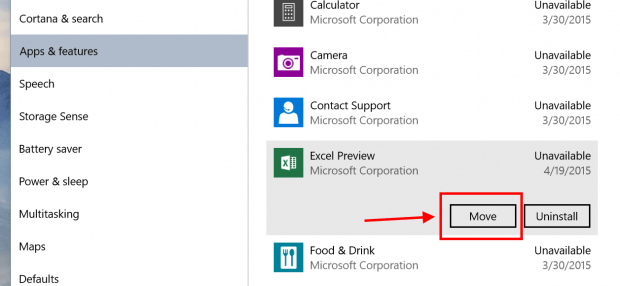
- Select the app you want to move. If the Move button is greyed out, that means the app can’t be moved.
- Now hit the Move button and select a drive you want the app to be moved to. The process should take a while if you move a large app.

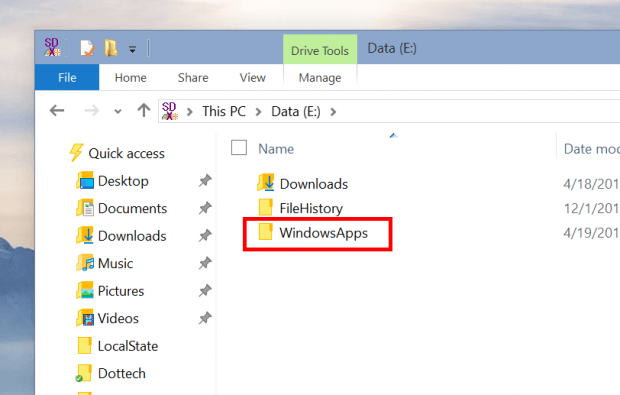
- After the process is done, you may see a folder named “WindowsApps” in the root of the new drive. That’s where the app was moved to.
As usual, please always keep in mind that Windows 10 is still a work in progress; this feature’s likely not going to work as you expected. I’ve had some successful with it but there have been many times the app stopped working after moving or it just wasn’t moved at all . So just don’t be too frustrated when it doesn’t work.


