 Email article
Windows Media Center (WMC) was first introduced with Windows XP as a program that got everything you need to turn your PC to an entertainment system. There were even remote controls that work with this suite. WMC later included in Windows Vista and Windows 7 but never received any major update. It came to death when Windows 8 didn’t include it anymore, but you can still buy separately. Finally, Windows 10 drops support for WMC. It’s neither included nor be able to be installed on the new operating system.
However, thanks to some enthusiasts at the MDL forums, we now have a way to install WMC on Windows 10.
NOTE: this is an unofficial workaround and you will have to download files made by community users. So please consider before doing this. You may want to back up your PC or create a restore point just in case.
How to install Windows Media Center on Windows 10
First, you need to download the zip file below. And again, this is not an official file from Microsoft.
- When you have the file, unzip it.
- Now right click on the file “_TestRights.cmd” and select Run As Administrator.
- If there’s still a Command Prompt window opened, you’re doing it right. Then right click on “Installer.cmd” and select Run As Administrator.
- You’ll need to wait awhile for it to be installed.
- Finally, restart your PC to make sure everything works fine.
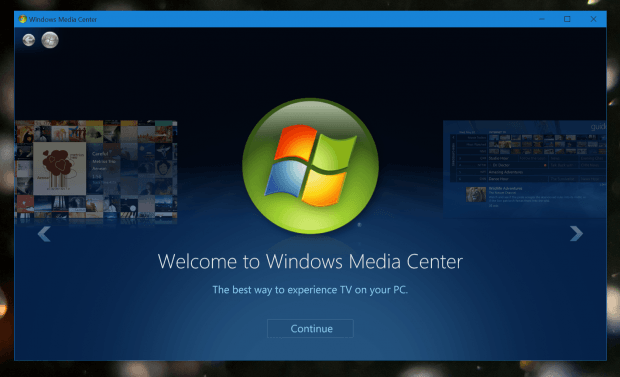
With a quick search in the Start Menu’s search box, you’ll find Media Center. Click the result and voila, you got WMC on your Windows 10 machine.
(via Neowin)


