Do you wish to know the steps on how to create custom Start Menu tiles for your favorite games on PC? If you’re PC is running on Windows 10, that won’t be a problem. These are the steps on how you can get it done.
Install “Pin More”:
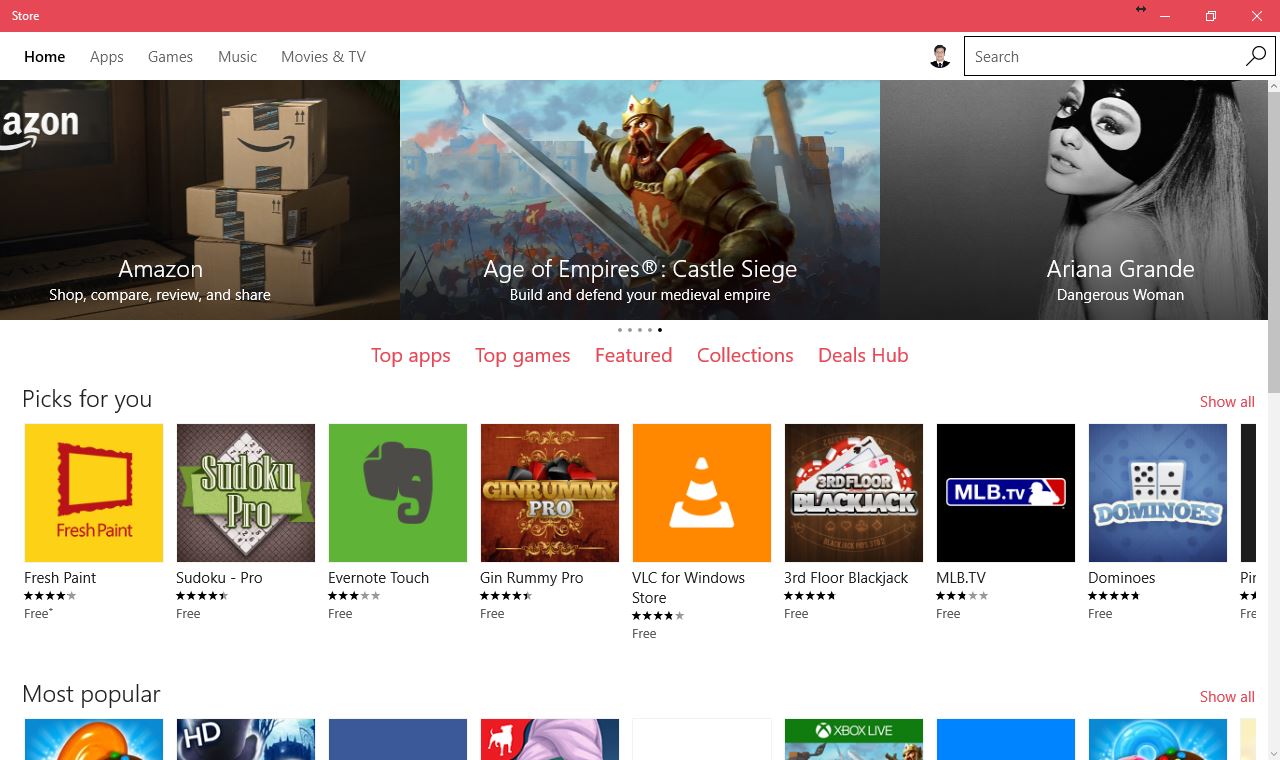
To begin, from the Windows Store, install the “Pin More” application.
Open up the Start menu, from the highlighted tiles select the store(in your personal setup this can be different).
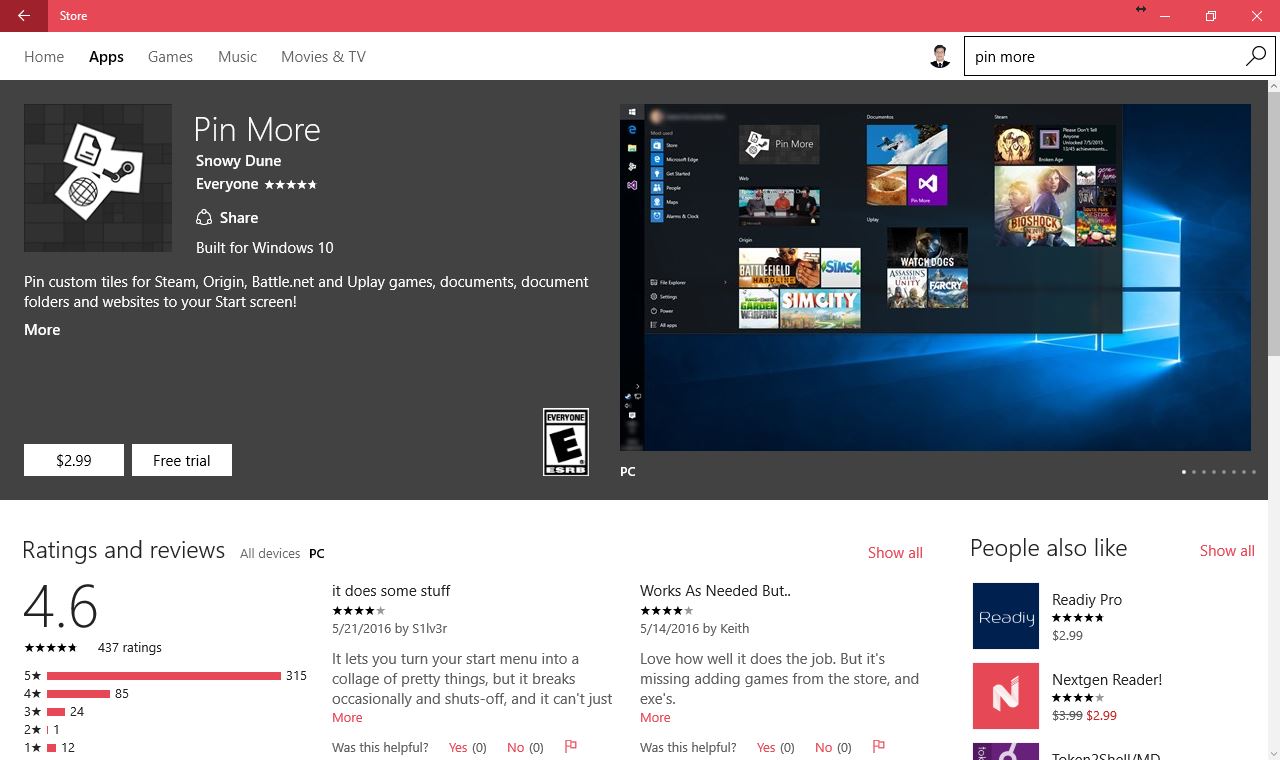
You will be directed to the main page of the application when you type “Pin More” into the search bar.
There are two flavors available of “Pin More”, a free trial version and paid version. The trial version has all the characteristics of the full versions and this will work as long as you require. To start the app, install the application and then click the ‘Open’2 button.
Link your stream:
The next step is linking the account containing the games you want to add to the start menu. Currently, Pin More is compatible with Steam, UPlay, Origin and battle.net. It means when you will link service, it will detect all the installed games automatically and to populate the list of all available titles using your account which you will log in.
In here, we will illustrate to you what Pin More can do using the Steam account. To link the Steam account. Into the highlighted box enter your steam ID and click the ‘connect to Steam’ button. Pin More will show all the games associated with that account like a menu.
Adding accounts and games was same like Uplay and Origin, however, battle.net works alone on automatic detection. Surely, this means that every game which likes to create a tile for, should be installed in the official folder of “battle.net”on your hard disk otherwise Pin More will not be able to see the installed games and then you have to add the games manually.
There is an option in the pin more that you can add the games outside of these four clients, it will not update the live tile with your achievements or for how long you played. In this event, it is easy to just find the game stored in your computer’s memory. Right click on the logo, and select pin to start option.
Create a live tile:
If you want to create a live tile of your favorite game, you can find it in the listing, which is shown, and click on the icon to navigate to its configuration page. If, for example, if we have chosen ‘Rocket League’ as the action sports title. If you wish to make separate icons for either small or large live tiles, you first have to download the logo from the other websites separately and then change them to either 150×150 px or 300×300 px, respectively.
If you wish to add a separate picture for the tile, click on the bottom right-hand corner of the tile size which you want to update.
Next, click on the downloaded image which you want to update and click on the open button. As you update the image you have the option to add the text and change the text to dark or light text.

 Email article


