 Email article
If you are someone who is a bit pedantic about how the background of your folders look, or you just like to customize the OS where you see fit so you can have things your own way, you might be interested in checking out a third-party tool called the QTTabBar.
Many people got used to having a unique background folder color in earlier versions of Windows such as Windows XP when it was a feature that was easily obtainable by adjusting the desktop.ini file. By modifying the same file, it was even possible to set an image as the background and not just have a lay with solid colors.
All of that fun that was once available in Windows XP has been taken away in Windows 10. There is no way to be setting background colors of folders at all unless you are willing to use a third-party application. The best application known to date for the job is the QTTabBar tool.
Changing the folder background color in Windows 10
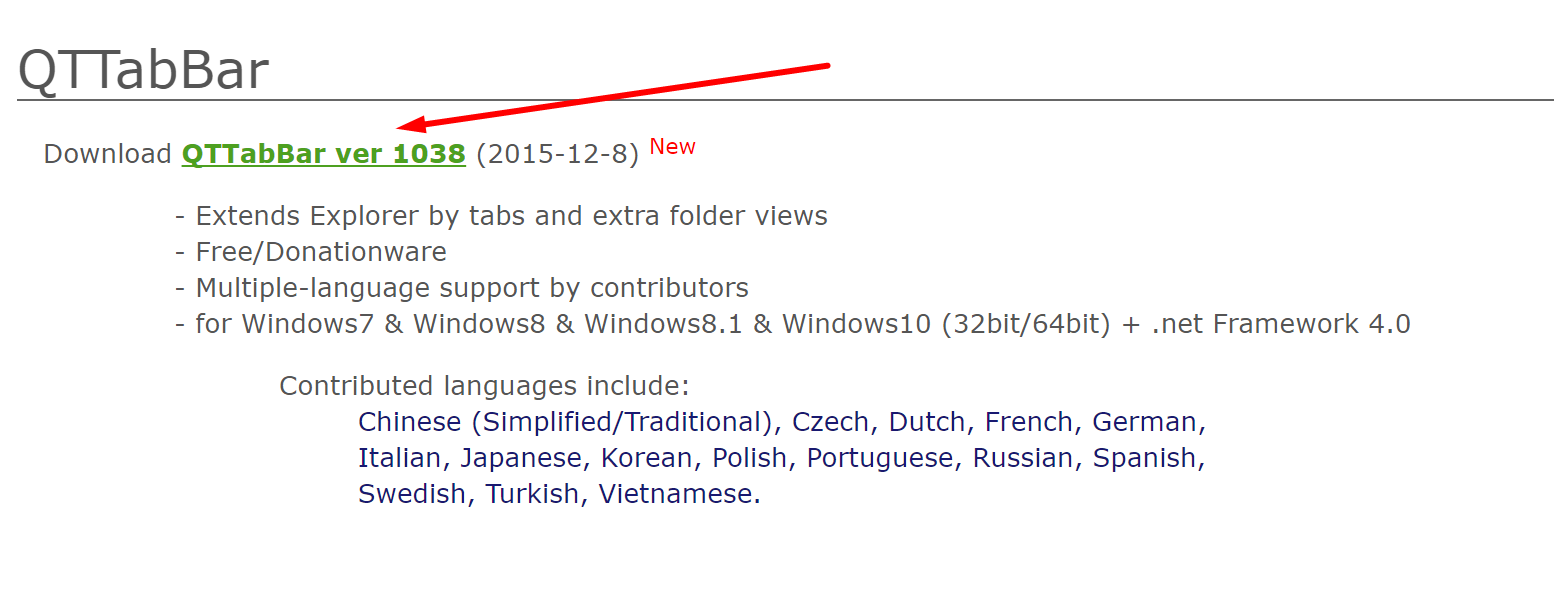
Head to the QTTabBar web page and click on the download link that is available in green.
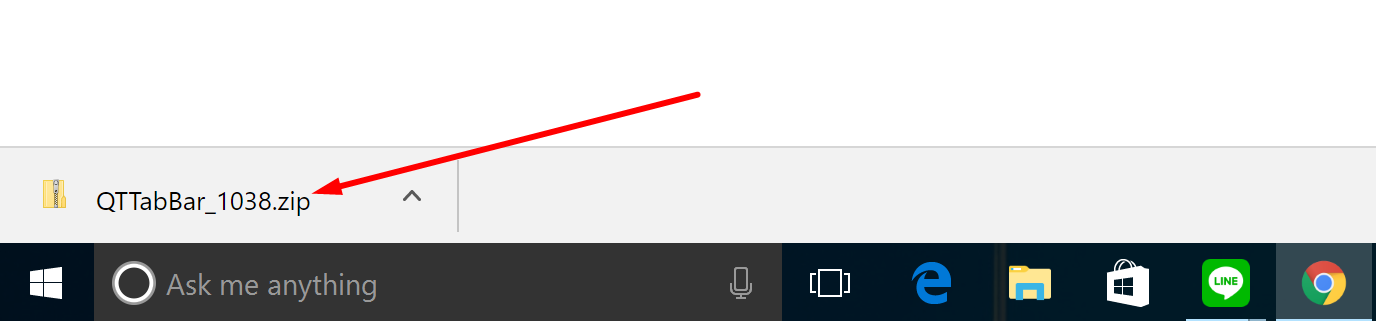
Once you have clicked on the link, you then get the file downloading above the taskbar. Click on the file once the download completes.
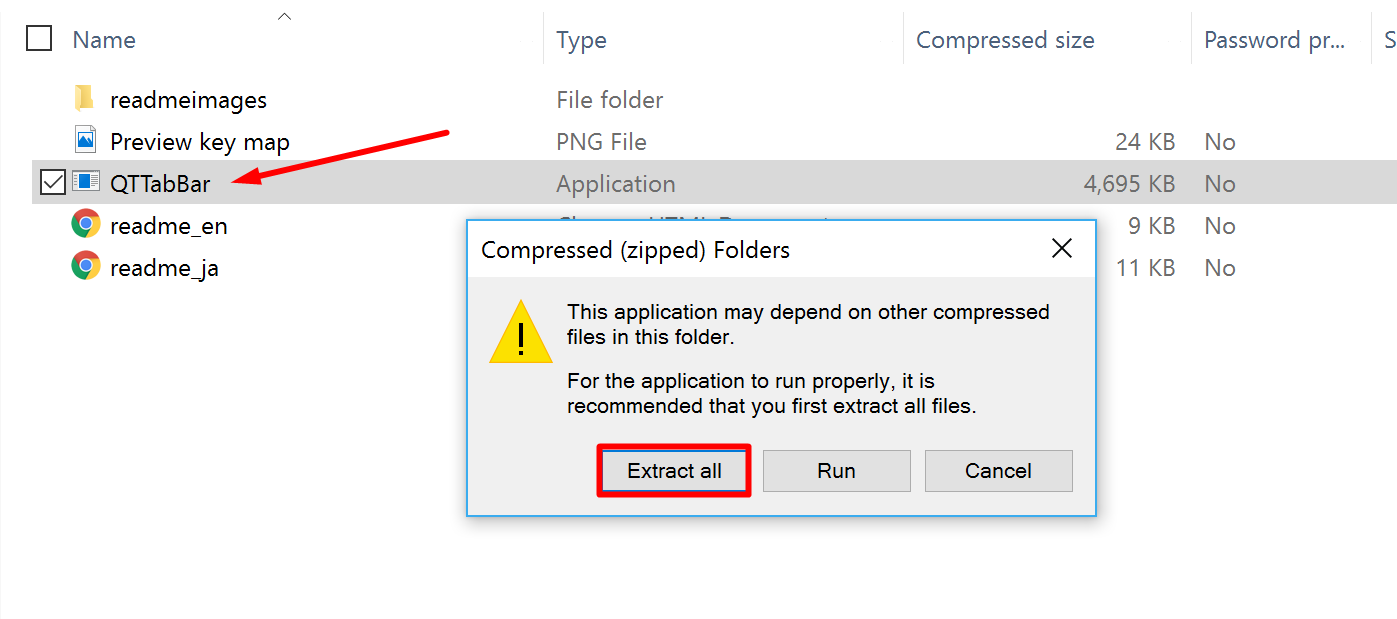
Click on the “QTTabBar” application and then click on the “Extract all” button when it appears on the computer screen.
Select a destination for the extracted application by clicking on the “Browse” button or just leave it on the default option if you don’t know where you would like it stored on the computer.
Click on the “Extract” button at the bottom once you have made your choice.

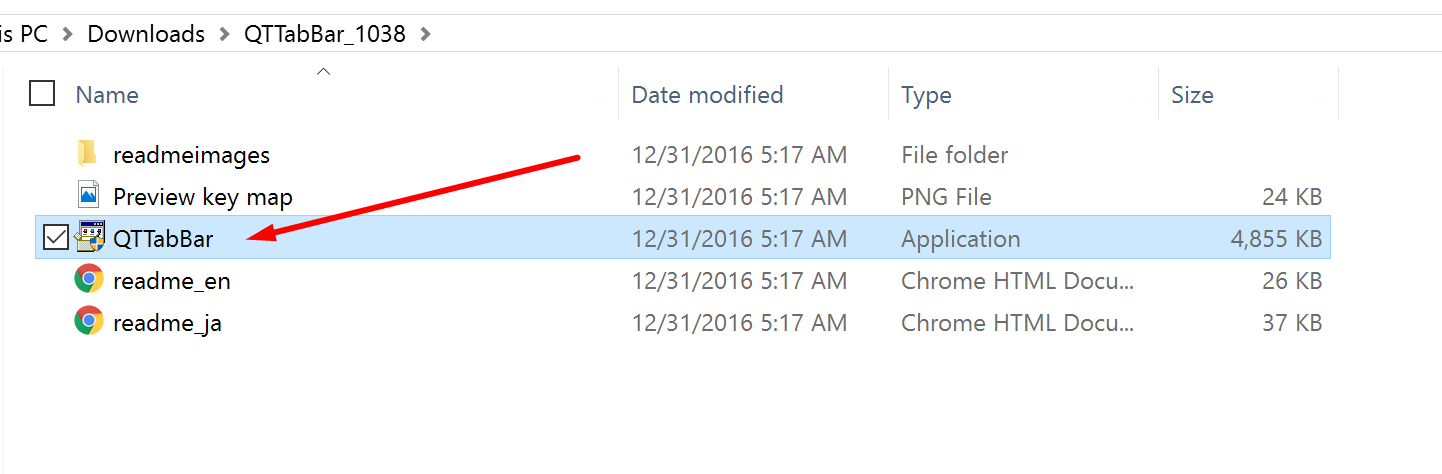
You now have the extracted version of the QTTabBar application available that you can click. Do that now, and you then get the setup wizard that needs following to set up the tool.
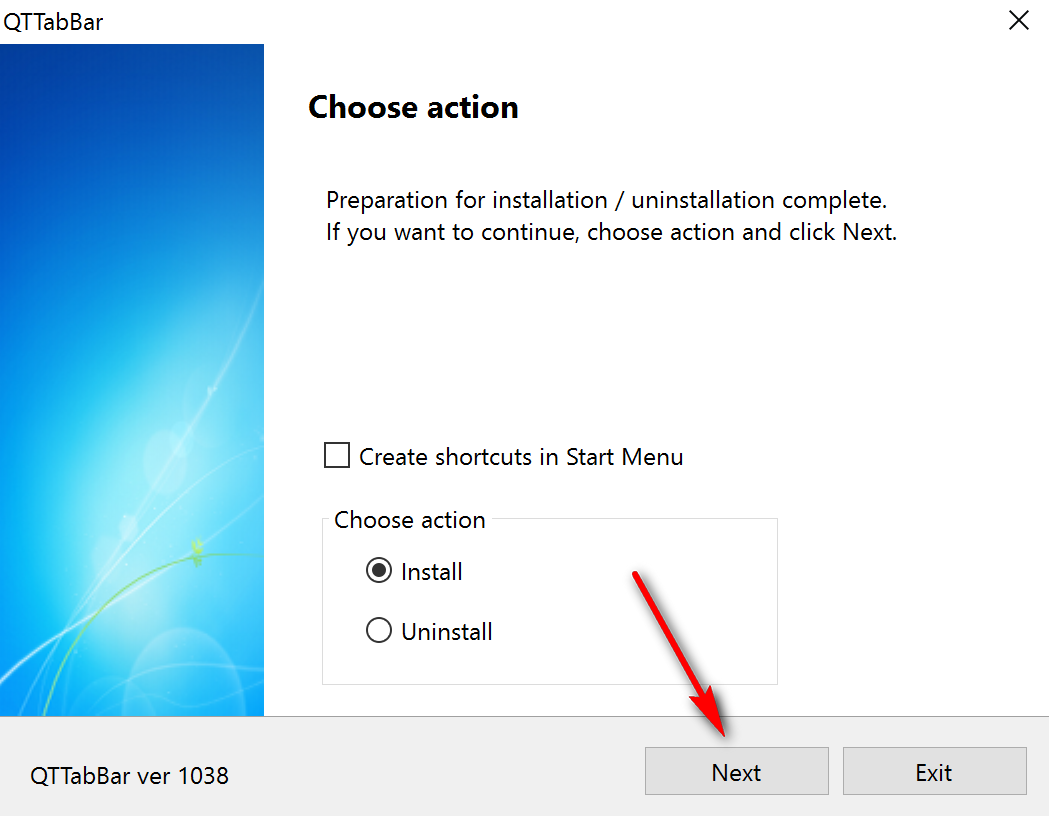
Click on the “Next” button from the front page of the setup wizard.

Click on the “Install” box from the “Choose action” page and deselect the “Create shortcut in Start menu” box if you don’t want the program to install a shortcut in the Start menu if you are anything like me and prefer to keep the Start menu reserved for the essentials.
Click on the “Next” button to continue.
The QTTabBar then installs on the computer. Click on the “Exit” button when you get to the “Installation finished successfully” screen.

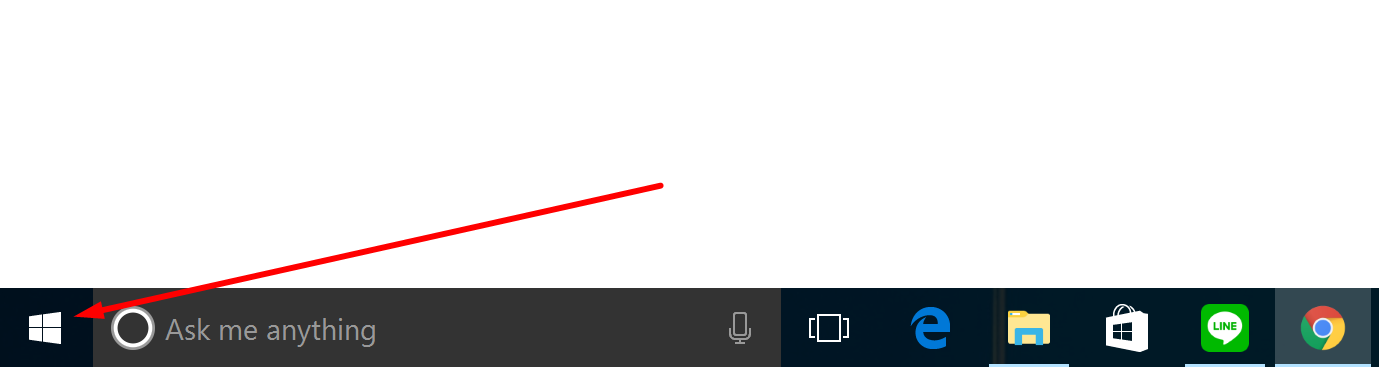
Click on the Windows icon to open the “Start” menu.
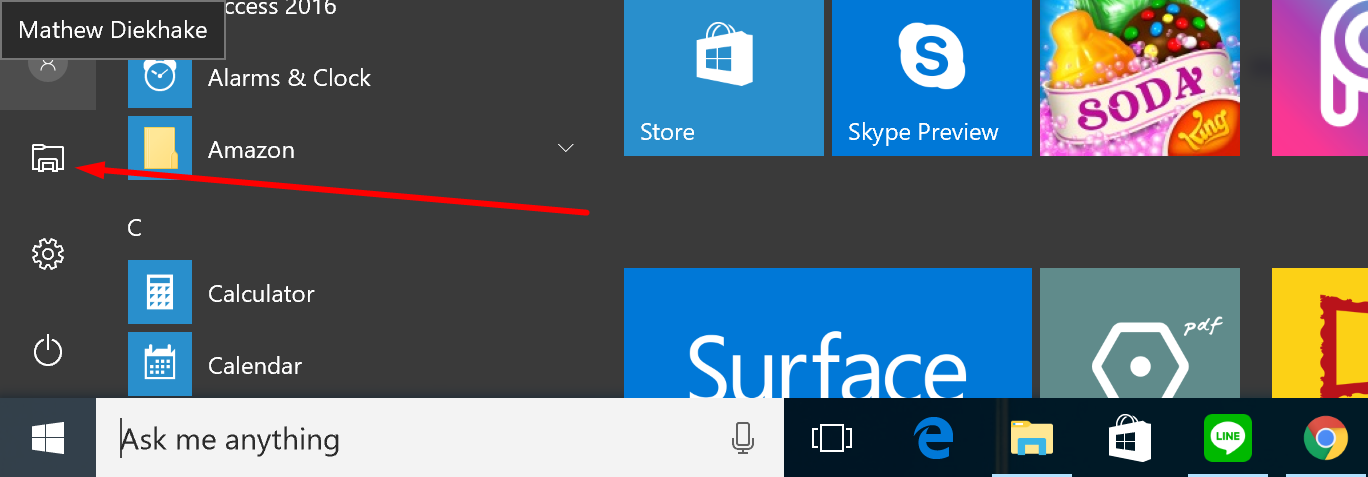
Click on the “File Explorer” icon available from the left-hand side pane.
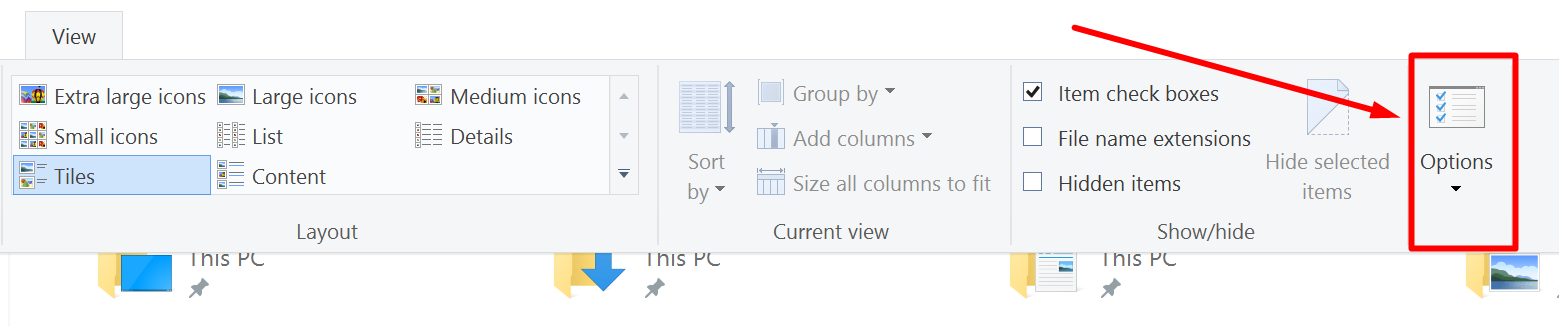
Click on the “View” button from the menu.

Click on the small arrow that is available under the “Options” button.
Doing so presents you with a new drop-down menu with some options. Make sure you select the “QT Command Bar” and “QTTabBar” options, so they now have a tick next to them.

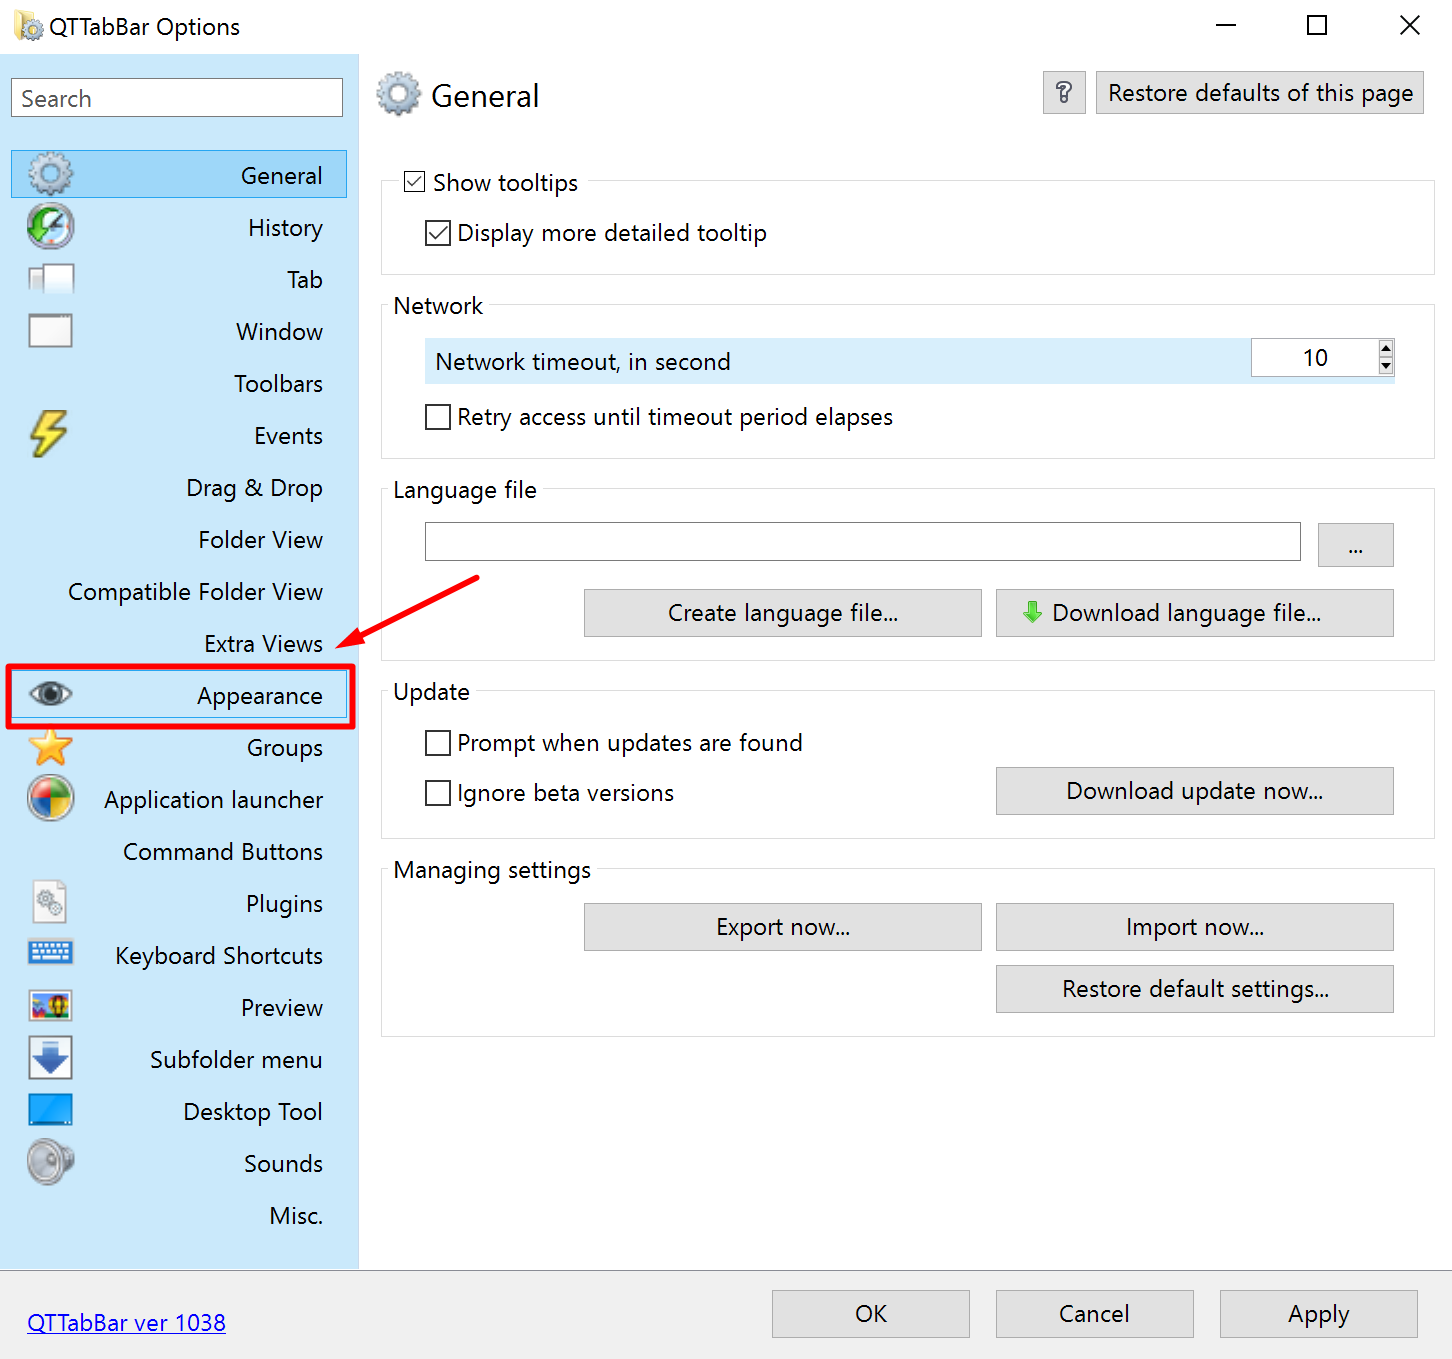
Once that is done, you get a new bar available. Look for the “Settings” gear icon available in that bar and click on it to open the settings that are associated with the tool.
![]()
Click on “Appearance” from the left-hand side pane.
Click on “Folder view” under the “Appearance” heading.
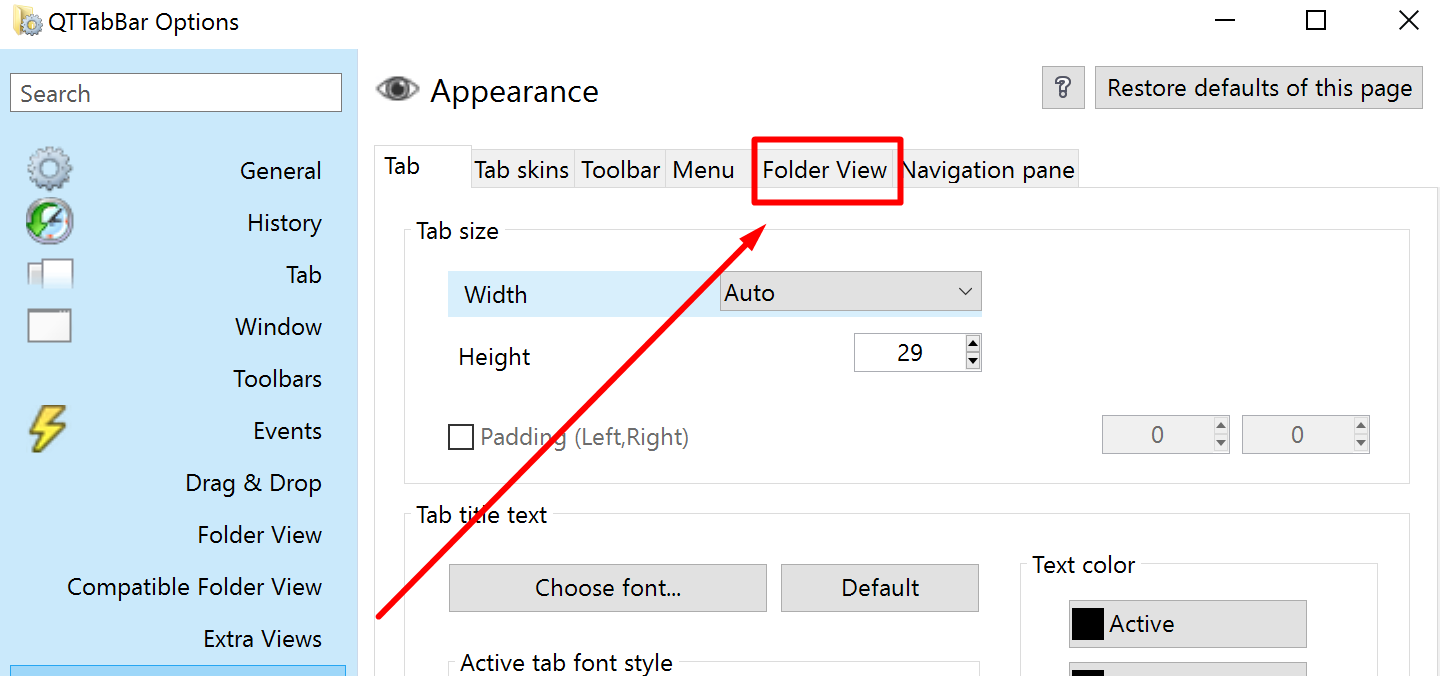
Choose your colors from the Folder View.
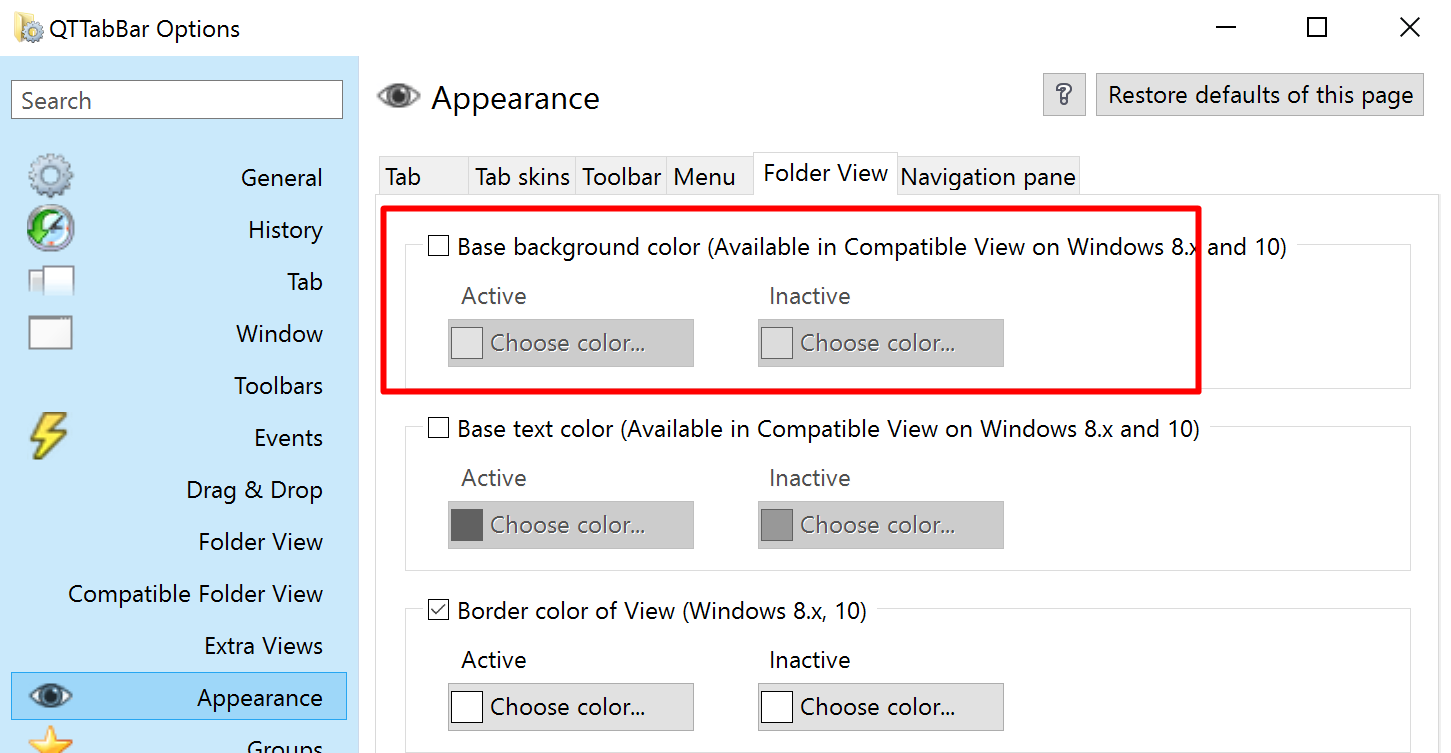
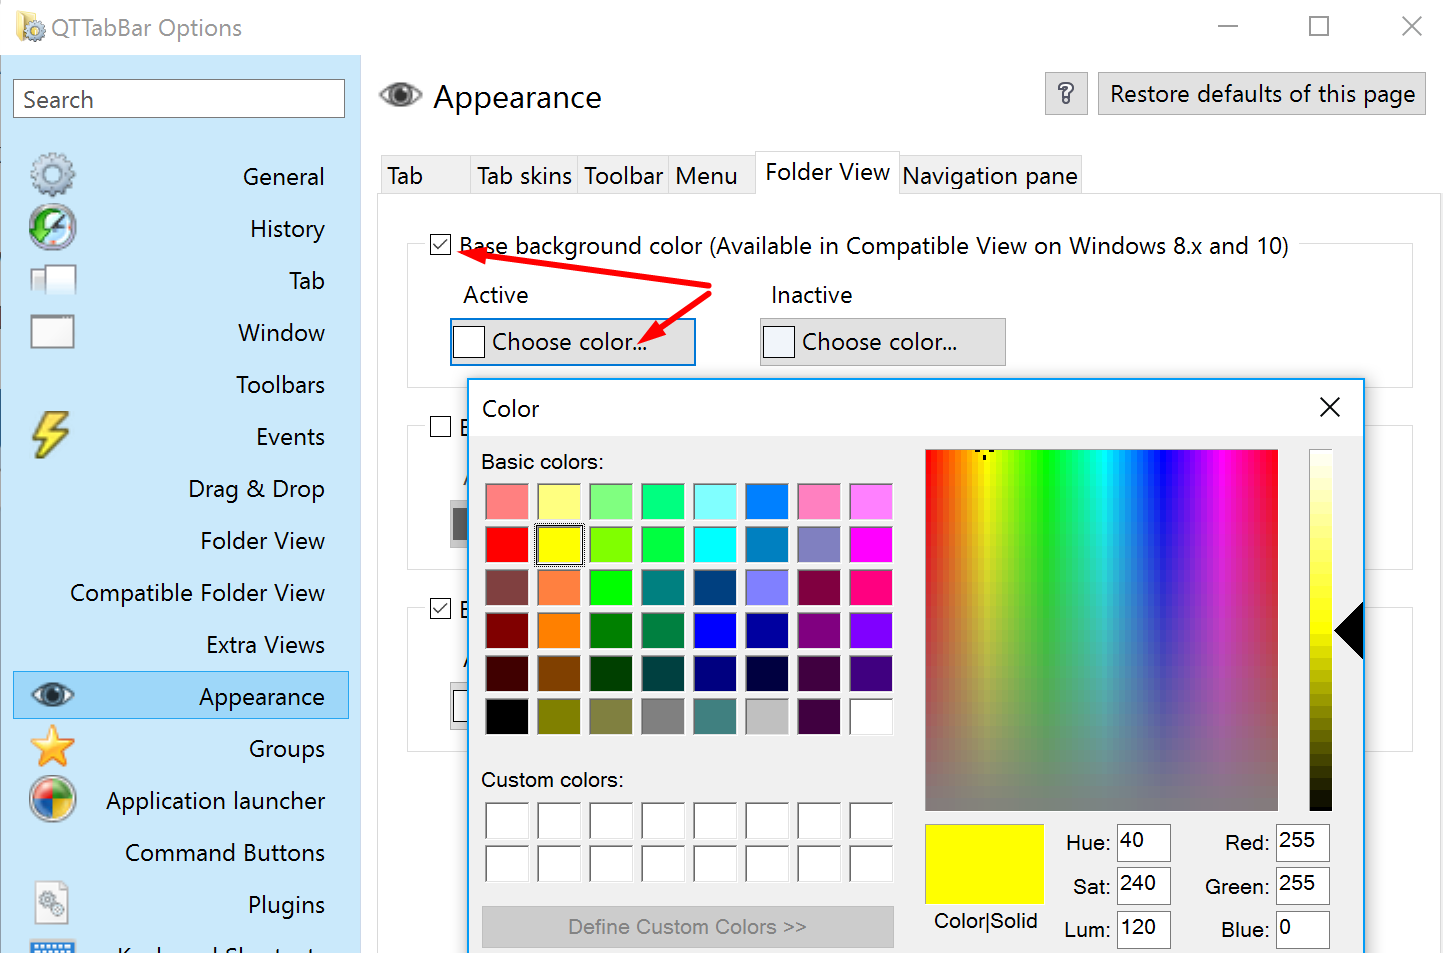
Clicking on the “Base background color” then makes the color pallet available for you to use.
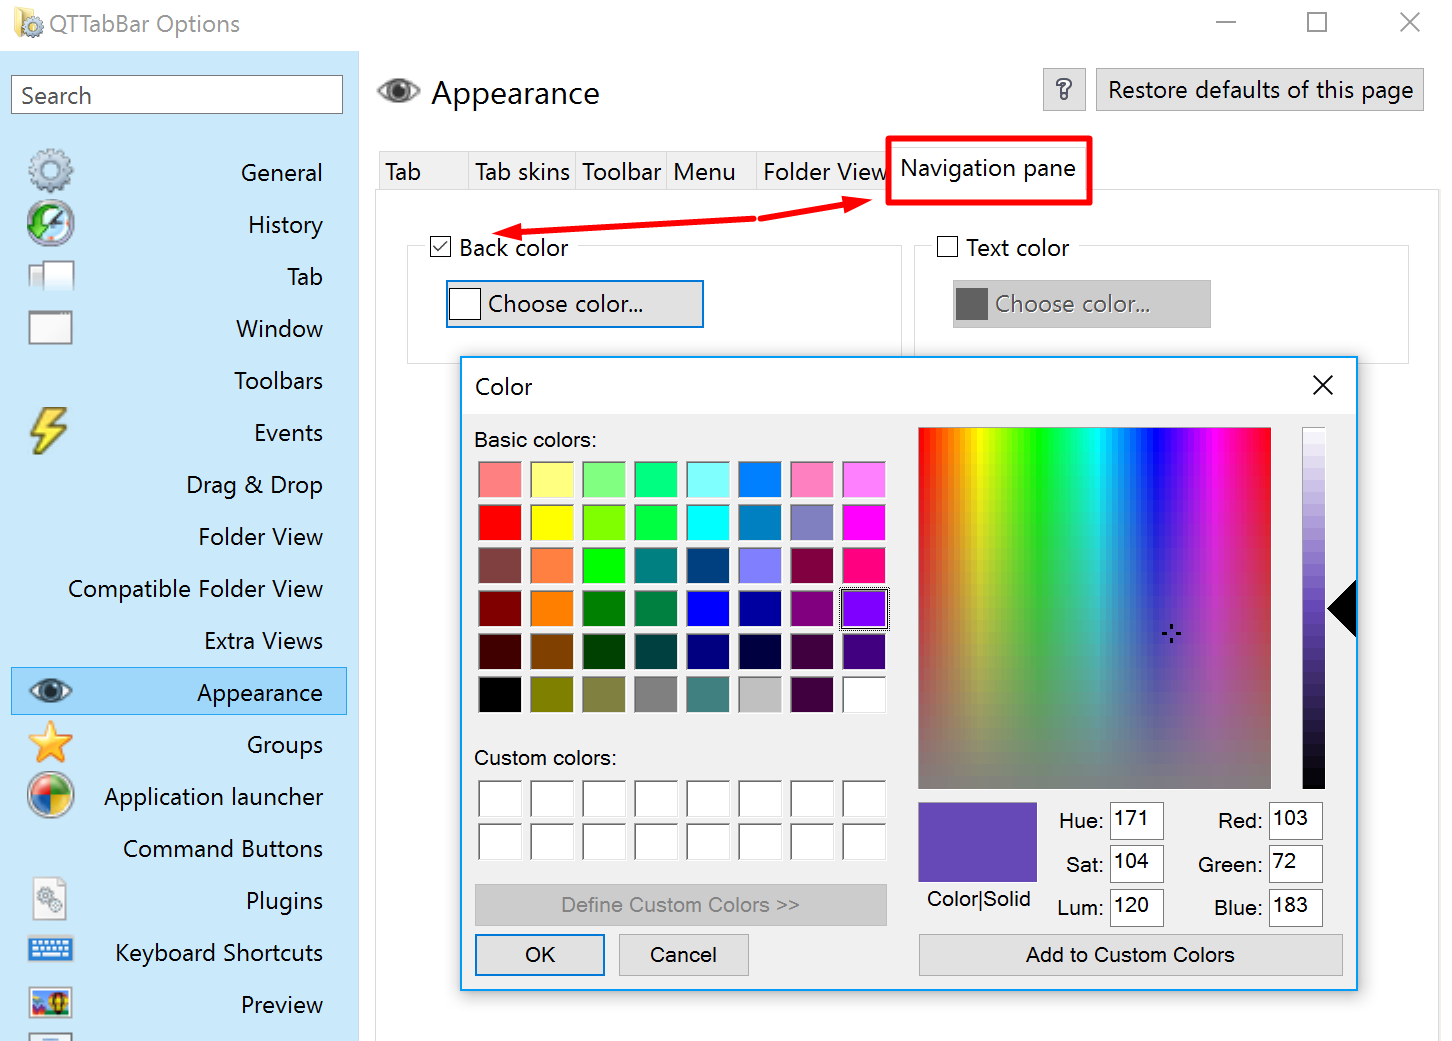
Click on the “Navigation pane” option in the menu and choose your colors again. The color you choose this time is going to be for the navigation pane that is available on the left-hand side of the screen when you open your File Explorer (similar to the area that is featured in blue for this tool).
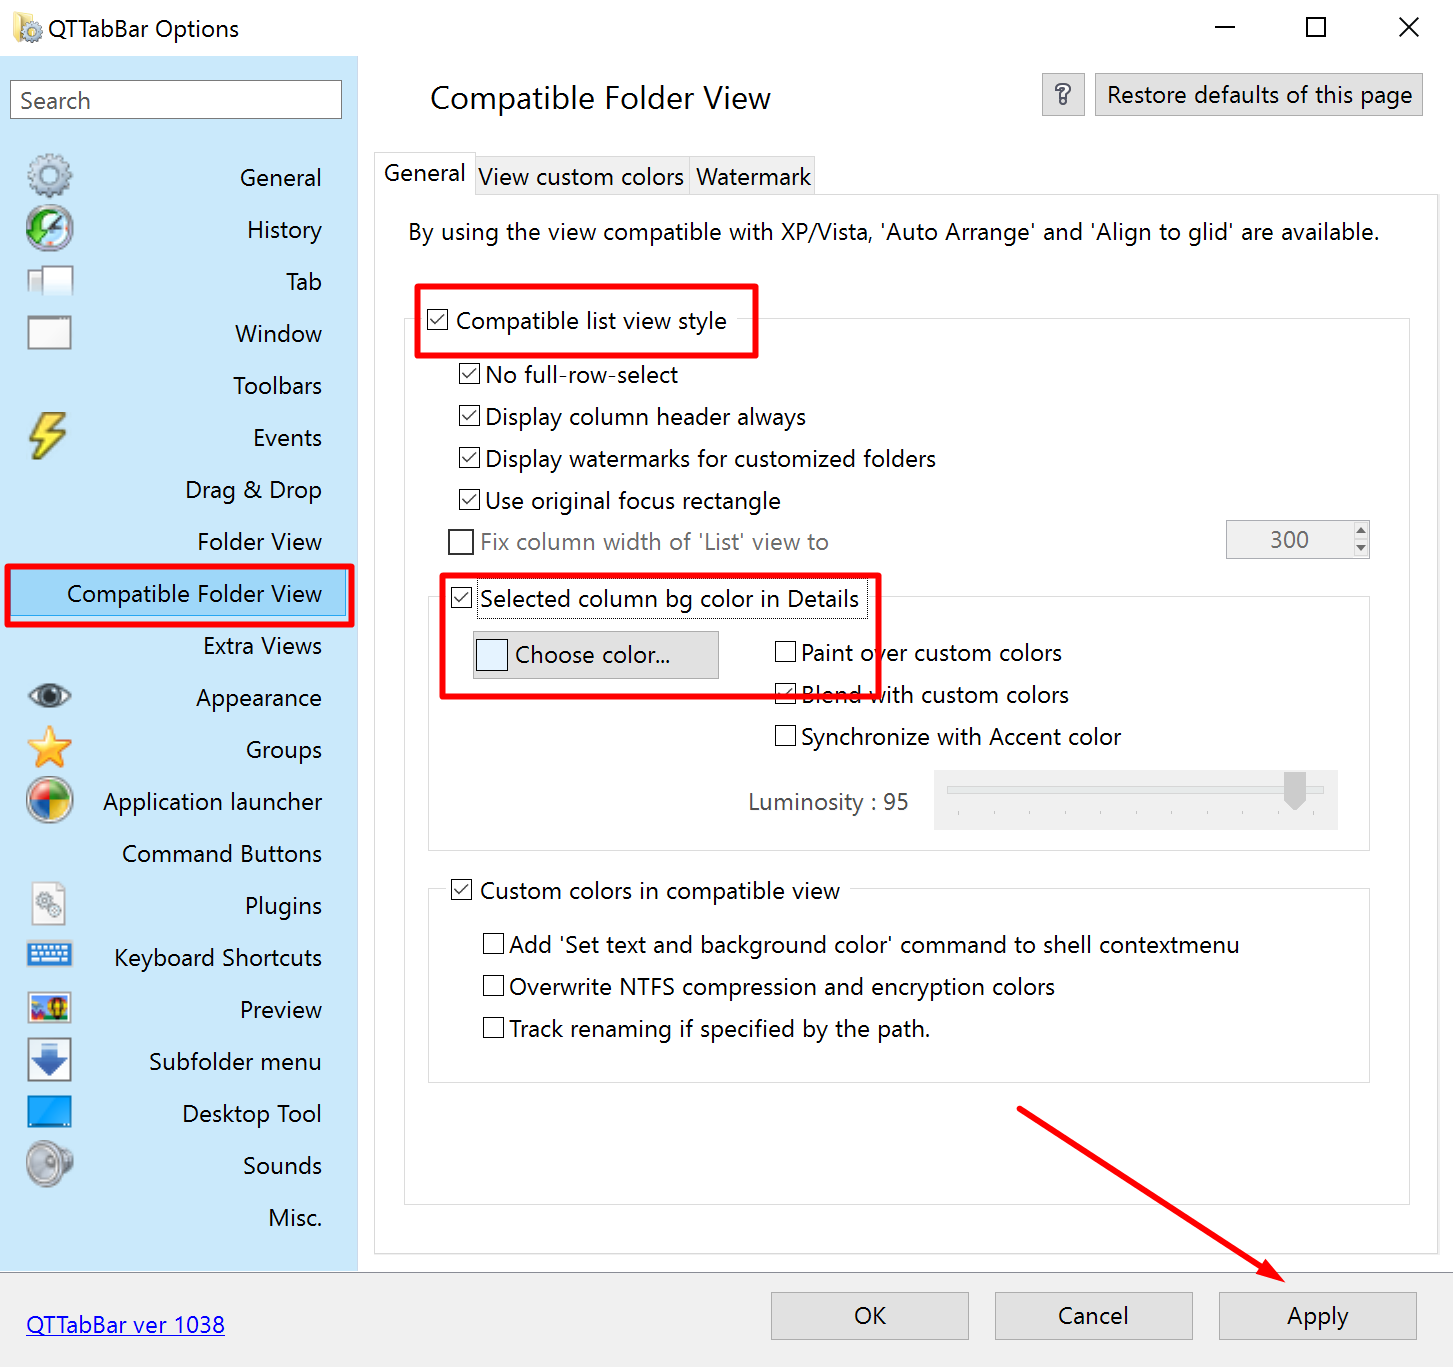
Now click on the “Compatible Folder view” from the left-hand side pane and click on the “Compatible list view style” and check the box for the “Selected column bg color in Details” and then choose your color.
Click on the “Apply” button from the bottom of the screen.
You have now applied the colors, and they are available for you to use next to you visit the File Explorer after resetting the computer.
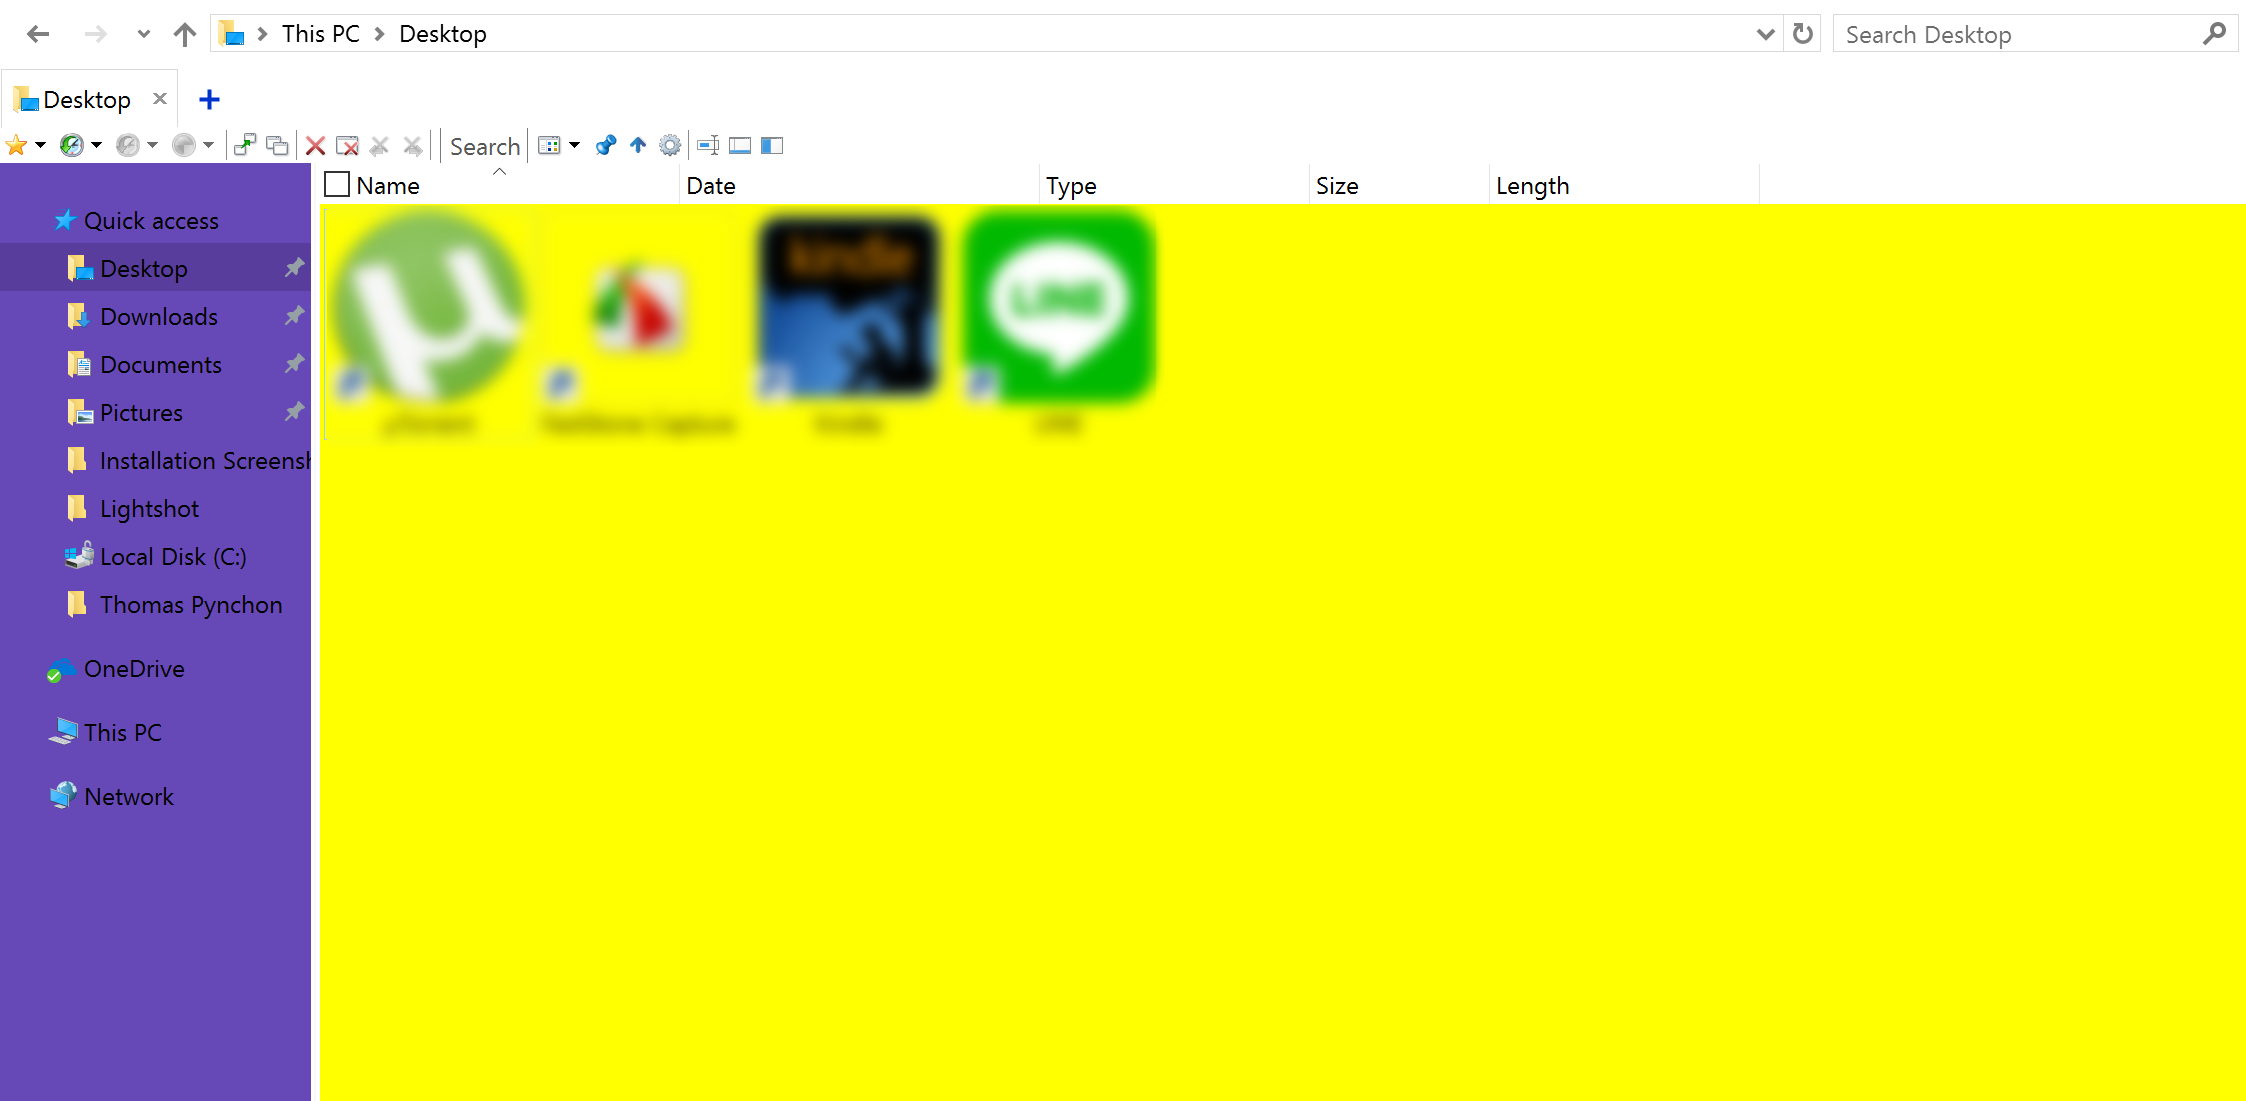
That is all you need to change the folder background color using a version of the Windows 10 operating system.


