 Email article
If you use your Windows computer a lot at home or you have a business with critical data being stored on your computer, you might be interested in finding some software that can backup your data instead of just relying on a system restore if something goes wrong.
There are many different free imaging programs out there that can help you backup the data on your Windows computer with ease regularly, but one of the best available out there is Macrium Reflect.
You might already be aware that Windows 10 comes with an option to take system image backups right from the Settings, but the features that come with Macrium Reflect are what makes people use it over what comes natively with Windows. With the Macrium version, you get smaller images, faster backups, the program itself is more reliable, heaps more features such as a boot menu option, boot repair options, and many more features.

You might expect things to be different since Microsoft is the billion dollar company, but the fact of the matter is that Microsoft hasn’t really developed their system image backup tools since Windows 7 and they aren’t even close to much of the competition that is doing a better job of creating tools for these system image backups for them. Part of the reason why Microsoft has lagged behind in creating decent tools for system image backups is that they apparently wanted to drop it for the File History Backup feature—which seemingly few people use.
How to create backup of system image in Windows 10 and restore it
Macrium is available as free and paid software. Like all products that offer free and paid software, the paid version comes with more features. You can read up on what they are from the download page that is given in the first step. The free version comes with everything you need for backing up and restoring the system images with ease.
Installing Macrium Reflect:
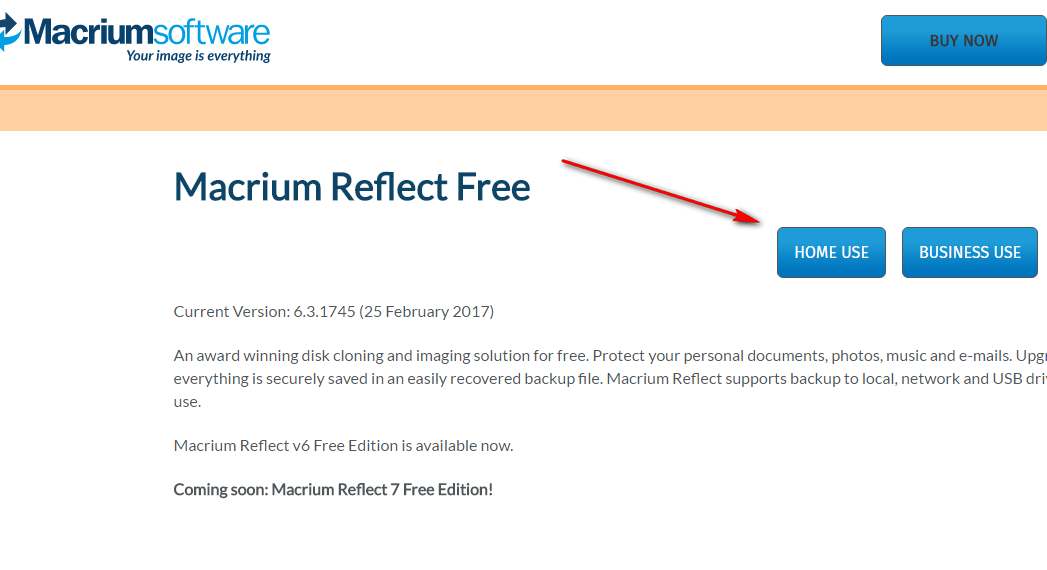
Head to the Macrium.com/reflectfree link and click on the download link available for home or business use—depending on what suits your needs. (Some links suggest this software is only a free trial. Discard those. This is not just a free trial.)
Click on the Reflect executable file when it is available above the taskbar.

Keep the “Free/Trial software” box checked if you want the free version of the tool and then click on the “Download” button.
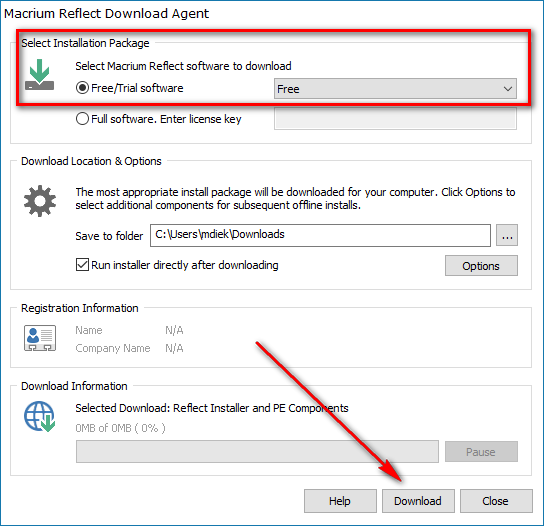
Click “Yes” when you get to the confirmation dialog box.

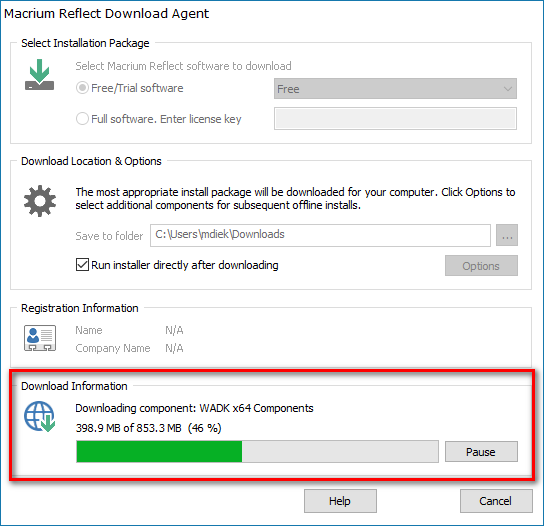
When the download begins, you will notice a bit of a paradox: one of the main features of this tool is that it manages to save a lot of space when backing up its images in comparison to other tools, but the size of the download in itself is quite large. For most people, it will still make sense using over other tools if you wanted a tool that could save space, but you ought to assess if it’s worth having if you don’t plan on backing up and restoring much data with smaller images.
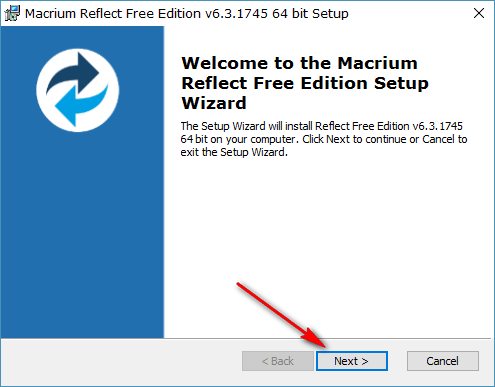
After the download completes, you then get to the Macrium Reflect Installer. Click on the “Next” button to begin running through the setup wizard.
 Accept the terms and conditions and then click “Next.”

Click on the “Next” button again.
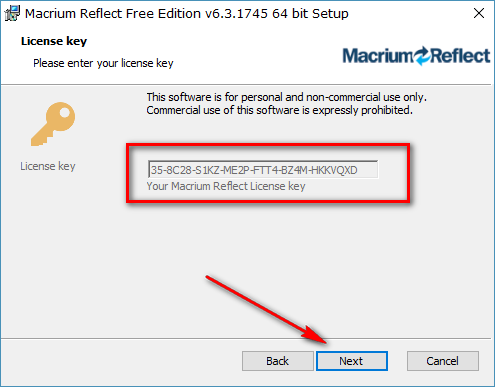
Since this is the free version, it already has the license key available in the box. (You can save that to your EverNote or Notepad if you want, but you don’t need to know the License key to use it.)
Click through the rest of the screens you get along with the installation wizard and then click on the “Install” button when you get to the end of them.
 Creating rescue media:
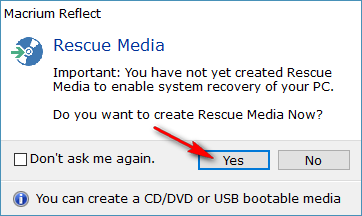
Before getting stuck into the backups, Macrium invites you to create rescue media. The idea behind this is to give you an option to recover the system if it does not boot for you. It’s always a good idea to buy a separate USB stick for things like this so you don’t damage your rescue media because you might need to rely on it in the future.
When the Rescue Media dialog box pops up on the display, click on the “Yes” button to create it.
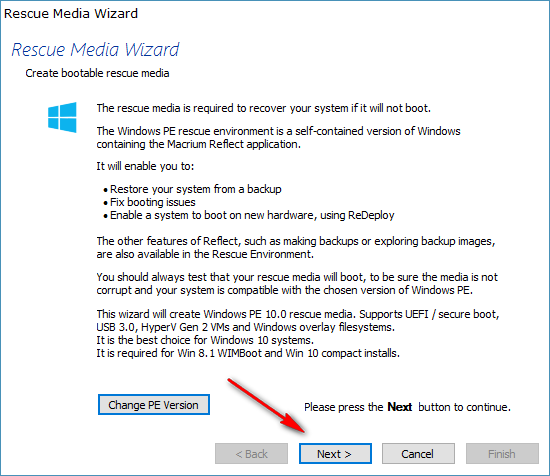
 Click on the “Next” button again.
The program then displays your drivers (highlighted in yellow) and includes them in the rescue media for you. You can click on the “Update driver” button if you haven’t done that in a while, and then click on the “Next” button to advance.

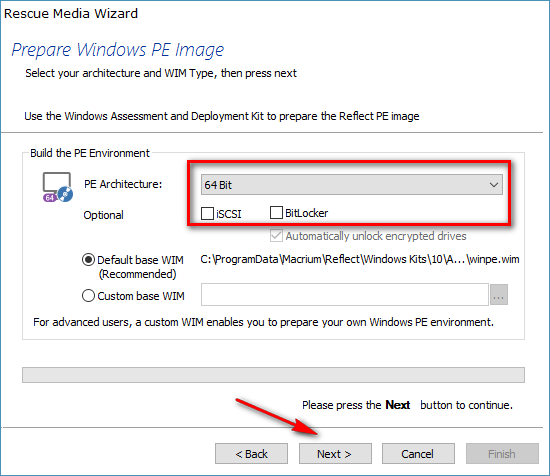
Choose the PE architecture from the drop-down menu (most computer’s should be 64-bit these days.) Click on the “Next” button to continue.
Here you get to choose how you want to store the rescue media. If you are a disk kind of a guy or girl, then you can click on the “CD/DVD” option, or change it to the USB Device if you want to have it stored on a thumb drive.
Click on the “Finish” button to create your rescue media file after you have chosen the DVD or USB option.
 Creating a full backup image:
Now the fun part: creating the backup of the data. By default, you are shown the “Disk Image” in the free version and the “Backup” in the Home edition. All of the connected disks are to be seen in the right pane. These connected disks and individually checked in the checkboxes so you can choose to either backup them all or only some.
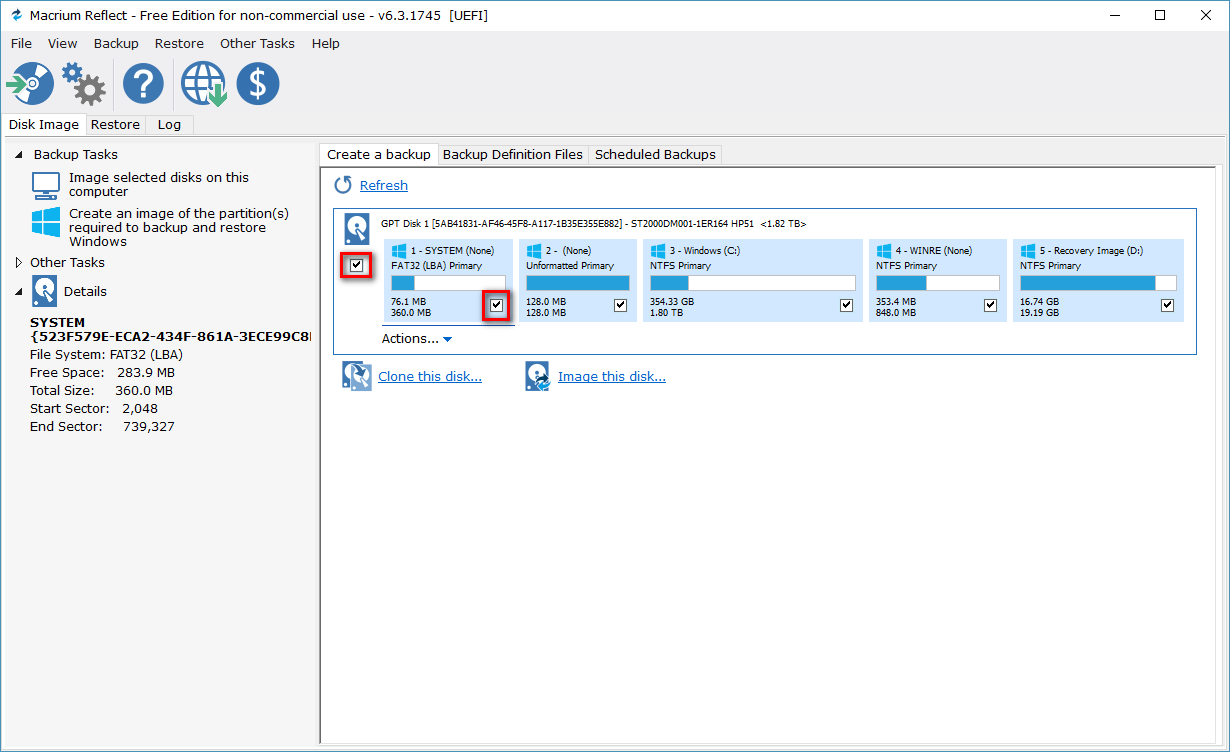
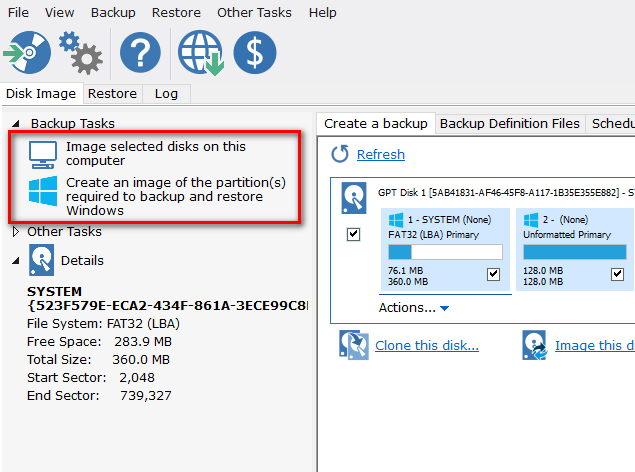
Additionally, in the left pane is a couple of backup options: “Image selected disks on this computer” and “Create an image of the partition required to backup and restore Windows.” The latter only giving you everything from the C:/ partitions legacy BIOS / MBR system or all of the EFI system partitions plus the C: partition on a UEFI / GPT system.
The following screen is where you need to choose your destination folder. Here is where some people get stuck when they aren’t thinking—like me initially. If you try to do what I did here, it will give you an error message and let you know that you can’t choose a folder from your C:/ drive. That’s because you need to choose a folder that is stored on your E:/ drive which is your external media (USB flash storage drive.)
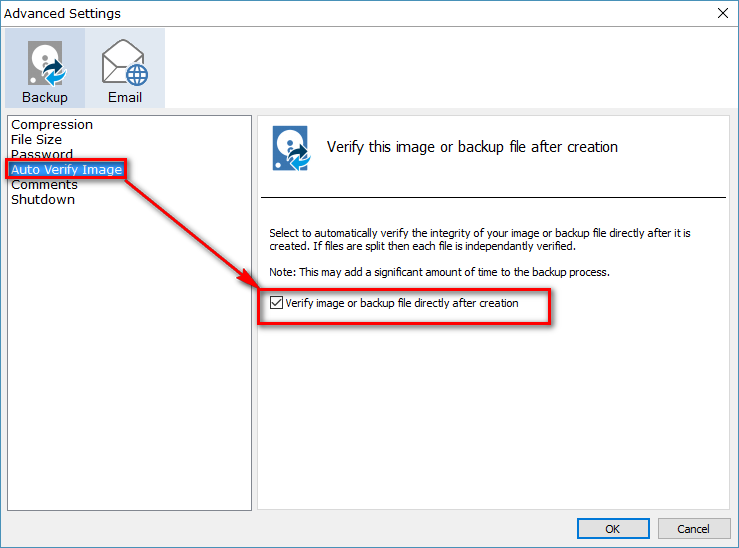
Click on the “Advanced” tab at the bottom to check out some other intriguing options.

You have six menu items in the left pane, all that offer something unique to do with your backups. If you click on the “Auto verify image” for example, you can automatically verify these instead of having to do it manually. Verifying the mage is referring to checking and making sure that your images are OK.
In the comments section, you should write something that allows you to identify this particular image backup that you are taking easily.

Click on the “OK” button after you are finished with the Advanced Options box. Click on the “Next” button to continue with your backups and then enter the name of your first backup definition.
The software then starts imaging the disks and partitions that you had selected. The first thing it does is take a snapshot. After the snapshot is taken of your system, you can then continue working on it while the backup is being taken. Macrium Reflect also allows you to change the priority of the resources which is handy if you notice your computer getting sluggish while it is working in the background.
Restoring a system backup:
Once the system image backup is taken, you will want to restore it in the future.
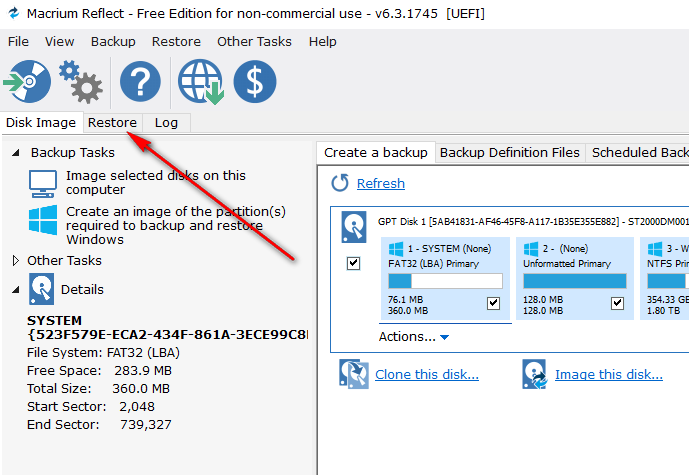
From the main Macrium Reflect user interface, click on the “Restore” tab to swap it over to the restoring options.
Click on the folder that is for browsing Reflect for images or backups that you have already taken. All of your images and backups are displayed in the right pane as soon as you click on the option for browsing.

The system image backup is now created and restored in your version of the Windows 10 operating system by using Reflect.


