 Email article
One of the diagnostic tools that is built into Windows 10 is the Driver Verifier. The Driver Verifier verifies Microsoft drivers as well as third-party drivers. The way the verification process works is an interesting one. Windows puts drivers to the test by putting them through heavy stress with the intention of making drivers that are incompatible, outdated, or not good enough fail on purpose so that they can be identified and thus the right ones verified.
When you get a driver that doesn’t pass the test, the BSoD (Blue Screen of Death) appears on the computer’s display. The DSoD then creates a crash dump so that it can be debugged.
How to run Driver Verifier
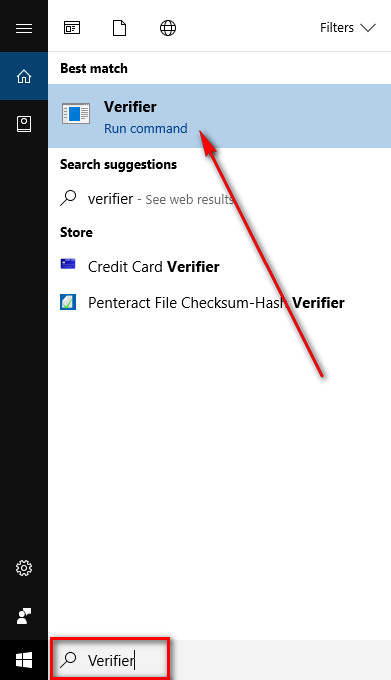
There are a few ways you can get the Verifier open. It doesn’t matter which way you do it. Those wanting to do it from the search field in the taskbar can type “Verifier” and then click on the “Verifier Run command” to get it open.
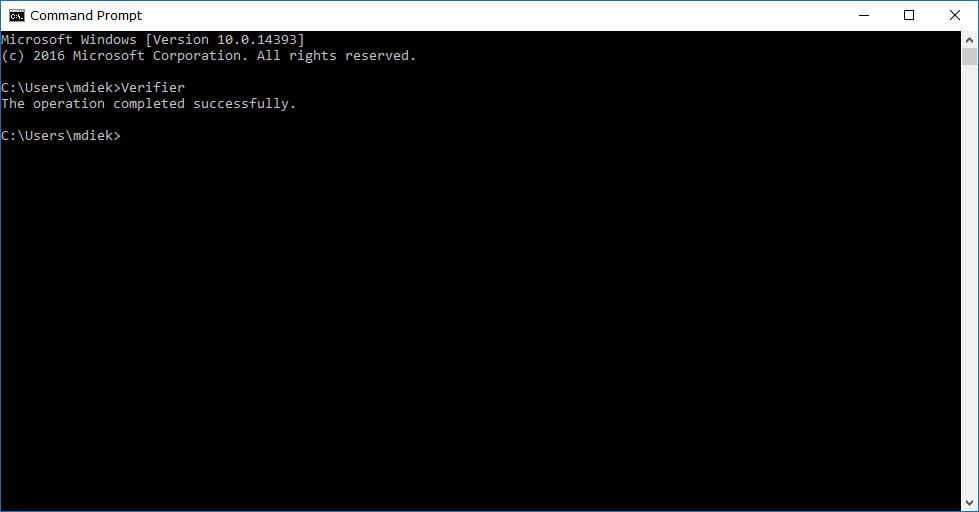
You can also open the Command Prompt and type “Verifier” and press the Enter key on your keyboards to run it.
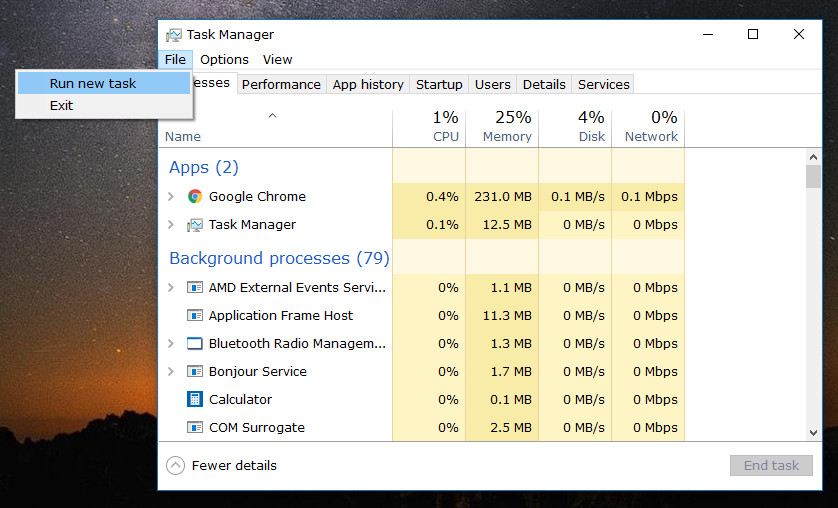
Lastly, you can open Task Manager, create a new task and then choose to open the Verifier. To do that, click on “File” and then “Run new task.”
Then type “Verifier” into the available field before clicking on the “OK” button.
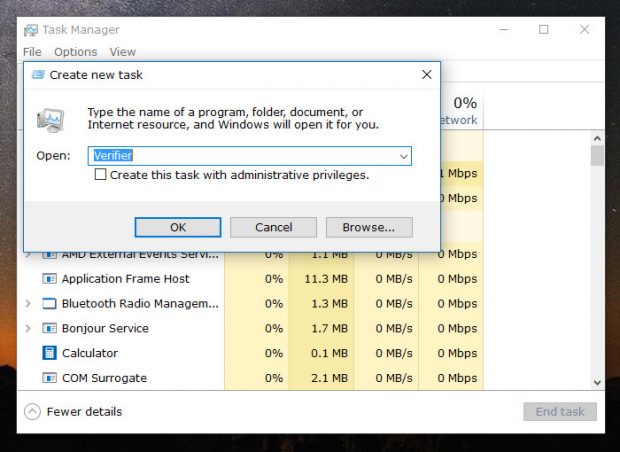 The Verifier is now open.
How to Configure Driver Verifier Settings
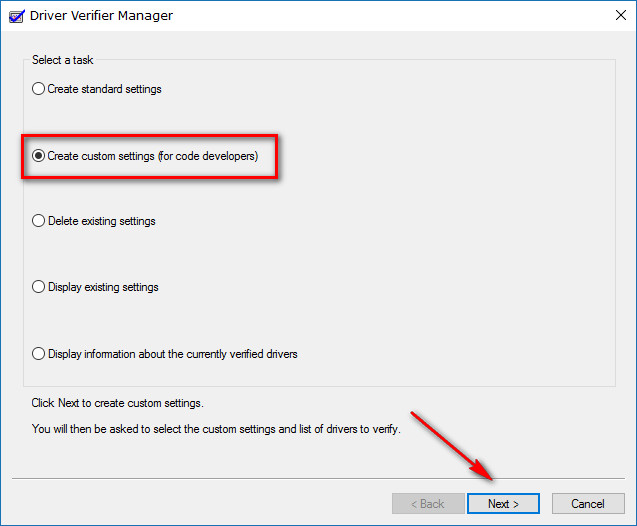
Now that you have opened the Verifier, you then need to configure its settings and enable it, so it is working. To get started on that, select the “Create custom settings (for code developers)” option and then click on the “Next” button at the bottom.
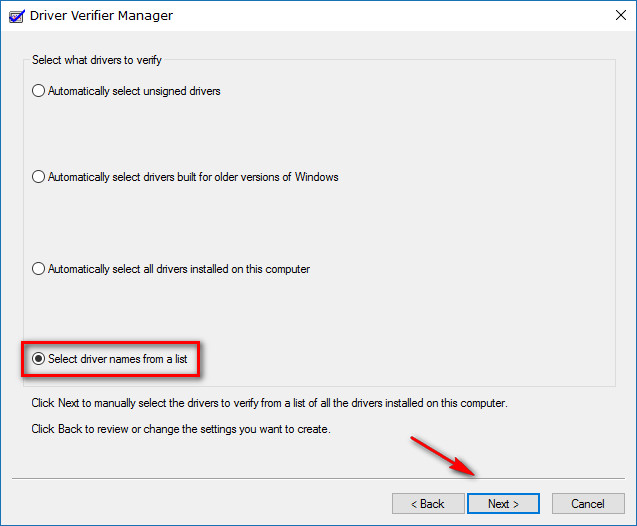
Place the checkmark in the “Select driver names from a list” option and then click on the “Next” button once again.
Checkmark the checkboxes next to “I/O verification,” “Force pending I/O requests” and “IRP Logging” and then click on the “Next” button.

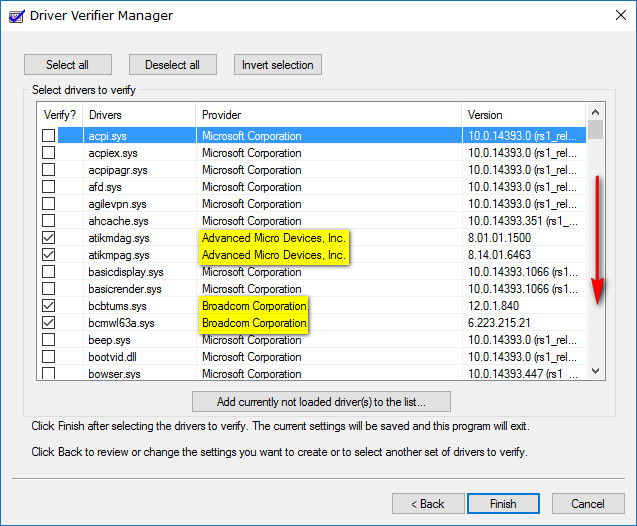
You now need to go through the list and check all the boxes for drivers that are not provided by Microsoft. You can easily tell which ones those are by looking in the “Provider” column. (Don’t forget to scroll down the screen so you can see them all.)
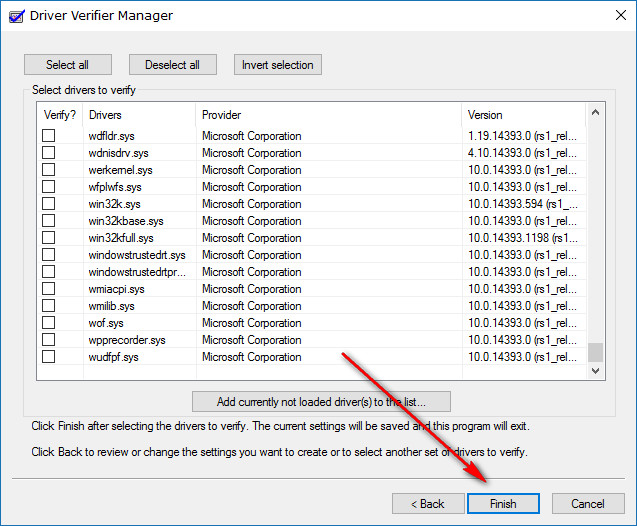
Click on the “Finish” button when you get to the bottom of the list.
How to Disable Driver Verifier
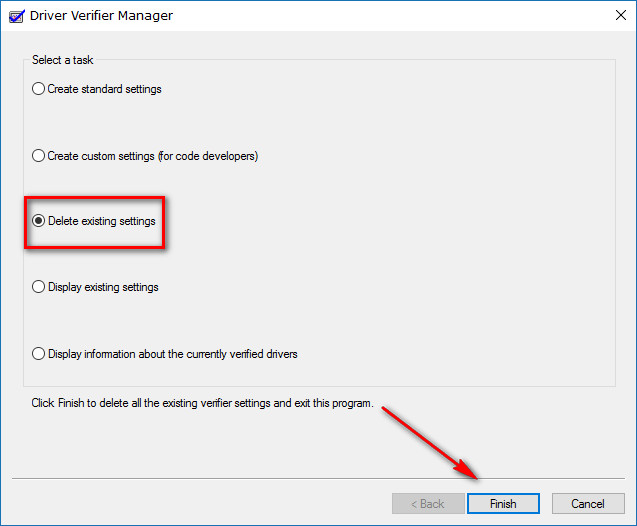
When you want to turn off the Driver Verifier, you just run it again as you did at the beginning of the guide (either from the search, Command Prompt or Task Manager), and then select the “Delete existing settings” from the menu. When you click on the “Finish” button, it is then disabled.
Most of us technology enthusiasts who use computers regularly will need to go about installing a third-party driver every once in a while, and we often assume those drivers are going to be in perfect working order without thinking a second thought about it. The Driver Verifier tool which is available in all versions of Windows 10 is like your driver police, designed to keep all of those third-party drivers in check so your operating system is always working as best as it can.


