Email article
 You have a pretty new iPhone/iPad/iPod; and for the life of you, you cannot figure out why Apple would invest so much in the physical design of the device but leave so much to be desired when it came the the icons*. Yawn! Those icons are so last year! Anxious to get new icons? Want to make your device stand out from the crowd? Luckily, Winterboard and dotTech makes this easy.
*Okay, Apple doesn’t have direct control on the design of icons for individual third-party apps, but it is so much fun blaming Steve for everything. Plus, some of those 1st part app icons are pretty… blue.
more–>What you’ll need:
- Patience
- A jailbroken device
- Winterboard from Cydia
- A way to access your device
- Patience
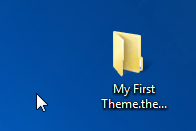
First, you’ll want to make a base folder. Name it something like My First Theme.theme. The My First Theme part is what will show up when you load the theme on your device, so be sure to name it something reasonable.
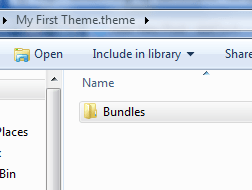
After you have made a base folder, you will be changing the actual icons. Make a Bundles folder…
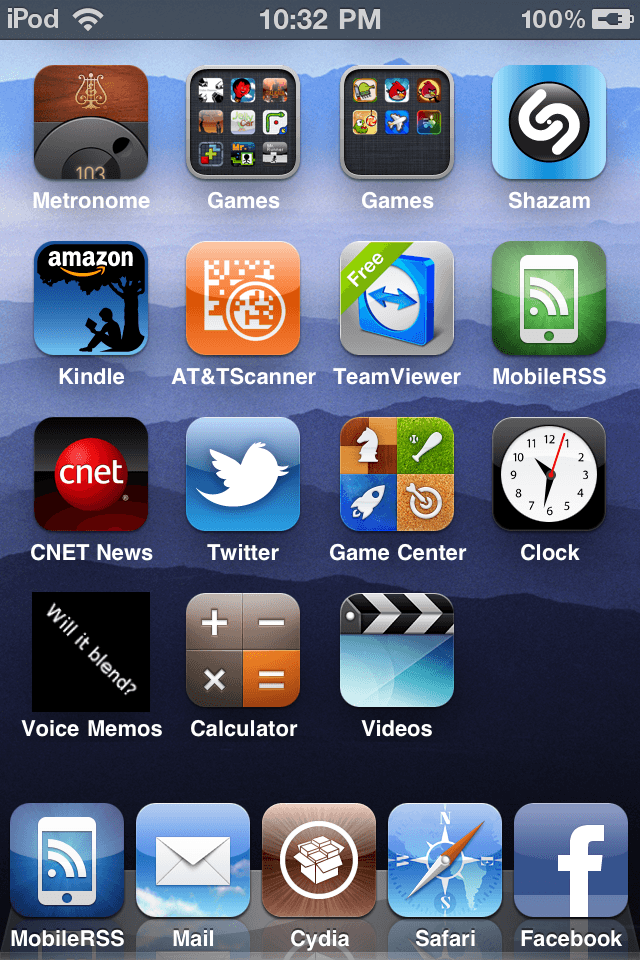
…and either make or download icons for whichever apps’ icons you want to change. For the purpose of this article I am going to replace the new, ugly iOS 4.2 Voice Memos‘ icon with a simple black icon that has the words Will It Blend written across it. Once you have your icon(s), scale the icon/image to appropriate sizes. (If you download icons they may already be properly scaled for you.) Scale it to 57×57 with no border for an iPad and iPhone 3G device or older; scale it to 114×114 with no border for the iPhone 4 or iPod Touch 4G.
Look for a Info.plist file in your device of whichever app’s icon you are looking to change. If it’s an official Apple app or an app you installed from Cydia, look in /Applications/. If it’s an app you downloaded from the iTunes store, look in /private/var/mobile/Applications. It’ll be in one of those cryptic folders – if it is, then… good luck. I know of no better way than to open each folder and look at the .app folder name.
Once you’ve found the Info.plist file you’re looking for, open it in an app that can open PLISTs. If you have app, you can always use this web tool. When you have Info.plist, look for CFBundleIdentifier:
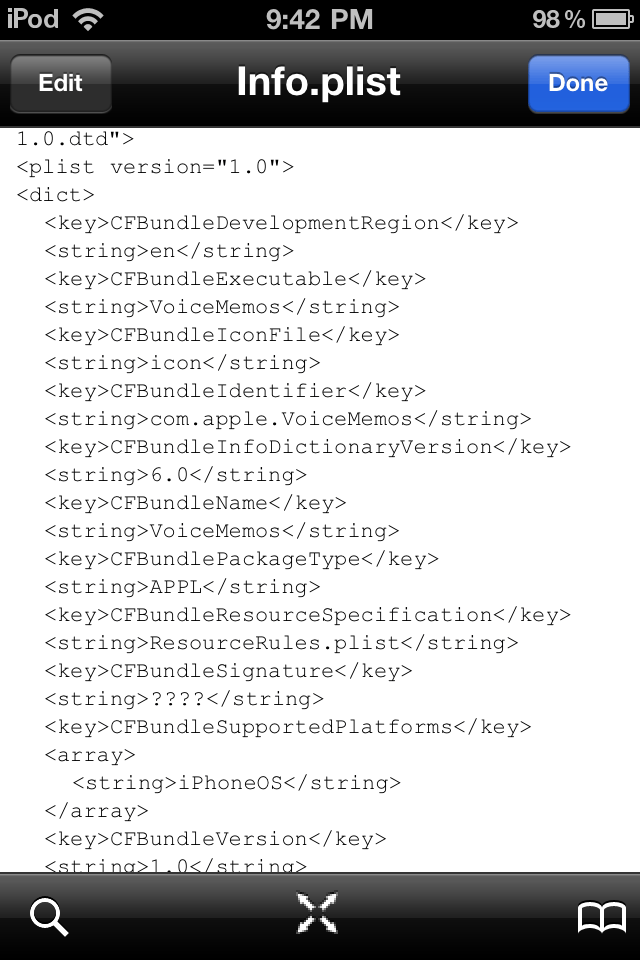
Copy down the string (EX: com.apple.VoiceMemos).
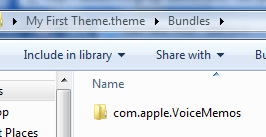
Now go back to your Bundles folder. Make a new folder with the name of the CFBundleIdentifier, like this:
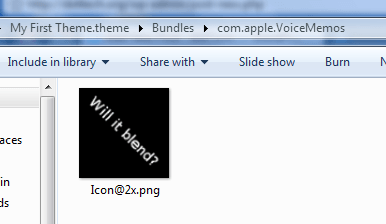
Go back to the folder (the folder on your device) that you got the Info.plist from. Look for a PNG file called Icon.png or Icon@2x.png. Make sure to note whether the word Icon is capitalized or not because case sensitivity counts.
Take your icon file. If you have a device with a retina display (i.e. iPhone 4 and the newer iPod Touches), name it Icon@2x.png or icon@2x.png; if you have a device without a retina display name it Icon.png or icon.png. Be sure to keep the capitalization the same as what was listed in Info.plist!
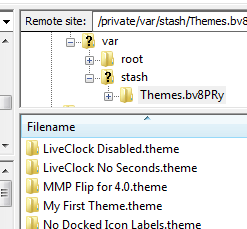
Now just transfer the whole My First Theme.theme folder onto your device. Put it in /Library/Themes.
Lastly, open up Winterboard (either from the home screen or from Settings) and select your theme. It should be on top. Congratulations, you’ve successfully replaced an icon from your iDevice!
It’s a complicated process, but once you’ve done it once it gets a thousand times easier. You’ll soon be replacing every icon you don’t like! Have fun replacing, and be sure to stop in for more customization tricks soon.